Up till now we have been using the cold process (CP) method for our soaps. CP soap has to be cured for 6 weeks before it can be used (non negotiable), so at all times we are 6 weeks out with each batch we make.
To get around this 6 week cure hurdle, we can make soap using the hot process (HP) method. Basically you cook the soap to speed up the saponification process. If you are already a soaper, this makes sense. Just a few months ago, it made our heads hurt and our eyes cross. Be patient, read as much as possible, and practice often. It will begin to make sense.
Feel free to make comments if our explanations or incomplete (or incorrect), but as we have come to understand it, saponification is the chemical process the lye goes through as it reacts with the oils to create soap. In CP soap, the process occurs over time, thus the necessary cure time. In HP soap, the process accelerates because the heat comes from an additional outside source rather than only from the chemical reaction.
Using HP makes the soap safe to use immediately; although, the bar will last longer if it has a week to 10 days drying time before anyone actually uses it.
Since we have a big gap in our production schedule (and it will be May 5 before our next completed batch will have reached its cure date) we decided to try the hot process today.
We might add here that we wanted to try it for another reason:
If you've read our blog, you might remember our frustration a few weeks ago when the soap seized about 3 seconds after we added a new FO. It completely freaked us out and resulted in the creation of the ever popular cat vomit-looking soap. We have been very nervous about trying any more soap with the scent, and had almost decided that we would make a large batch of candles with it instead.
"A" had been watching videos and reading about hot process this week, and one soaper mentioned, seemingly as an afterthought, that hot process is a good method to use with scents that tend to accelerate or "rice" because the lye has already been "cooked" before you add the fragrance. Nothing ventured, nothing gained, right? Maybe this would be the way to go for our beloved Butterfly Meadows fragrance oil!
We looked for a recipe that would make a small batch because we didn't want to waste a lot of our supplies (money!$!) if things went badly.
The one we settled on came from www.soapqueen.com and was called Crock Pot Camo Soap. It called for Olive, Palm, Coconut, Meadowfoam, and Sweet Almond oils as well as shea butter. We had neither Meadowfoam nor Sweet Almond oil on hand, so we substituted sunflower oil for the former and rice bran oil for the latter.

Once we decided on the substitutions we ran the recipe through the soap calc to make sure it was going to work (3 months ago the idea of the substitutions or using soap calc would have scared us to death! We are making progress as soap makers!!).
We decided to use a bright yellow, antique blue, and white colors, so we mixed them up using a 1/2 tablespoon of sunflower oil to a teaspoon of color for each one.

We put the oils into the (dedicated to soap making only) crock pot and added the lye/water mixture. Using the immersion blender, we mixed until the soap reached a thick trace.
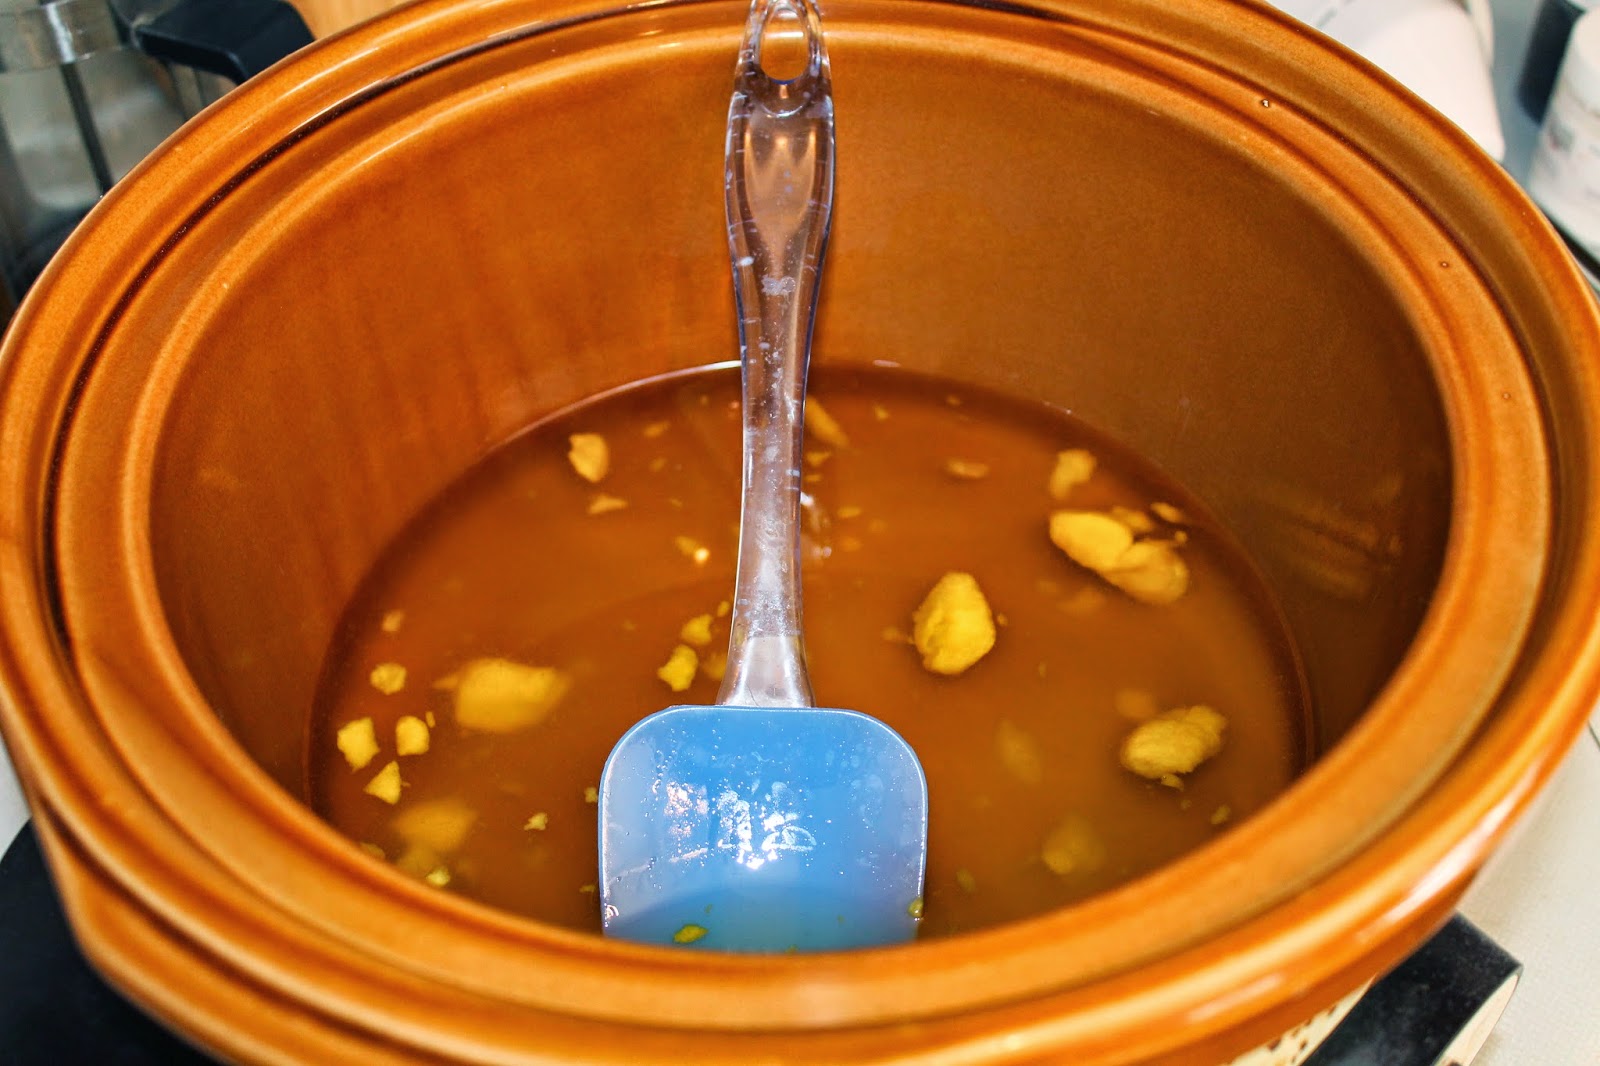
bits of shea butter melting

pouring in the lye/water

We started with loose, runny soap, but after a few minutes the soap began to emulsify,

then it began getting thicker.

After about 10 minutes it was thick as pudding - you can see the drip marks across the top

At this point, we put the lid on the crock pot and let it cook on low about 15 -20 minutes.

You can see the gel stage starting. Notice the different color around the edge? After another 10 minutes or so we mixed it up and realized we had moved on to another "stage"of the process.

Once we reached "mashed potato" stage, we said a prayer and added the Butterfly Meadow FO. NO SEIZING!!! the scent mixed into the soap exactly as it was supposed to (big sigh of relief).
Now we added colorants.
We divided the soap into 3 parts, added color to each, then spooned the soap into the mold. Once it was full we gently tamped the soap down to force out any air bubbles.

Finally, we both breathed a big sigh of relief. We'd done Hot Process and lived through it!
One noticeable difference between cold and hot process it the texture. Cold process soap is poured into a mold, it is basically a liquid that hardens into soap. Hot Process has cooked beyond the pourable stage and has to be spooned (think lumpy mashed potatoes) into the mold. The end result will still clean and soften your skin, it just won't look the same.
Here is what the Hot Process soap looked like once we took it out of the mold. Everything is a learning opportunity, right? Here we learned to press the soap colors down into the mold more firmly.

top of soap

bottom of soap (lines are from the silicone mold)
Here is what the cut soap looked like, I can tell you the smell is like walking into a flower garden.

the edges and tops are a little uneven, next time we will pack the soap in a little tighter

the finished soap is actually much smoother than we thought it would be

while washing hands after cutting this soap I noticed it is VERY creamy and has great lather, can't wait to try it next week
Soap Lily doesn't seem to know that hot process soap can also be made pourable.
ReplyDelete