Tuesday, April 29, 2014
After our productive but non-soaping Monday, we were very motivated to create something on Tuesday. In hindsight we may have been a little over enthusiastic.
We kind of started both projects at the same time which isn't a great idea. We should have done either the soap or the candles, but no, we dove into the deep pool of melted wax and saponification at the same time.
We had a ton of old white candles that we re-melted. We cut off both the top and bottom of the candles then cut them into chunks and added them to the pot.
Melting old candles took a while, and since time is of the essence (there never is enough of it) we decided to start a batch of Hot Process soap. "K's" kitchen counter space is only so large, and we soon discovered that two projects at once took up way too much room, but by this time soap was soaping and wax was melting so we pressed on.
We will tell you about the candles first, but please try to remember the chaos whirling around us as we did both projects at once.....
We placed the candle wicks in containers and held them tight with pencils and tape (see below), and once we added the fragrance, Butterfly Meadows (which doesn't work well in cold process soap), we began to pour.
First calamity! The container we were pouring out of was too full and hot wax splattered all over the floor, and cabinets. Luckily our years of dancing and gymnastics (heh, heh) paid off and we both jumped out of the way so the HOT wax missed our bare feet. Yesterday was "One Day Without Shoes", and in solidarity with TOMS Shoes ( +TOMS ) we were barefoot. K's daughter, "T", works for Tom's, and we felt like we were supporting her/them from across the country.
So both projects went on hold while "K" scraped the cooled wax off the floors and cabinets, and we cleaned flecks of wax off our legs and feet. There were pictures, but worn floor and "K" on her knees wasn't something we felt you absolutely needed to see. Trust us, it wasn't pretty.
Once the wax mess was cleaned up we shuffled the wax into a smaller vehicle to pour into the jars. "A" had made candles before and was teaching "K". One of the lessons is that after the first pour the wax will settle and you have to do a second and sometimes 3rd pour to make the top of the candle level. Wick flopping was an issue (who knew?), so we used our trusty blue tape and wedged the wicks in so they were (mostly) centered.

We begin to pour the wax
Actually once the wax melted and we poured it enough times to get a level candle, the total time was probably an hour, but as we mentioned, we had a few other issues going on.

Here is what the poured candles looked like before blue tape was removed, and wicks were trimmed.
Now on to the soap making! Hot process is what we chose mainly because the cure time is so short, and we will have it to use for our upcoming shows. The recipe we chose is one we had just used a few weeks ago, but this time we doubled the size of the batch. We checked the ingredients on soap calc to make sure we had the right amounts. We decided to use a scent that accelerates pretty fast when used in CP (cold process soapmaking). Ocean Mist is described as "a complex bouquet of carnations, lily of the valley and hyacinth; underlined by oakmoss and white musk" (Remember how hard we told you it is to choose scents? This is why! so much information). We still can't figure out why it's called Ocean Mist as it's so floral-y, but we decided to color it in ocean colors of blue and sand.
We got out the trusty crock pot, turned it on low and added our oils (coconut, avocado, palm, olive, and sweet almond oils and shea butter). At this point we had our wax spill, so the oils sat there heating up for a good 1/2 hour before we added the lye/water. We think this batch cooked really fast due to the temperature of the oil and lye/water. We mixed in some TD (titanium dioxide) to keep the soap a light color, and it reached thick trace (like heavy pudding) within 5 - 10 minutes, so we put the lid on it to cook. After 15 minutes we stirred the soap, and within 45 minutes we had soap.
We did 3 separate PH test strips, then "A" was brave enough to do a "Zap test" which means you touch soap to your tongue. If it tastes like soap it's done; if it zaps like touching your tongue to a 9V battery, it's not done. It tasted like chicken, er, I mean soap. No zapping.
We quickly added in the scent then poured half into a separate bowl and added 1982 blue mica colorant to give us our "ocean" blue color. Once the blue was completely mixed we alternated colors while spoon plopping (our technical term) the batter into the mold. We learned during the last HP session that you have to give the soap a hard "tamp" to get it packed together in the mold and make it cohesive so it won't fall apart when un-molded.

This is what the soap looked like once it was in the mold; we swirled it to mix the colors up a little.
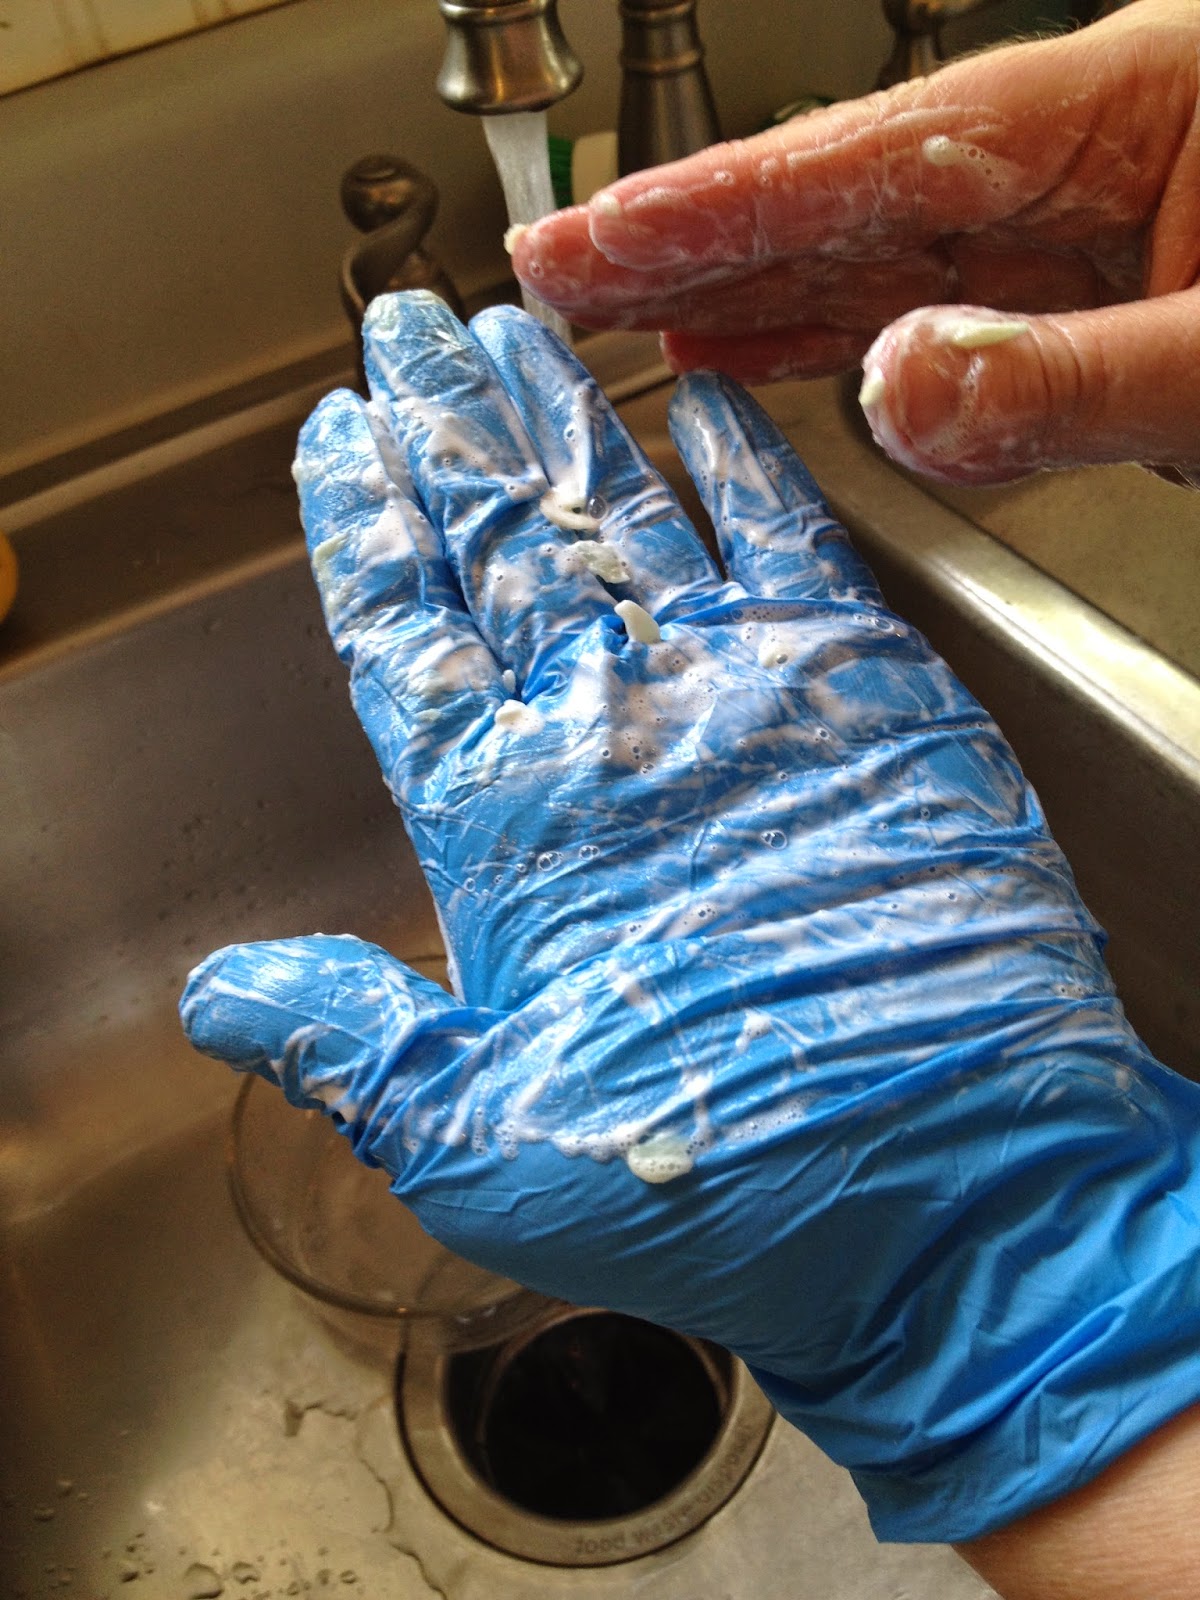
At the end of the day, once all the mess was cleaned up, dishes done etc etc., we were pleased to notice as "A" washed soaping materials that our hot process indeed was soap.The bubbles and lather look great.
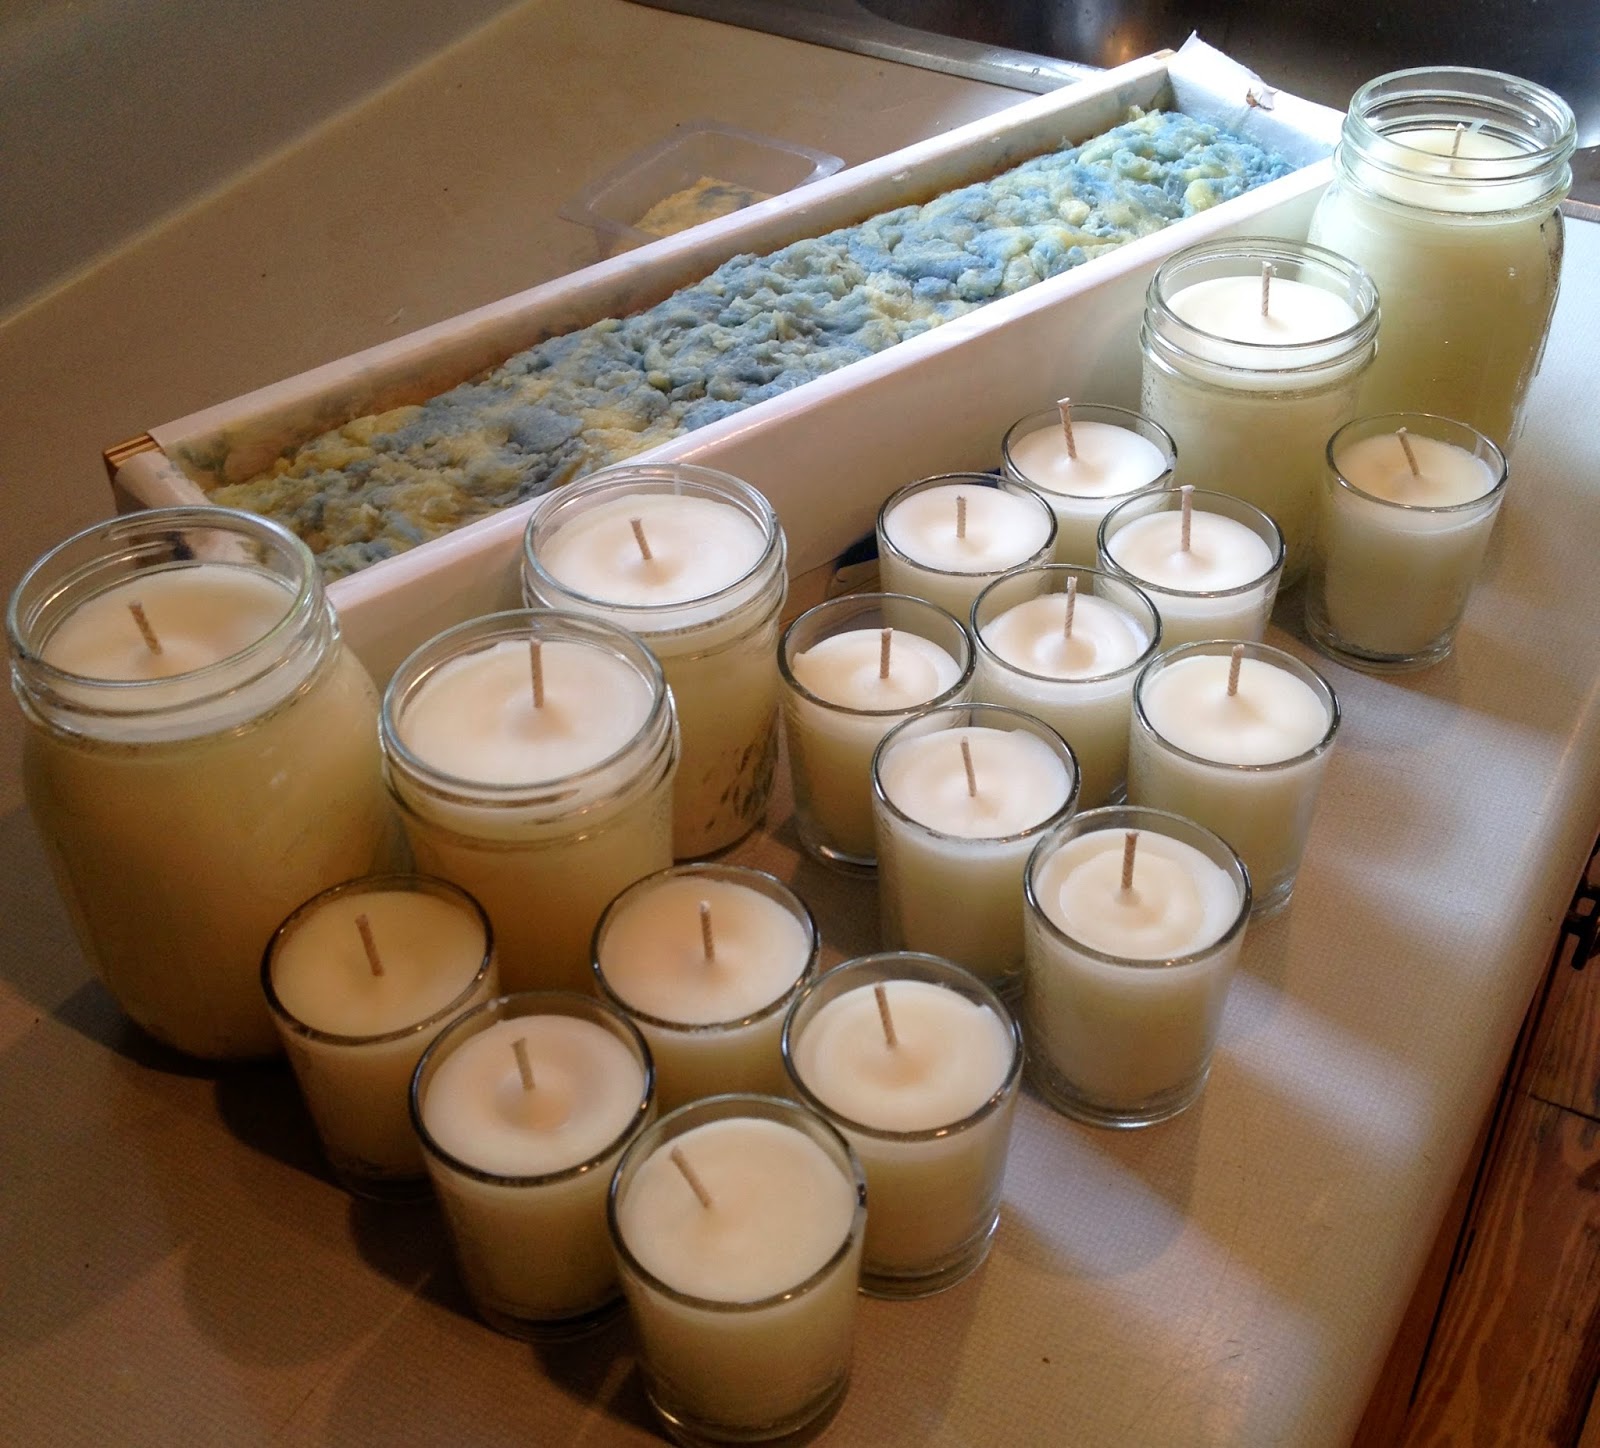
So we had a good day. We made candles AND soap. No small children or animals were injured in the process, "K's" floor got a free waxing, her kitchen smells great, and all is good in the world. Here is a picture of our efforts.
On Wednesday (04/30/2014) we pulled the soap from the mold to cut it. Once we pulled back the freezer paper, we realized that it wasn't hardened enough. You can see all the little air pockets on the sides of the soap. We wrapped it back up and will try again tomorrow.

We aren't sure why there are holes, although the colors seem to be blended really well maybe we didn't tamp it down hard enough.

This is the side of the soap once we pulled the freezer paper off. You can see some of the soap stuck to the paper. Did this cause the holes? We don't know. The soap still felt somewhat soft to the touch; maybe another 24 hours will do the trick.
It's Thursday now and we couldn't wait any longer so we un-molded the soap, there are still a few holes, but nothing like it was yesterday.

We got out the handy dandy home-made soap cutter and got to work, the soap, by the way, smells very nice.

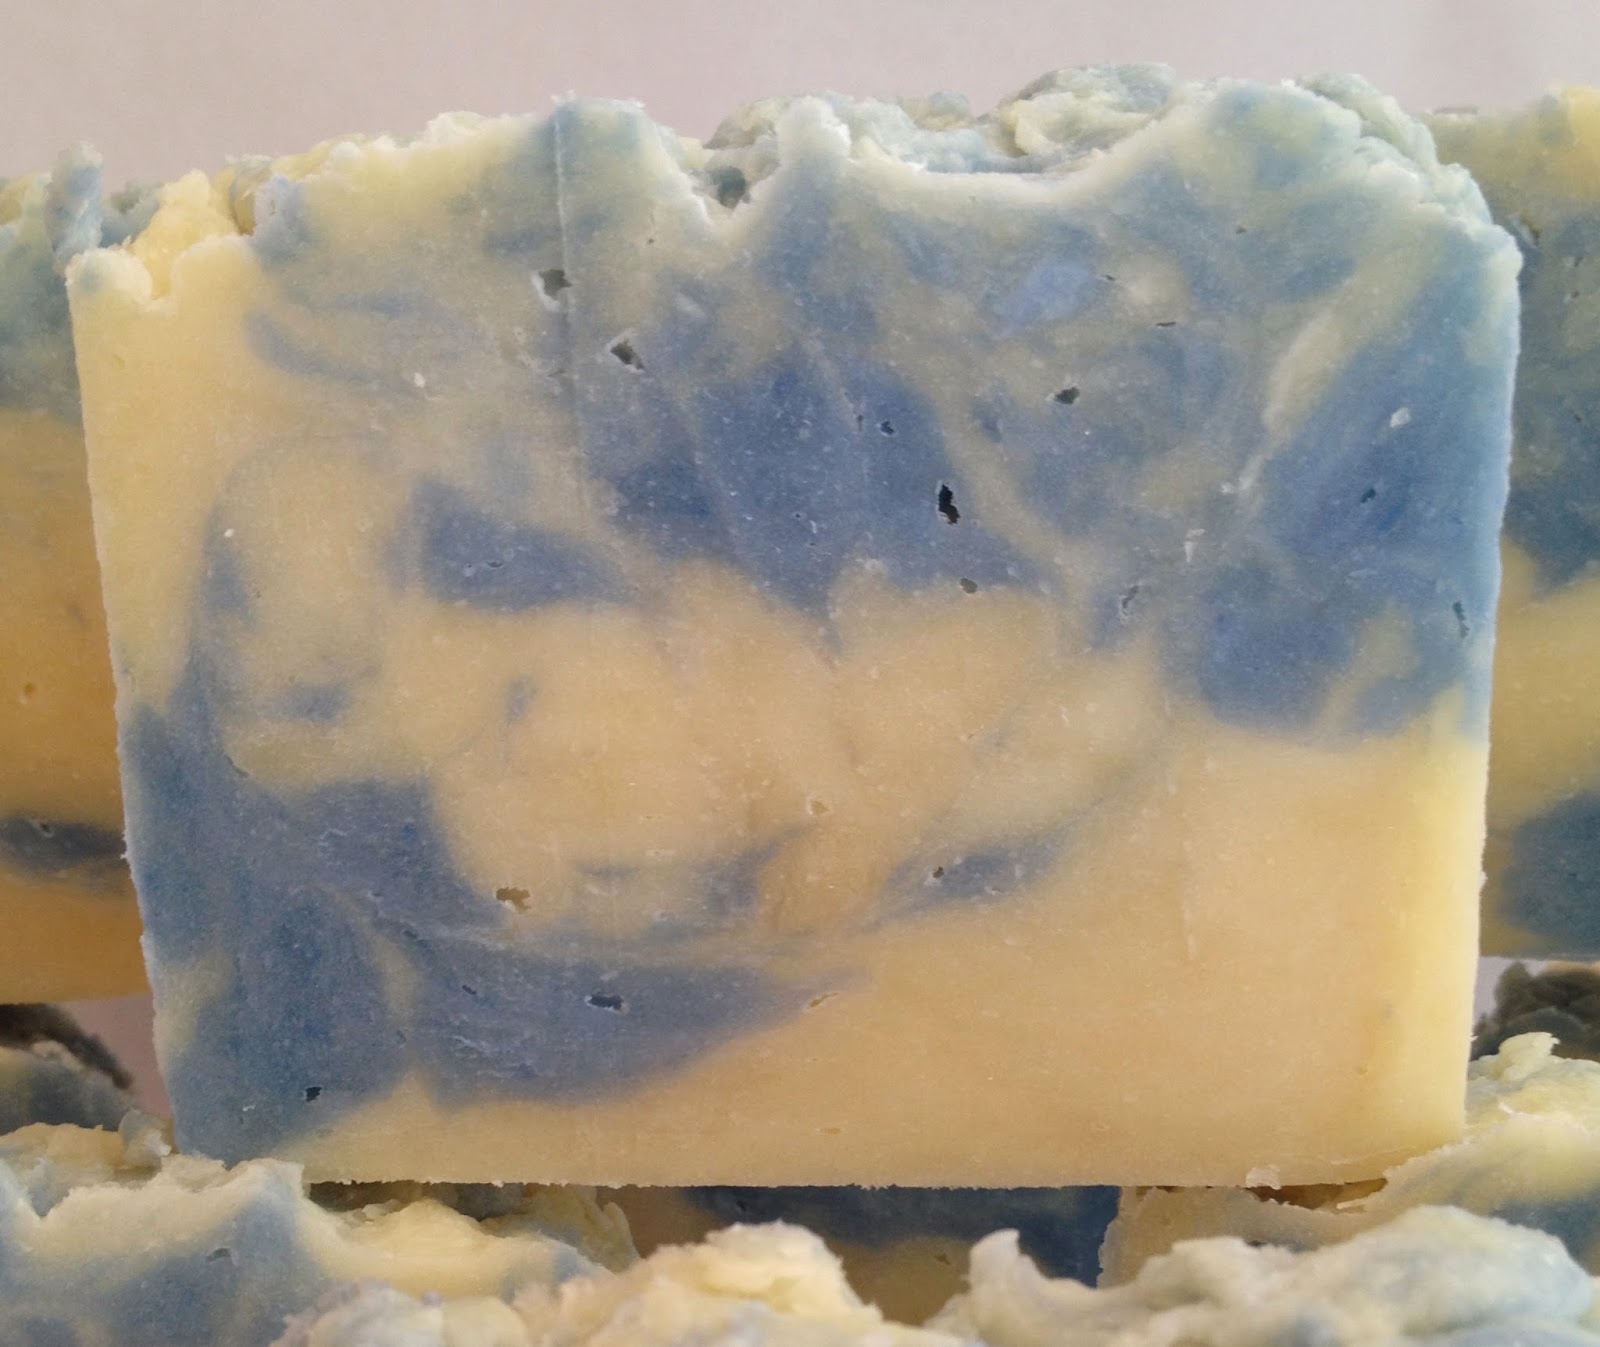
Here is a group shot of the soap, you can see how each spoonful of raw soap deposited into the mold helped to create a different pattern on each bar of soap.

And since a picture of a single bar of soap has become a tradition for each batch we make, here is the Ocean Mist fragrance hot process soap in all it's glory.
No comments:
Post a Comment