It's been over a week since we've posted. Last week we were juggling kids, beautiful weather, and no school. We thought, mistakenly, with all the snow days this year our local school administration would opt out on a spring break; alas it was not in the cards.
So, with A's two nearly grown kids (E & C) and K's two grandkids A & T (not so grown) our soap making efforts were slightly subdued. C, the oldest of the 4 stayed away; he can drive, and watching us make soap was the last thing he was interested in. E, the second oldest was a big help, and on Wednesday, (while a picnic was planned for the youngest two), she assisted A in a lovely "block pour" batch of soap. Even with little ones around (banished when lye was present) we made another batch of Honey oatmeal soap on Monday. We let the little ones sprinkle oatmeal on top and squirt the finished soap with alcohol so they could be a part of the "soap making".
Monday, March 31, 2014
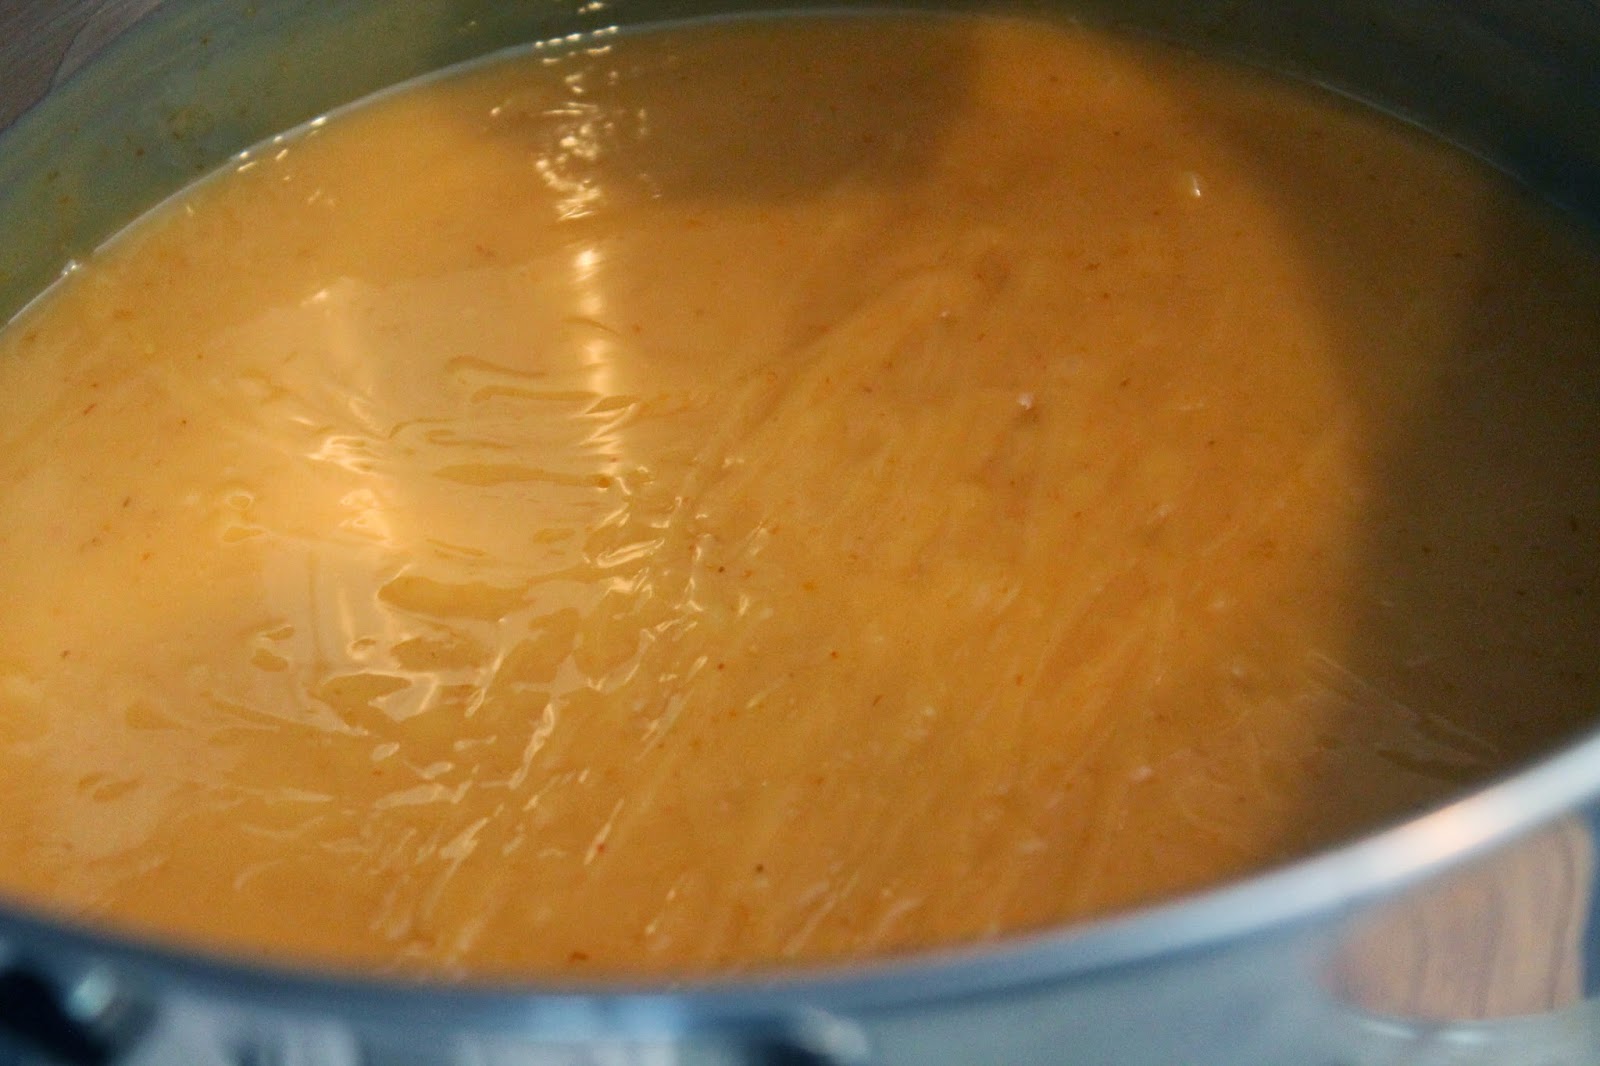
Early in the week we made a batch of the honey oatmeal. This will be one of our core soaps as we've had so many requests for it. The last time we made this soap we weren't as successful; the soap was very oily and awful looking, so we wound up re-batching. This time we used much cooler temperatures while mixing the oils and lye water, we stirred with a spatula, and we didn't use the immersion blender quite so much. We did not put the soap in the refrigerator this time, and we did not insulate it - all steps we figured we had done incorrectly last time. The result was a beautiful batch of soap.


We put bubble wrap on the bottom of the mold, and once the batch was poured we put another sheet of bubble wrap over the top of the soap. As you can see, it makes a great honeycomb effect. When the soap set up (but was still pliable), we took the bubble wrap off the top and our young assistant, T, sprinkled whole oatmeal on the surface.

Unfortunately as the soap is curing some of the oatmeal has been falling off, but the soap was made using ground oats (think exfoliation) in the mix so there are plenty of oats still in this honey oatmeal soap.
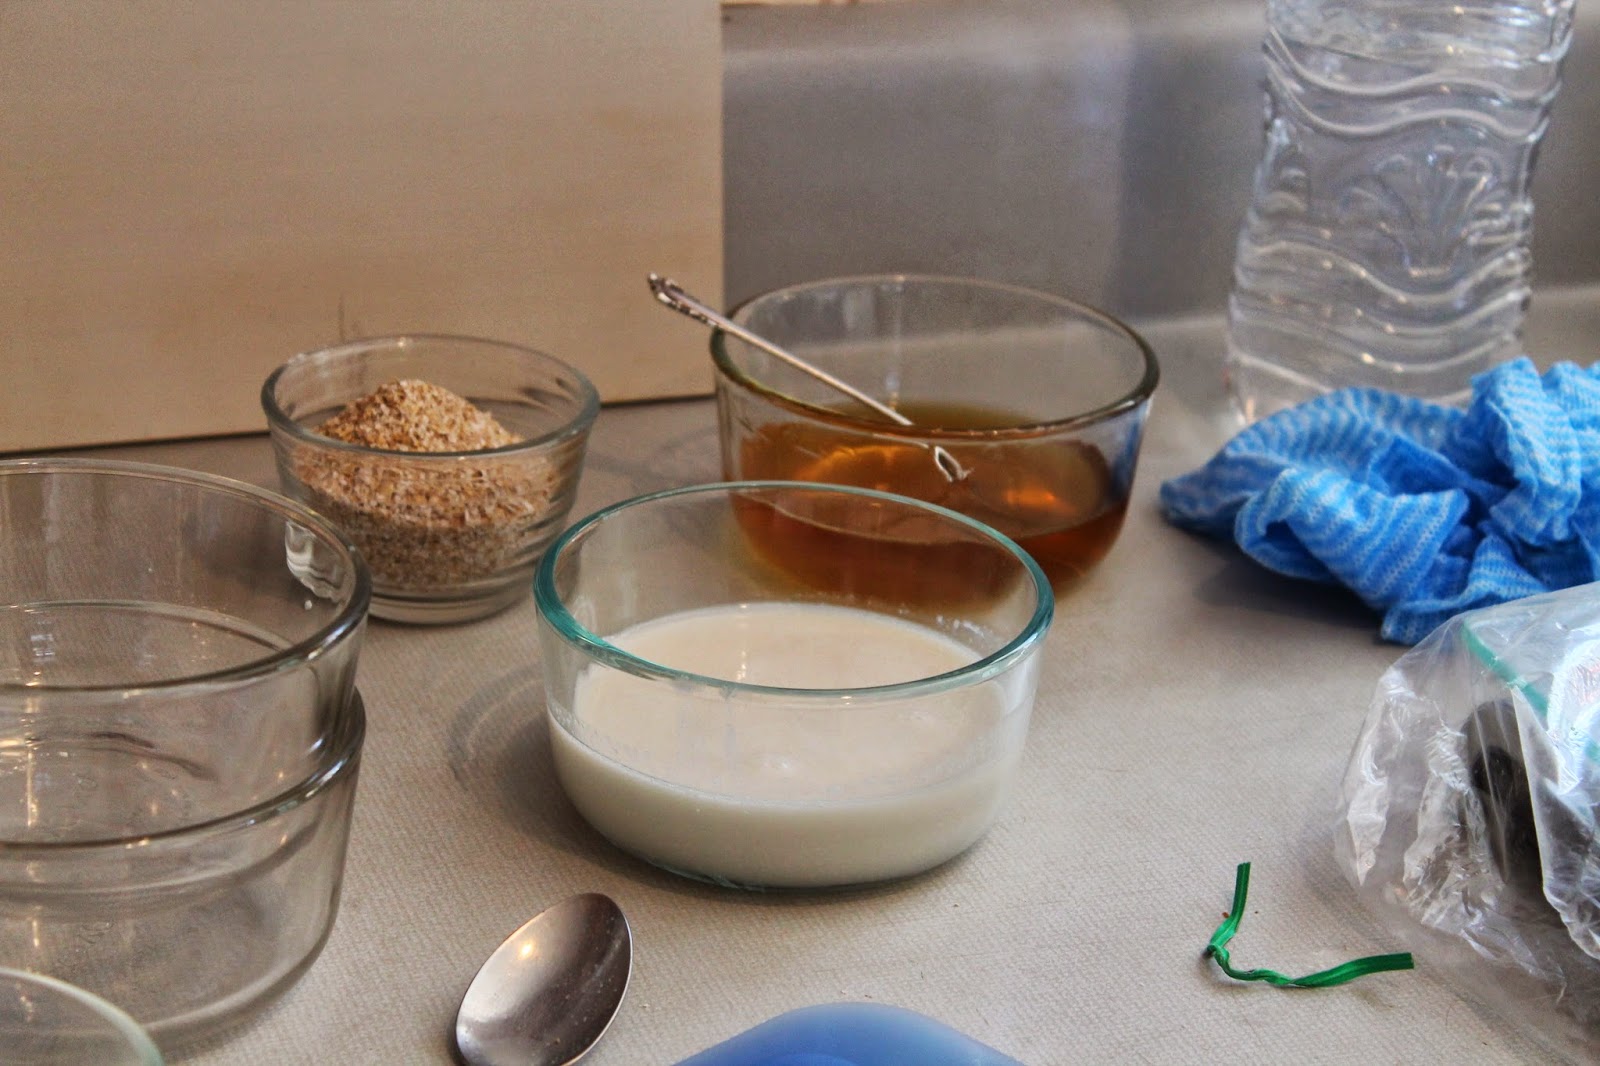
Ingredients for honey oatmeal soap:
lye
distilled water
olive oil
coconut oil
sweet almond oil
avocado oil
castor oil
local honey
almond milk
whole and ground oats
sweet orange essential oil
clove bud essential oil
eucalyptus essential oil
the finished product, which is now curing:

The next batch of soap was our first effort at a "block pour", we've watched many videos and it looked so pretty and fairly easy so we decided to give it a try. E was the assistant soap maker as K was on a picnic with grandkids.
A here, taking over from K:
Wednesday, April 2, 2014
My daughter, E, had been quivering to make something using the orange Valencia essential oil that we recently ordered, so we incorporated it into today's batch. I have been really eager to try the block pour method, so I borrowed a few blocks from my son, C's, old collection of blocks. It made today's batch an even bigger family affair! My sister's husband had made the blocks for C when he was just a baby, and more recently he made the soap mold for me that we poured the soap into.
We used a standard soap recipe that includes the following:
Palm oil
Olive oil
Coconut Oil
Castor Oil
Lye
Distilled water
Essential and/or fragrance oils (We chose to create a blend using Valencia Orange essential oil and Lemon Cake fragrance oil)
For this design we needed to choose a few colors that we liked. We selected 4 that we thought were bright and cheerful. For each color, we mixed 1 tsp of colorant into 1 Tblsp of Sunflower seed oil


We measured and mixed our ingredients to reach trace, then divided the soap "batter" into four Pyrex containers with pour spouts. Into the separate containers we added our colors. This is where we were a bit disappointed. We wanted the colors to come out as bright as they looked when mixed with oil; however, the yellow color of the batter mixed with the color created by the Orange Valencia essential oil, altered our colors. In the future, we will add titanium dioxide to the batch first to tone down the yellow-ness, and then add other colors. It turned out very lovely, it just wasn't the exact colors we were hoping for.
In order to do the block pour, we placed a block in the center of the mold and then alternated pouring each of the colors over the block. As we poured, we counted "1 Mississippi, 2 Mississippi, 3 Mississippi" to try to get an even pour of each color. You can see there is more of the yellow, though, because we didn't divide it perfectly evenly. We reserved about 1/2 cup of the batter to mix with titanium dioxide to create the white. We mixed the batter with the white by combining them in a ketchup dispenser bottle and shaking until mixed.

This kind of ketchup bottle - not the kind that it comes in from the grocery store.
I wish we had taken pictures of each step as we poured, but because this was our 1st attempt at block pouring, we both wanted to be part of the process. We completely forgot about taking pictures. Maybe we'll remember to do it next time.
Once we had used all of the colors in the bowls, we came back with the white in the ketchup bottle, and we traced the edges of the colors at various places. Then, we used a bamboo skewer and created the lines in the design by starting in the center and dragging the skewer out to the edge just like I used to draw the rays of the sun when I was a little girl (okay, just like I still do since I really have no drawing ability).
Below is the finished product:

We sprayed it with alcohol to protect against ash formation, then covered it and insulated it with a fluffy towel for about 24 hours.

Later, K cut the soap into bars. Isn't it gorgeous? E and I think so, if we do say so ourselves! Not a bad way to spend part of spring break.


After this we had the immense fun of cleaning out the basement and the garage. I had MUCH rather make soap!
No comments:
Post a Comment