Pages

Wednesday, April 30, 2014

We made soap, did more paper work, and had a welcome interruption - better than Christmas!


Wednesday, April 30, 2014

Wow! April is nearly gone. Sometimes, you blink and a week has passed you by. 

We are trying very hard to get all our "stuff" done: labels, pricing, wrapping soap, securing a tent, chairs, the ability to run credit cards, opening a bank account....and on and on.

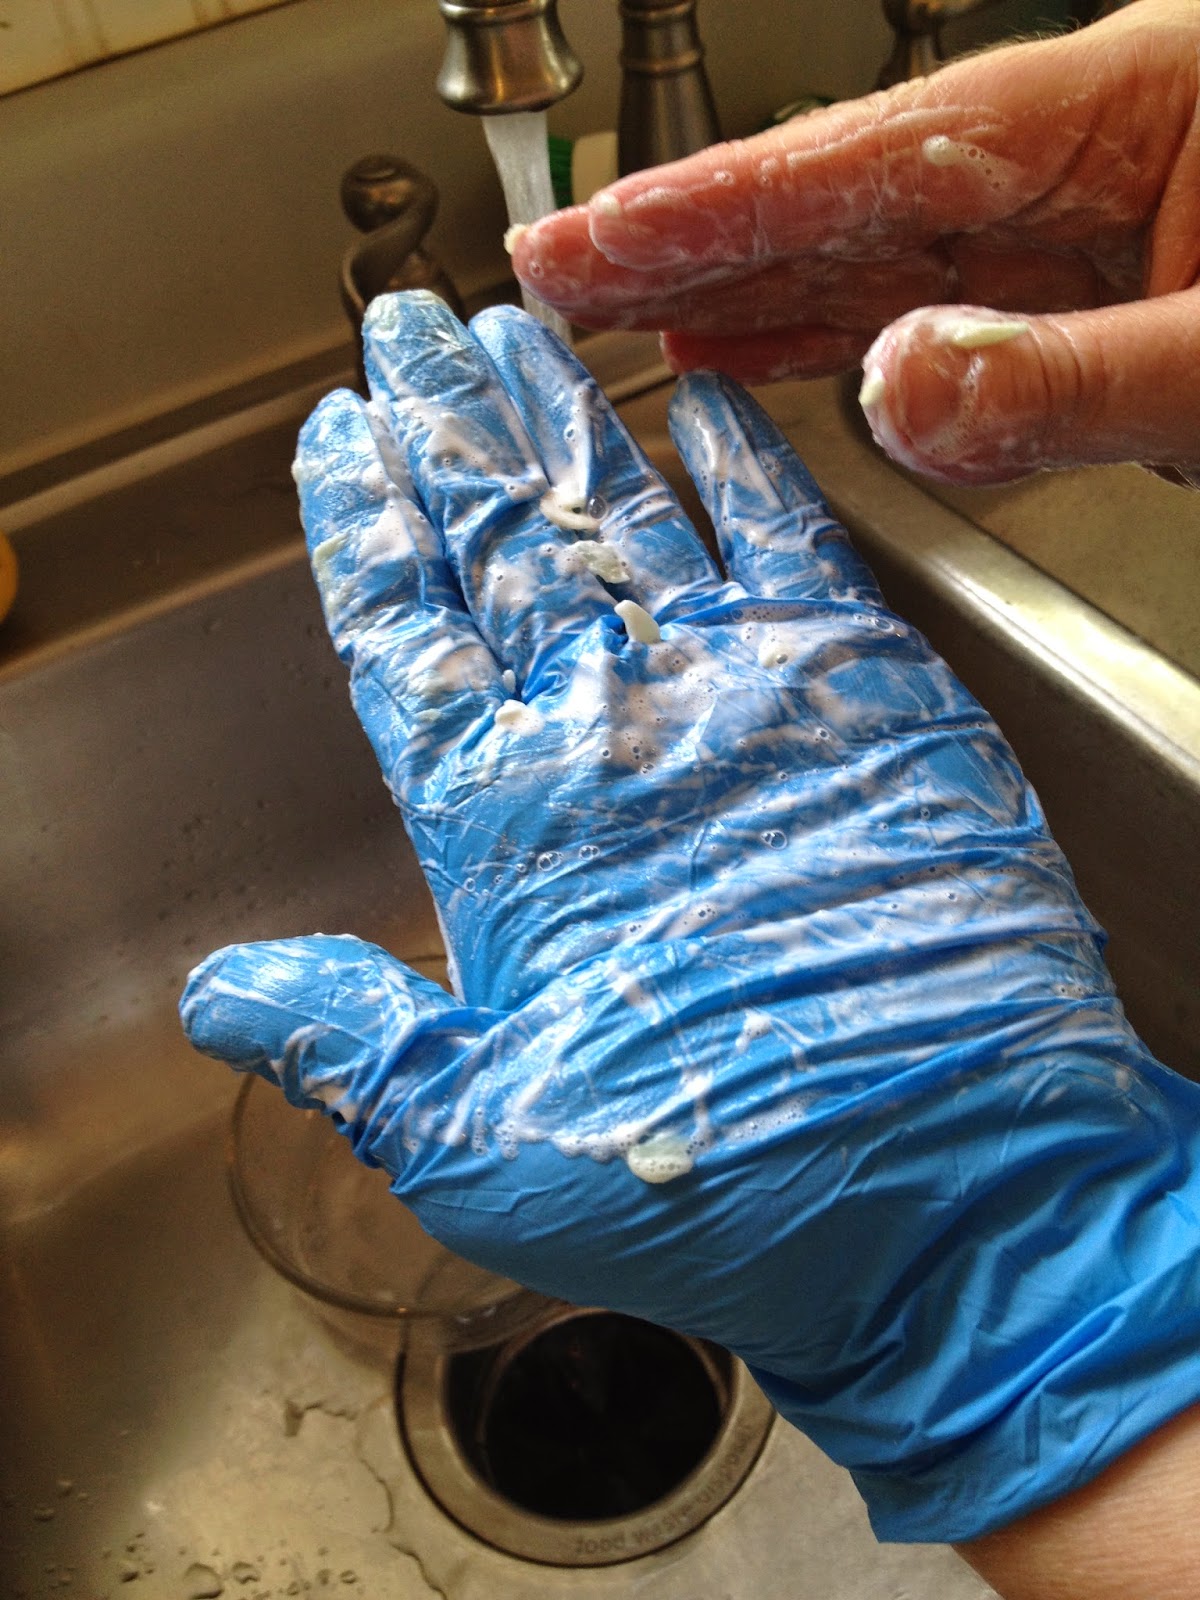
Today while "A" worked on the not such fun stuff like making labels and calculating pricing per bar of soap, "K" got to have all the fun and make some soap.

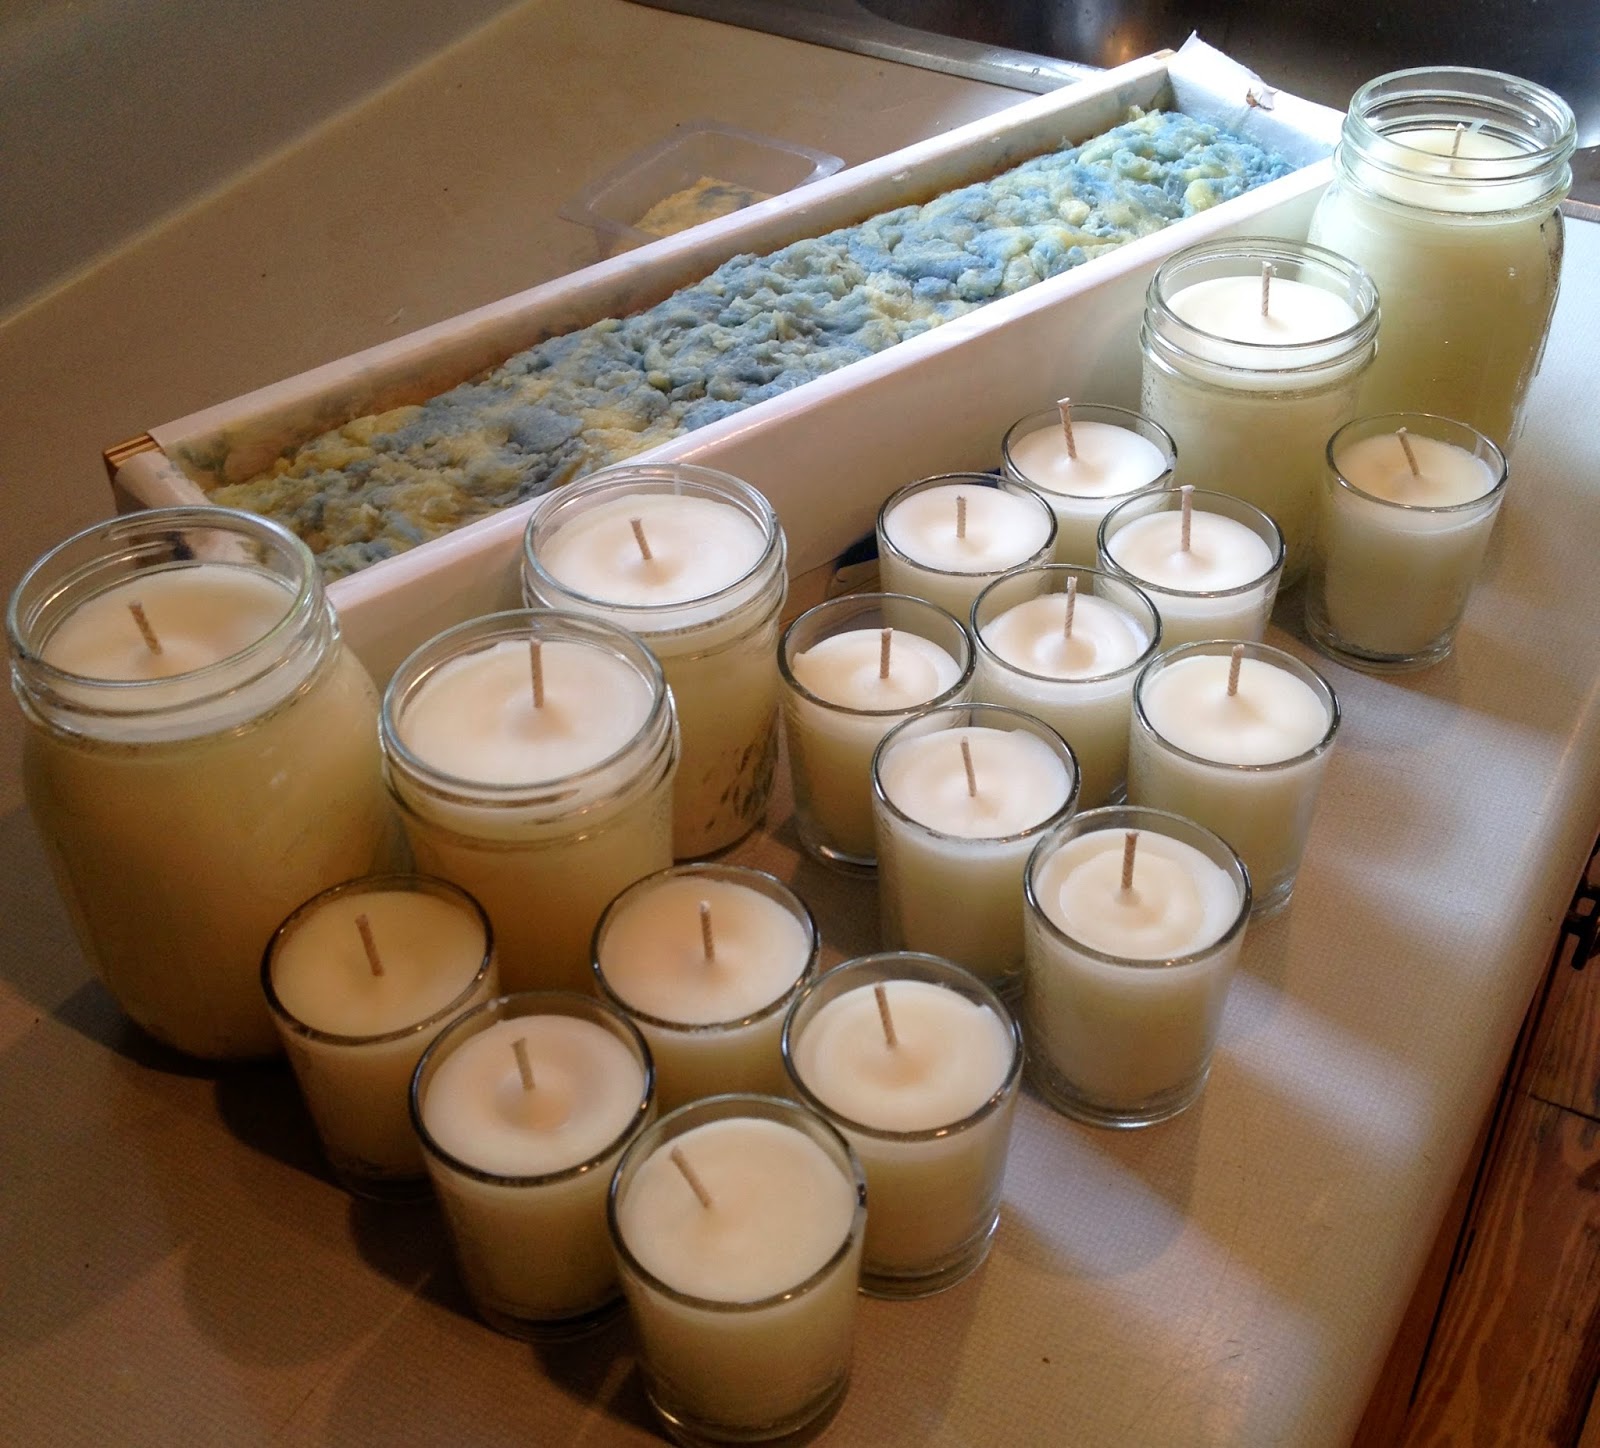
First we will give you a sneak peek of what some of the wrapped soaps look like.


These are (L) Honey Almond Oatmeal and (R) Rosemary Mint

We think that a nice visual presentation is very important, so for the time being will be "economically dressing" our soaps with materials salvaged from "K's" quilting stash.  Maybe later we will sell the soap in muslin bags or pretty boxes, but for now this is our beginning.  In the long run the soap is still a great product.


A few more


Back to the soap of the day....

"K" chose the spoon swirl method because we have used it several times and always get great results. Now which colors should we use? Green!!  Spring is absolutely in full tilt right now. The birds are singing, flowers are blooming, and the trees have leafed out in more shades of green than seems possible. Looking out the window makes us smile and - ok, to be honest - sneeze. There is a fair amount of pollen around, but the pretty lovely shades of green and plenty of tissue make up for the pollen.

The scents "K " chose are honeysuckle FO (fragrance oil) from +Natures Garden   (Link to Web site) and lavender and herbs from +Bramble Berry (Link to Web site). We had a few extra drops of lavender EO (essential oil) in the bottom of a bottle from Bramble Berry which we added - even a few drops can make a difference.  


BREAKING NEWS!

Right in the middle of our work, the dogs went crazy and alerted us to the sound of a delivery truck. Fedex was here with our +Bramble Berry order! We were squealing like, well like grown women who can't wait to see our supplies in person!


the anticipation builds....


New scents!! Energy, Neroli & Shea Blossom, Lemon Verbena, Cucumber Melon and even a free sample of Carnation that smelled incredible, on to the next layer.


oh, oh, oh goodness, we are so happy!!!


Oh boy! Just wait until Thursday to see what we will create with the new colors & scents.

Now back to your regularly scheduled blog post....


While "A" mumbled into her computer about pricing and the color of labels, "K" mixed up the lye/water and stuck it into another room to cool down.  We used the "old faithful" recipe which combines palm, olive, castor and coconut oils with the lye/water mixture.  One of the main reasons we use this recipe so frequently is because it's so easy to work with if you are doing a creative design in the soap. 

Once the oils were mixed with the lye/water it took about 5 minutes to get to light trace. At this point "K" added TD (titanium dioxide) to lighten up the soap color.  She divided the mixture into glass measuring cups - (2) were 2-1/2 cups full (for light and dark green), and 1 cup for the violet, and the balance of white was still in the mixing pot. 


She started with white and layered the colors with dark green, light green, then a little touch of violet/purple, continuing the layering process until the soap was gone and the mold was full.  


Here the darker green is being added on top of layers of light green, white and splashes of violet.


Layering these colors will leave a beautiful color contrast when cut.


Once all the soap was in the mold, "K" added a little stylish swirl to the top and sides.  We can't wait to cut this soap and hope to have pictures we can post for you tomorrow.


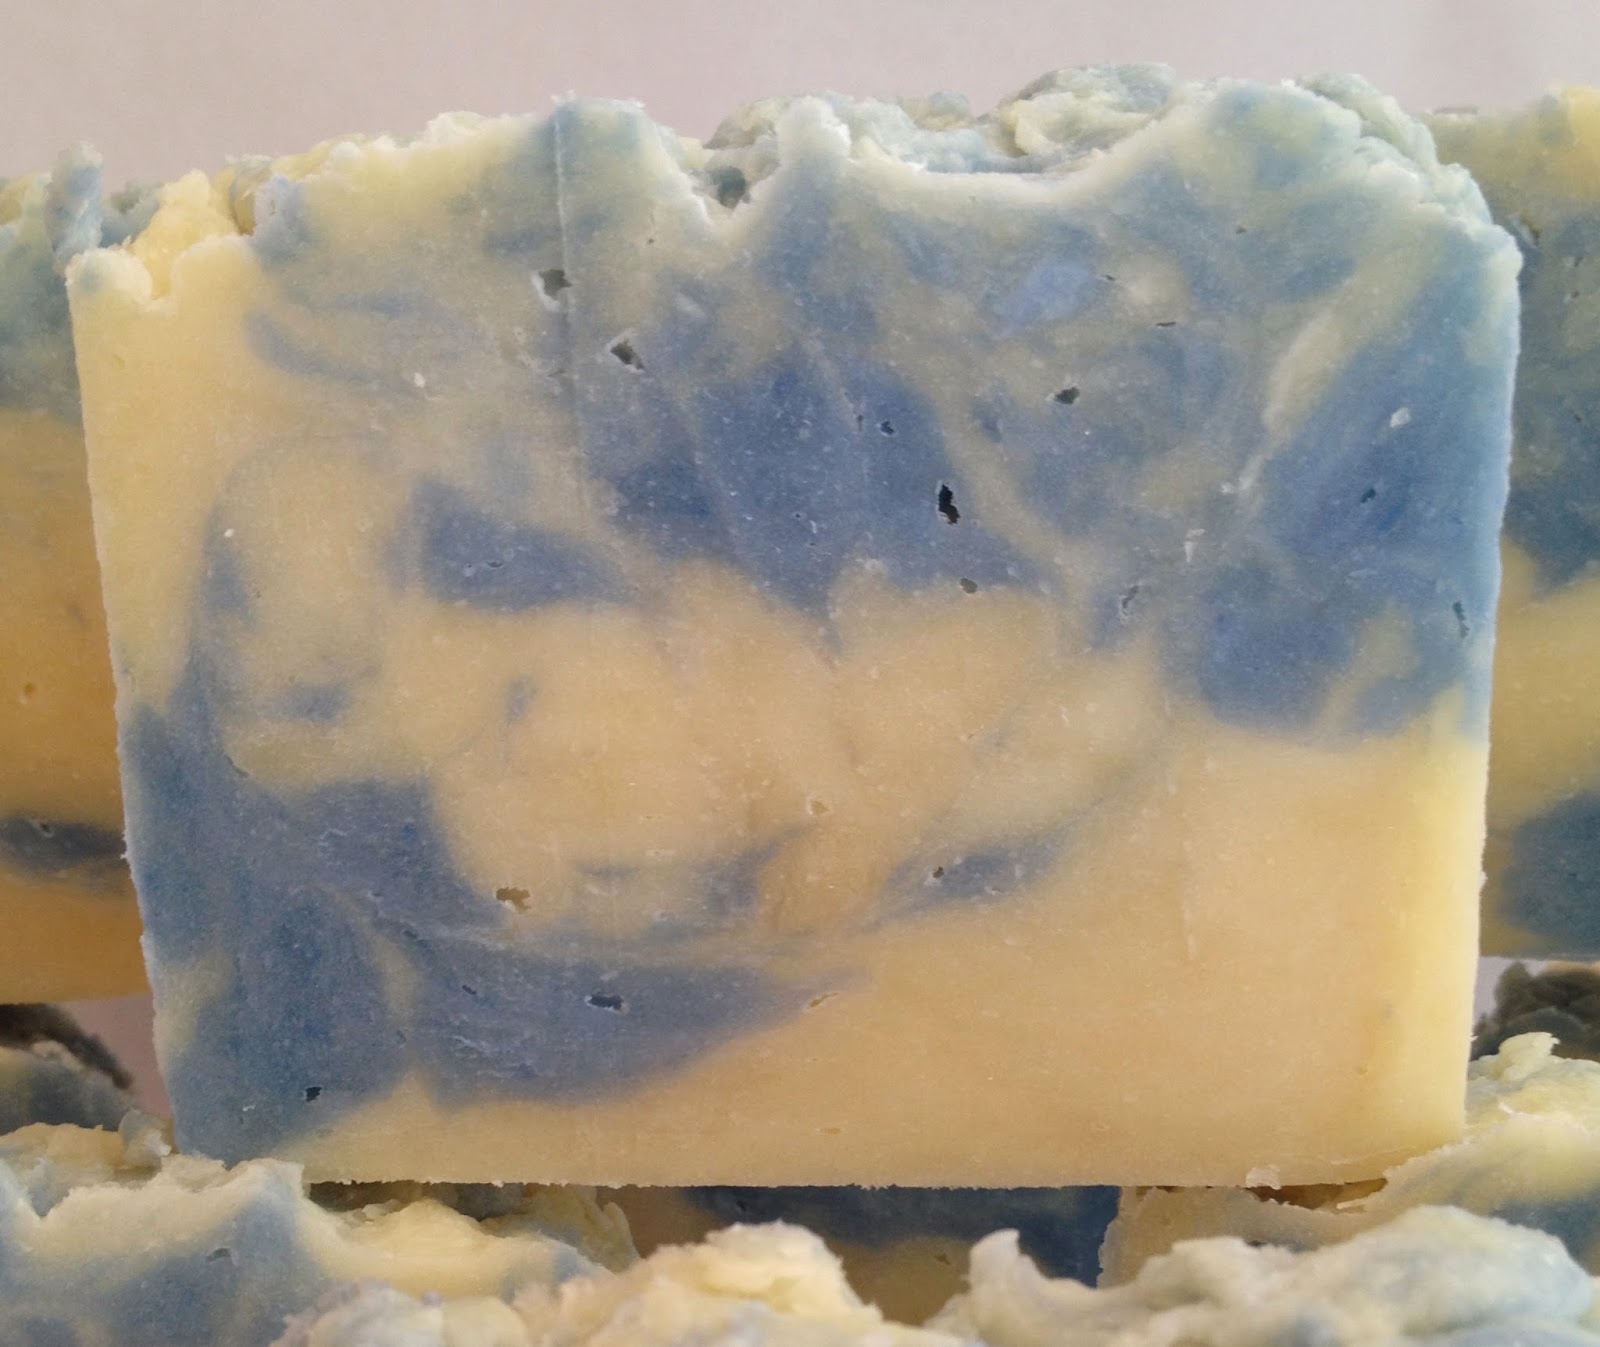
It is now 24 hours later, Thursday May 1st to be exact and we are ready to un-mold the soap. Compare the picture below with the one above this sentence, this shows you what 24 hours of "curing" does to the soap.


We remove the freezer paper and turn the soap on it's side, you can see the color variations on the side, we started the layering process with white, you can see on the bottom.


We begin to cut the soap and the lavender and honeysuckle fragrance blend fills the room!


The soap is still soft enough to cut easily, below is the group shot which shows you the variations in color you get with the spoon swirl technique.


And the last picture, the solo shot of the Lavender - Honeysuckle soap, it will be ready in 6 weeks,


Candles and soap, two projects at once, what a mess!


Tuesday, April 29, 2014

After our productive but non-soaping Monday, we were very motivated to create something on Tuesday. In hindsight we may have been a little over enthusiastic.

We kind of started both projects at the same time which isn't a great idea. We should have done either the soap or the candles, but no, we dove into the deep pool of melted wax and saponification at the same time.

We had a ton of old white candles that we re-melted. We cut off both the top and bottom of the candles then cut them into chunks and added them to the pot. 

Melting old candles took a while, and since time is of the essence (there never is enough of it) we decided to start a batch of Hot Process soap.  "K's" kitchen counter space is only so large, and we soon discovered that two projects at once took up way too much room, but by this time soap was soaping and wax was melting so we pressed on.

We will tell you about the candles first, but please try to remember the chaos whirling around us as we did both projects at once.....

We placed the candle wicks in containers and held them tight with pencils and tape (see below), and once we added the fragrance, Butterfly Meadows (which doesn't work well in cold process soap), we began to pour.

First calamity! The container we were pouring out of was too full and hot wax splattered all over the floor, and cabinets. Luckily our years of dancing and gymnastics (heh, heh) paid off and we both jumped out of the way so the HOT wax missed our bare feet.  Yesterday was "One Day Without Shoes", and in solidarity with TOMS Shoes ( +TOMS  )  we were barefoot.  K's daughter, "T", works for Tom's, and we felt like we were supporting her/them from across the country.

So both projects went on hold while "K" scraped the cooled wax off the floors and cabinets, and we cleaned flecks of wax off our legs and feet.  There were pictures, but worn floor and "K" on her knees wasn't something we felt you absolutely needed to see. Trust us, it wasn't pretty.

Once the wax mess was cleaned up we shuffled the wax into a smaller vehicle to pour into the jars.  "A" had made candles before and was teaching "K".  One of the lessons is that after the first pour the wax will settle and you have to do a second and sometimes 3rd pour to make the top of the candle level.   Wick flopping was an issue (who knew?),  so we used our trusty blue tape and wedged the wicks in so they were (mostly) centered.


We begin to pour the wax


Actually once the wax melted and we poured it enough times to get a level candle, the total time was probably an hour, but as we mentioned, we had a few other issues going on.


Here is what the poured candles looked like before blue tape was removed, and wicks were trimmed.


Now on to the soap making! Hot process is what we chose mainly because the cure time is so short, and we will have it to use for our upcoming shows.  The recipe we chose is one we had just used a few weeks ago, but this time we doubled the size of the batch.  We checked the ingredients on soap calc to make sure we had the right amounts.  We decided to use a scent that accelerates pretty fast when used in CP (cold process soapmaking). Ocean Mist is described as "a complex bouquet of carnations, lily of the valley and hyacinth; underlined by oakmoss and white musk"  (Remember how hard we told you it is to choose scents? This is why! so much information).  We still can't figure out why it's called Ocean Mist as it's so floral-y, but we decided to color it in ocean colors of blue and sand.  

We got out the trusty crock pot, turned it on low and added our oils (coconut, avocado, palm, olive, and sweet almond oils and shea butter).  At this point we had our wax spill, so the oils sat there heating up for a good 1/2 hour before we added the lye/water.  We think this batch cooked really fast due to the temperature of the oil and lye/water. We mixed in some TD (titanium dioxide) to keep the soap a light color, and it reached thick trace (like heavy pudding) within 5 - 10 minutes, so we put the lid on it to cook.  After 15 minutes we stirred the soap, and within 45 minutes we had soap.  

We did 3 separate PH test strips, then "A" was brave enough to do a "Zap test" which means you touch soap to your tongue.  If it tastes like soap it's done; if it zaps like touching your tongue to a 9V battery, it's not done.  It tasted like chicken, er, I mean soap.  No zapping.

We quickly added in the scent then poured half into a separate bowl and added 1982 blue mica colorant to give us our "ocean" blue color.   Once the blue was completely mixed we alternated colors while spoon plopping (our technical term) the batter into the mold.  We learned during the last HP session that you have to give the soap a hard "tamp" to get it packed together in the mold and make it cohesive so it won't fall apart when un-molded.


This is what the soap looked like once it was in the mold; we swirled it to mix the colors up a little.

At the end of the day, once all the mess was cleaned up, dishes done etc etc., we were pleased to notice as "A" washed soaping materials that our hot process indeed was soap.The bubbles and lather look great.


So we had a good day. We made candles AND soap. No small children or animals were injured in the process, "K's" floor got a free waxing, her kitchen smells great, and all is good in the world. Here is a picture of our efforts.


On Wednesday (04/30/2014) we pulled the soap from the mold to cut it. Once we pulled back the freezer paper, we realized that it wasn't hardened enough. You can see all the little air pockets on the sides of the soap.  We wrapped it back up and will try again tomorrow.


We aren't sure why there are holes, although the colors seem to be blended really well maybe we didn't tamp it down hard enough. 


This is the side of the soap once we pulled the freezer paper off. You can see some of the soap stuck to the paper. Did this cause the holes?  We don't know. The soap still felt somewhat soft to the touch; maybe another 24 hours will do the trick.

It's Thursday now and we couldn't wait any longer so we  un-molded the soap, there are still a few holes, but nothing like it was yesterday.


We got out the handy dandy home-made soap cutter and got to work, the soap, by the way, smells very nice.


Here is a group shot of the soap, you can see how each spoonful of raw soap deposited into the mold helped to create a different pattern on each bar of soap. 


And since a picture of a single bar of soap has become a tradition for each batch we make, here is the Ocean Mist fragrance hot process soap in all it's glory.


Necessary (non-soap making) work!


Monday, April 28, 2014

We worked hard on Monday, and our brains were screaming by the end of the day.  Why you ask?

Shopping!!  Neither of us are big shoppers.  In fact, we rather hate it.  But necessity called.

Our supplies, scent, colorants, basic ingredients and such are dwindling fast.  Since we've been soaping almost 6 months now, we are trying to be smarter in our buying habits.  This "smartness" involves searching, (and searching, and searching) for the best possible pricing and shipping we can find, which is why our brains were screaming.

Who knew math skills learned in elementary school would be so necessary!  How many ounces of coconut oil can you get for xyz, then add shipping cost, etc.  

We know we need basic oils, coconut, palm, olive, castor, avocado, sweet almond, sunflower and more, so there isn't much to think about other than just getting the most we can for the money.  The hardest decisions were choosing scents, there are hundreds of them, clean, sexy, exotic, manly, green, spicy, floral, citrusy, calming and on and on.  What do we choose???

The descriptions created for each scent are like bait: ohh this one is the perfect one, or that one is sure to please your customers. All descriptions are obviously written with selling the scent in mind. 

We finally picked several essential oils (EO) which were easy because they are just one scent like lavender, lime, lemon, etc. with nothing else added.  EO's are the back bone of our scent mixing.  They are made from either distilling or expressing the oils from the original source (lavender, lemon etc).  They smell quite strong, and not much is needed to achieve the scent we want in the soap.

The fragrance oils (FO) were harder to choose because they are blended scents with top notes, middle notes, and base notes.  All notes can have several different fragrances added to create an overall scent.  Many of the FO's are created in a laboratory, some are plant based, but all react differently in the soap making process.   Due to our recent "seizing" experience we now read ALL information (including reviews from other soap makers) about each and every scent we consider.  

So it takes us time, lots and lots of time, to choose what we are going to buy, and that is our excuse for not making any new soaps on Monday.  We figure it's a legitimate excuse because now we are eagerly anticipating the arrival of our many, many new scents and supplies.

We decided not to post pictures of our pile of papers, printers and computers; it wasn't a pretty sight. Take our word for it.

One picture we WILL show you, though, is our packaging.  We took some time away from price gathering and supply ordering to begin packaging and labeling the soaps that are cured.


Aren't they cute?!

We really must be as frugal as possible - the ingredients are too expensive for us to spend much on anything else.  So, our frugal creativity led us to an abundance of material in K's sewing room that we think looks quite lovely on the soaps.

Thursday, April 24, 2014

Earth Day Soap (even if it's a day late)


Wednesday, April 23, 2014

Ok, before you remind us, we know Earth day was Tuesday (yesterday).  And honestly,  in the long and short of things does it really matter that we're late?  We are all about Mother (Nature) Earth (think we just gave her a middle name), actually she is one of the reasons we are making soap, no chemicals, natural ingredients, home-made etc. 

So in honor of Mother Earth and her "day" we are making a block pour using "earthy" colors of green, greyish blue, and a coppery green, and white, here is what they  looked like after we had mixed the colorants and before we added them to the soap.


The mold we used was the 18 bar wooden mold from www.brambleberry.com
it comes with inserts that help to create even bars (see later picture).  So here goes, first we put a wooden block in the center of the mold, then we begin pouring one color at a time using the 1, 2, 3 Mississippi counting method so that the colors will (hopefully) have a uniform look.


The next few pictures will be progressive shots of the pour as we added colors; you can see how it visually changes the soap.


1 Mississippi,


2 Mississippi


3 Mississippi


Ok, no more Mississippi, you get the general idea.


As the mold filled up the pattern constantly changed, and the soap got thicker and thicker, especially the white, which we had to coax out of the measuring cup towards the end of the pouring.


Once all the soap was poured, we scraped all the remaining soap off the block, then removed it, very, very carefully so we wouldn't mess up the design.


This is what a finished column pour looks like.


We had reserved a little white soap, so using a squirt bottle (think ketchup bottle), we traced white around the edges of the designs. You will see why in the next few pictures.


"K's" favorite part of any soap is when she gets swirl the colors with a skewer.  "A" snatched the skewer from her.  We didn't want to actually "swirl" the colors, but we created a swirl effect using the white that we had piped on with the ketchup bottle. Rather than swirl, we started at the center and pulled the skewer out to the edge of the mold. This makes an amazing design in the soap and makes us feel very artistic.


Per usual, "K" kept finding spots to "swirl", but  "A" kept the skewer out of her reach and we declared the soap finished.


The Earth Day colors are so pretty; here is a close up.


We inserted the plastic dividers into the soap.


Earth Day soap ready to cure. Next picture in 24 hours once it's cured.


We are so happy!  The colors are still great, and the soap smells so good! The last picture is a close up of one of the bars; you can see how the colors layered through the soap.


In honor of Mother Nature....we present Earth Day Soap!

Orange Sherbert


Tuesday arrived and we had to decide what to do next,  "A" was in the mood for bright happy soap so we decided to do a funnel pour using orange valencia EO  (essential oil) with a kicker of peppermint EO, we pre sniffed this combination and it smelled great.  

We mixed up some happy, cheerful colors basically using just tangerine orange and Titanium Dioxide (white), we diluted pure tangerine orange and got a beautiful pale apricot color, so now we have the 3 colors we need, white, bright orange and pale apricot, now we make soap.


We decided on Old Faithful again, I know we're kind of in a rut, right now we are trying to build up our stock of soaps so we have plenty for upcoming shows.  We mixed up the olive, palm, coconut and castor oils then once the temperatures were in sync (about 90 - 100 degrees) added the lye/water mixture and within 5 minutes the soap mixture was emulsified enough to add the colors and scents.  
The soap begins to thicken pretty fast once color and scent go in, so we worked fast.  Using the loaf mold we rigged up a used yogurt cup with a hole in the bottom so the funnel could drop through the hole and place the soap mixture in the right spot.  This will create concentric circles of color in the mold/finished soap.


Using the tried and true, 1 Mississippi, 2 Mississippi, 3 Mississippi count "A" poured the alternating colors into the funnel while "K" held the yogurt cup and funnel in place.  


Once the mold was full of soap we waited a few minutes then "decorated" the top with the left over soap just for a little variety.  As you can see the colors are indeed beautiful, the soft apricot mixed with the true orange and white made quite a pretty soap.


We wrapped up the finished soap and let it cure (harden) for 24 hours.  When we un-wrapped the soap it looked like this.


We started the cutting process using our new handy dandy "home made" soap cutter.


Which you can see, worked like a charm.  The finished product, which we have named Orange sherbet, it's so lovely, honestly looks good enough to eat and smells very orangey with just a hint of mint, it's perfect.


Honestly, this soap is so pretty, had to post a couple more close up pictures, just wish you could smell it!


One last thought, since we did the funnel pour (concentric circles of soap layers) every bar we cut has a different pattern, which, we think, makes the soap more interesting (and beautiful).