
#landscapedesignchallenge #notbadforafirsttry #coldprocesssoap
Tuesday, March 10, 2015
Okay. So, we just cannot give in and give up on a challenge. Neither of us were really convinced that we wanted to participate in this particular soap design challenge once we found out what it would be, and we had actually decided to just pass. This design really takes a lot of time, and we had reasoned that it would be more cost effective for us to spend our time doing more productive things.
We just couldn't let it go, though. To give up? To just give in? NO WAY! That is just not what these Georgia girls do!
Speaking of Georgia, what better inspiration for a landscape design? We live in such a beautiful area of NE Ga. that everywhere we look we see inspiration. We were particularly inspired by the scenes that we see everyday near the Soap Lily kitchen:

One element of our design is a creek with steep banks, you can see where this idea came from!

Another idea was to have the trees hanging out over the water, this shows you our inspiration.
Is our design an exact duplication of these scenes? HECK, NO! But they are the inspiration, so we hope you will at least see elements of it in our soap.
And now on with the design...
STEP 1
Create the embeds...
We wanted to actually create a couple of trees for our landscape. These - to fit my idea - would need to be embedded in the soap. So I needed colors to reflect a tree trunk, and the leaves on the tree.

For the leaves, we used spinach powder from +Natures Garden and Enchanted Forest Mica from +Rustic Escentuals. Tree trunks are not a solid color, regardless of how I remember coloring them in my coloring books. So we used Aborigine Amber and Black Mica also from +Rustic Escentuals.

The above photo shows how the colorants looked when mixed in a small amount of safflower oil.

Because the creeks and rivers are part of our landscape inspiration, the "Cool Water Type" fragrance oil from Fragrance Buddy. They describe it as "a duplication of Cool Water type for men.
Musky ozone, citrus, with light florals."
Once we had the soap batter at trace and had evenly mixed in the FO,
we divided the batter in half, then divided both in half again.

We wanted a blend of greens rather than one solid color, so we colored 1/4 with the spinach powder (left) and 1/4 with the Enchanted Forest Mica (right). The spinach powder just was not green enough.

So, we dumped a bit more directly into the mixture and used the stick blender to get all of the lumps out of the batter. This was a much better green. It was interesting to find that the spinach powder actually did not smell so great. We really did not like the smell at all, to be honest, but the worry was not long lasting. The FO quickly dominated and all we smelled was the pleasant "cool water."

We gently swirled the spinach into the Enchanted Forest before pouring into 1/2 of the mold.

For tree trunks, we used the last 1/2 of the batter - divided again in 1/2. (Aborigine Amber on the left and Black Mica on the right.) We gently swirled these two colors together and then poured the mixture into the other 1/2 of the mold.

Tree trunk colors on the left, leaves on the right.
We placed the mold in the curing box for 24 hours.
****************************************************
Wednesday, March 11, 2015
STEP 2
Today we planned to carve out the trees and the leaves.

We removed the soap from the mold and cut the brown 1/2 into 2 parts (1 for each tree). Unfortunately, as we began to carve, we realized that the soap was still too soft. It was squishing in our fingers as we tried to hold onto it. So, we put it on wire shelves in the curing room so air could circulate around it for another day.
*****************************************************************
Thursday, March 12, 2015
STILL STEP 2

Ready to carve!

I (Alison) felt like my son when he was a Cub Scout. They carved little animals out of soap blocks once, and here I was trying to carve trees. The trees would need to run the entire length of the mold, hence the very long shape.
Does it look even a little bit like a tree trunk with 2 branches?

I gave the second tree a bit more of a curve. I was trying to achieve a tree that might look like it was leaning over the water. At this point, fingers were crossed because I wouldn't really know if I was successful for a couple of more days.
We set aside the leftover bits to use as part of the design as well.

Now for the leaves.... A vegetable peeler came in very handy for this step.

The plan here was to use the curly-ques and place them along the tops of the trees as we poured the liquid portion of the soap batter. We also planned to use the green bits to create grass.
We had to work on some non-landscape design things on Friday, so these pieces went into baskets and back into our curing room until the following Monday when we planned to complete our design.
**********************************************
Monday, March 16, 2015
STEP #3
*complete hillsides with grass on top for both sides of the mold
*create a creek between the hills with river rocks in the bottom
*place the trees on each side of the creek
*add the sky, implanting the leaves for the trees as we add the sky
*add clouds above the trees
Ready? Here we go!

We separated the various components for the landscape.

Here are the colors we used for the whole design. You've already seen the greens and brown/black.
For the water and the sky, we used blues and whites.

We used up our supply of FO from Fragrance Buddy making the embeds, so for the rest of the batch we used the same FO but this time from +Natures Garden. They describe the fragrance as follows:
"Compare Natures Garden's Cool Water Type fragrance oil to the famous cologne for men. Cool Water is classified as a refreshing, spicy, lavender, ambery fragrance. This masculine scent possesses a blend of lavender, jasmine, oakmoss, musk and sandalwood."

We used Aborigine Amber Mica again to create the "dirt" for the banks of the creek.

We added in chopped up bits of the leftover tree to create texture and give the feel of rocks (and maybe a few hidden treasures like arrowheads) to the creek banks.

We propped the mold up at an angle (in the bottom right corner of the photo you might see a hint of the dishtowel we put under it to prop it up) and plopped in the creek bank.

Then we used the chopped up leftover bits from the trees' leaves to create grass and creek bank foliage.

Once we had one creek bank completed,

we added a bank to the other side of the creek.
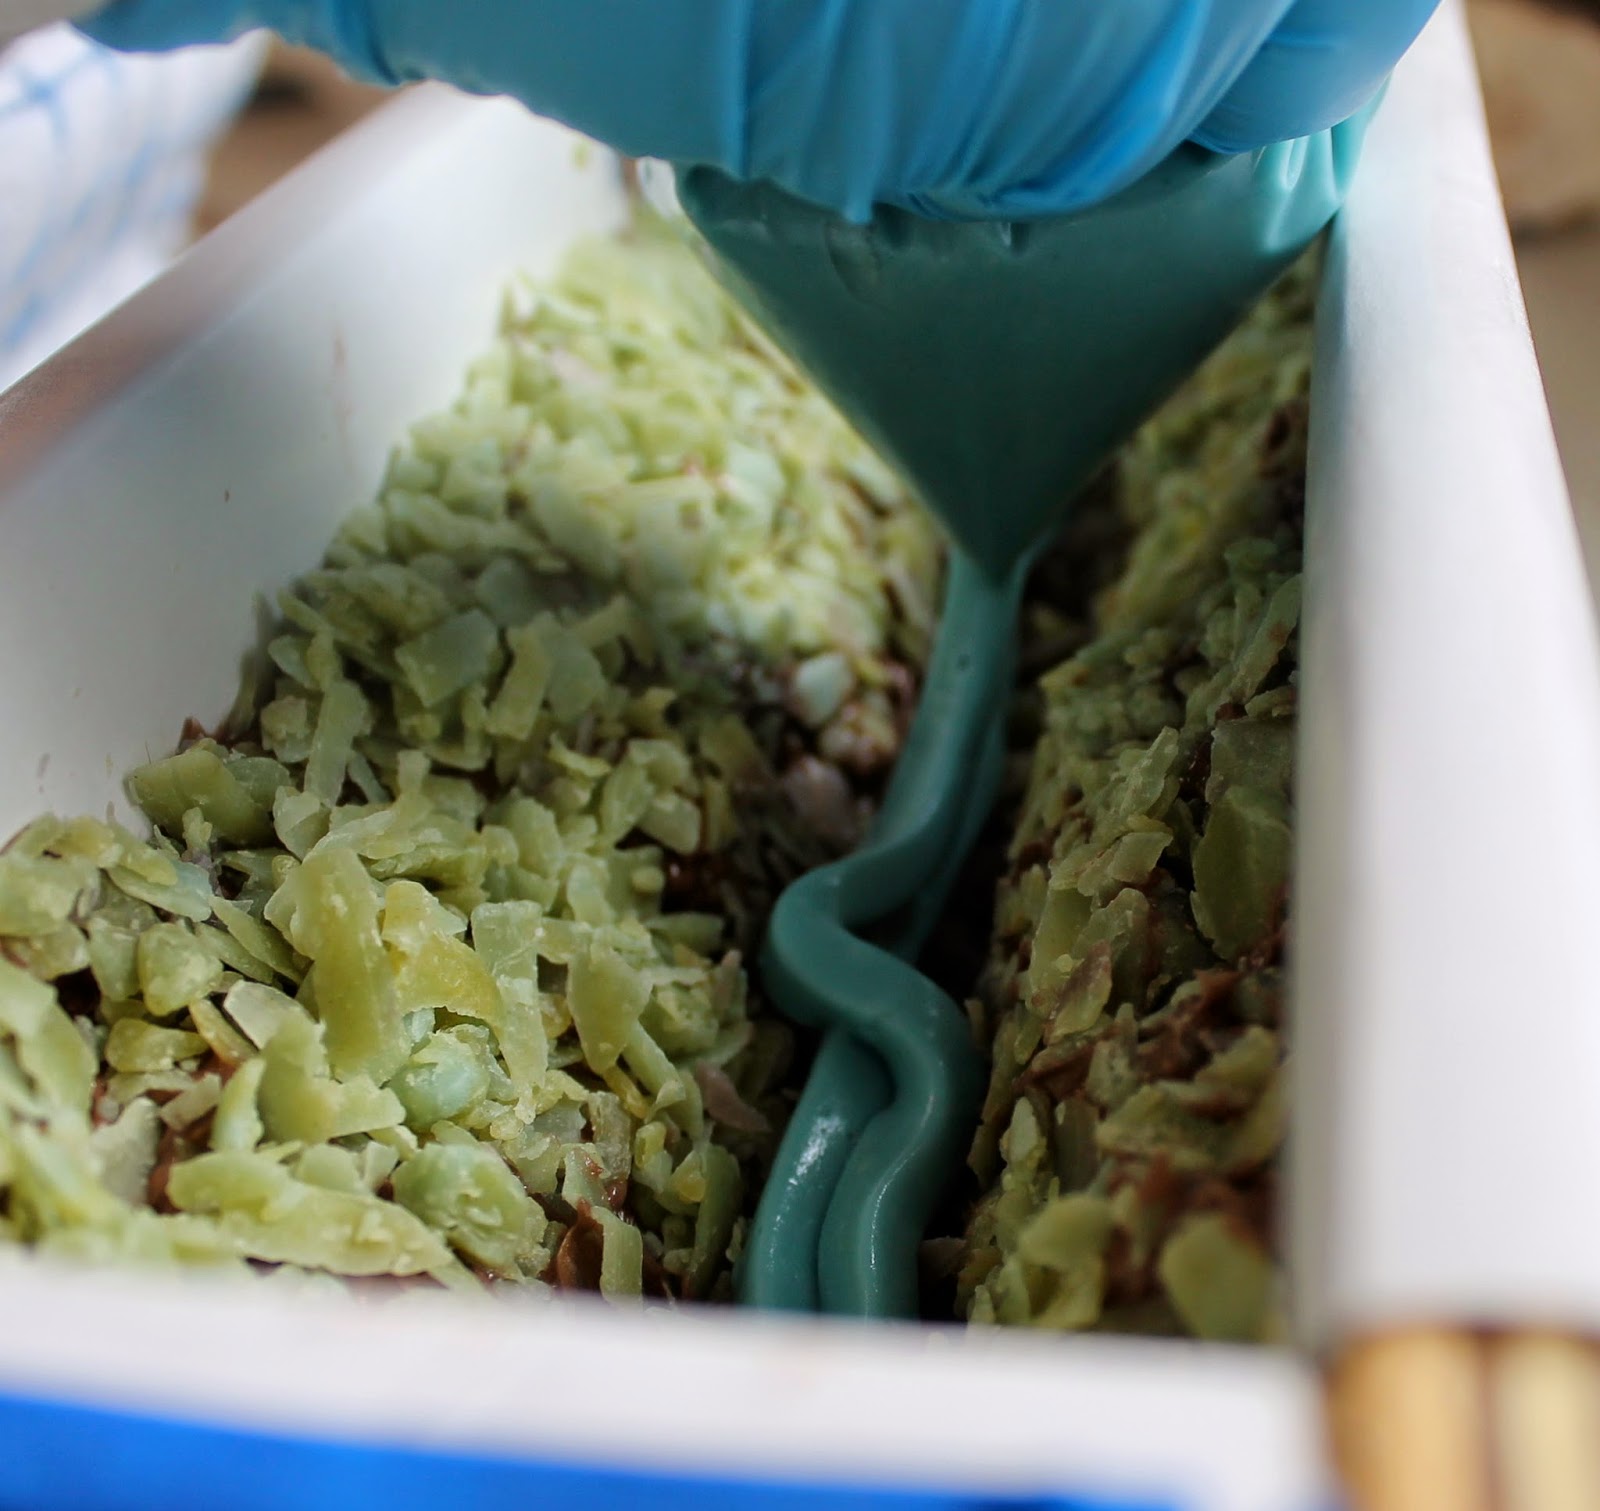
After placing a thin layer of "river rocks" on the bottom, we then used a sandwich bag with a corner cut out to pipe the water into the bottom of the mold between the banks of the creek. By this point, the remaining batter was getting stiff, but we could still work with it. We added the color blend that we created for the creek water, and it made the batter more workable.

As Alison piped, Kathy used a skewer to spread the water.

Next we inserted the tree trunks. In our minds, we could picture the trees leaning gently over the water with their branches and leaves creating a protective canopy of shade.
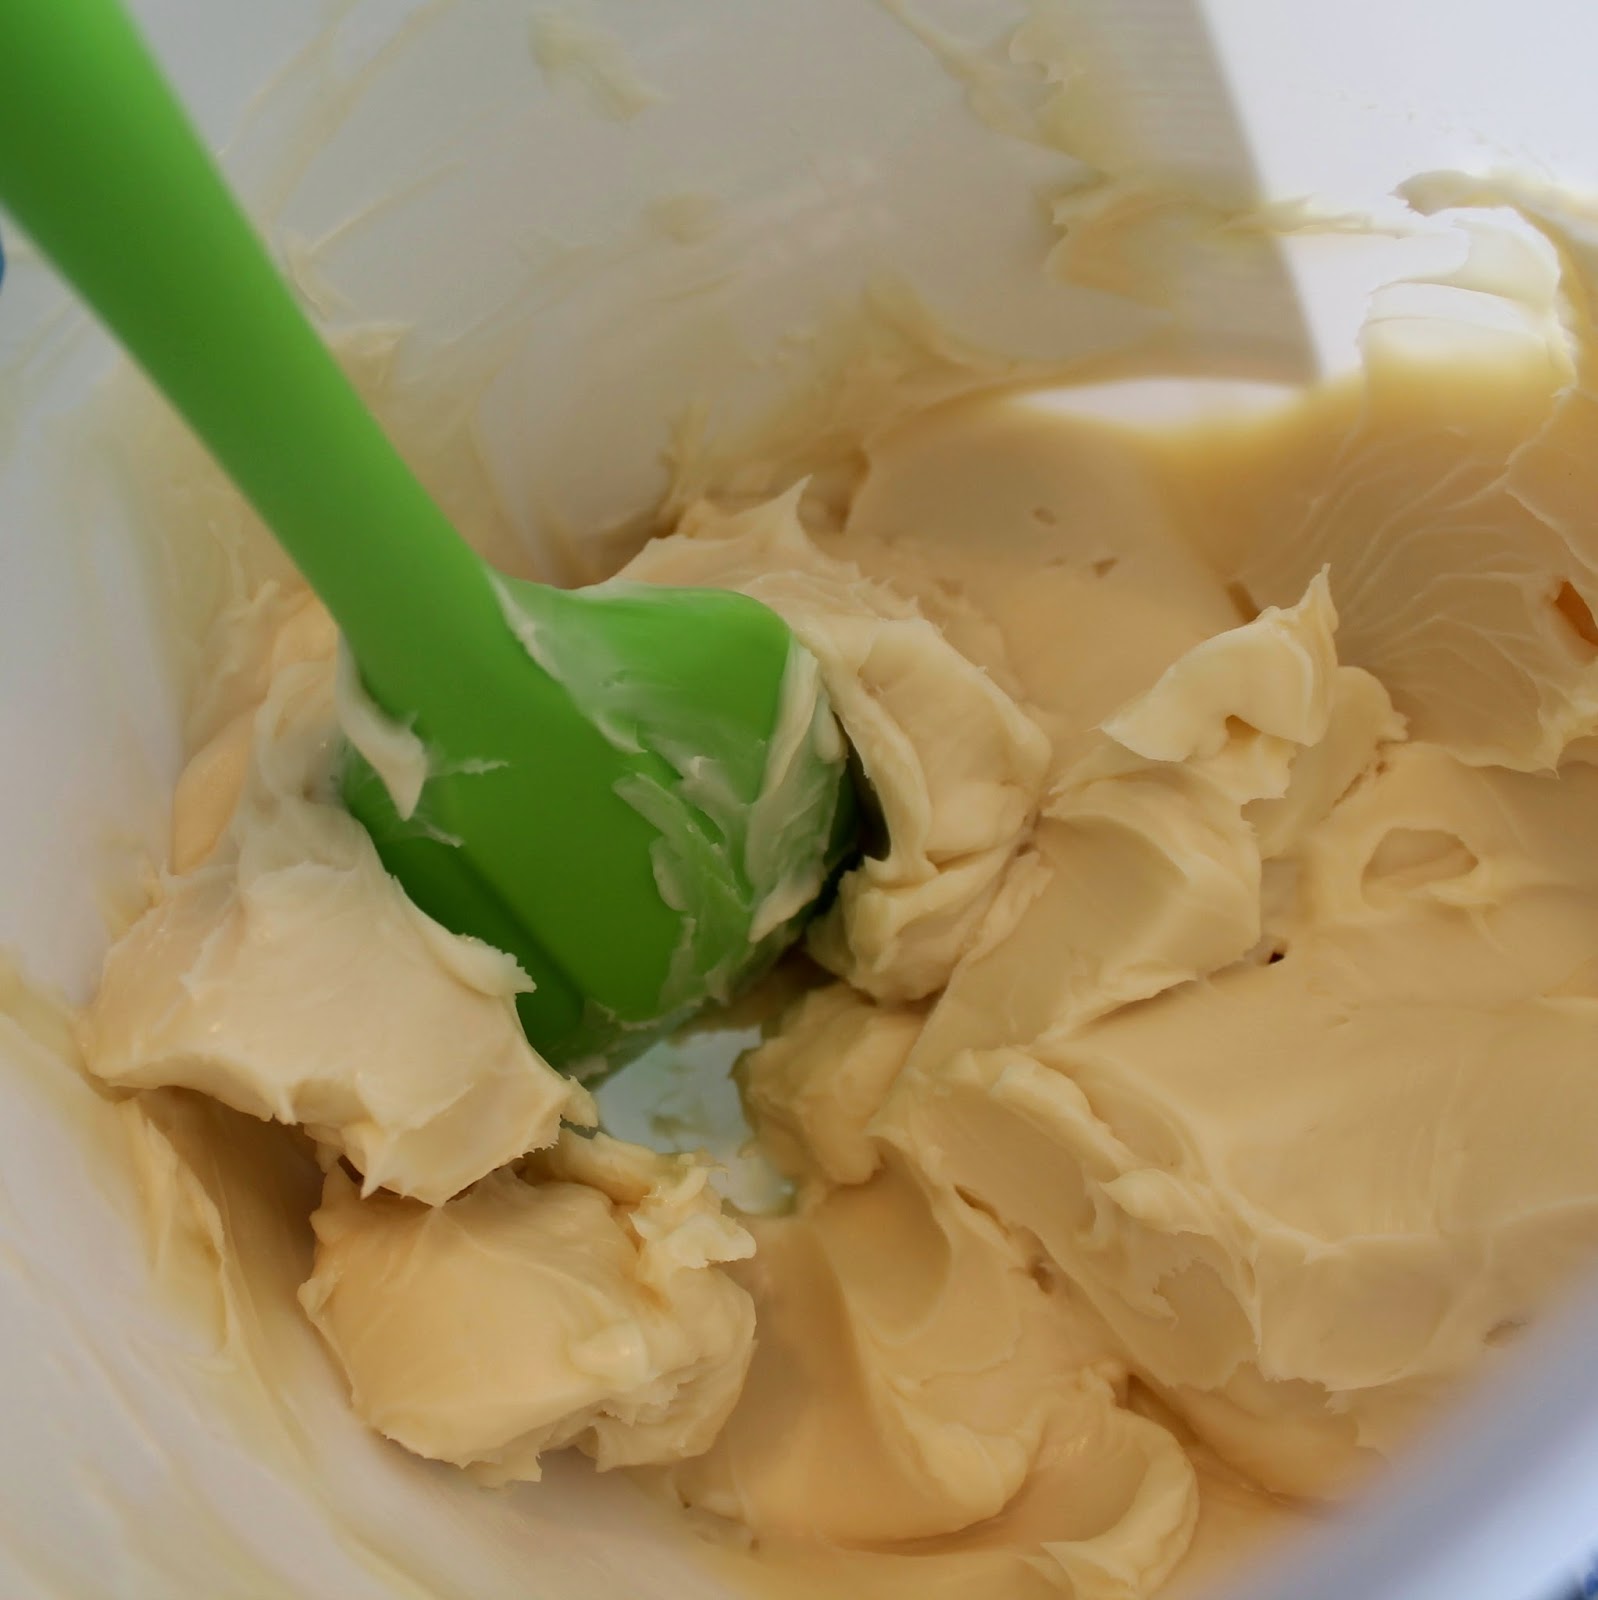
We reached for the remaining batter to mix up the sky color and ...
uh oh...
It had gotten VERY VERY stiff. So, we added some water to thin it out. Still too stiff, so we added more water...How did that work? Well, we show you that result in a different blog entry, so look for "Terrazzo for Men & Watery Blue" to see what happened.

We quickly mixed up a small batch of soap batter with a slightly higher water content. We needed it to be fluid enough to pour easily and go between all of the embeds to hold our design together.

We started pouring the sky,

then began placing the embeds for the leaves of the trees. We poured a bit, then placed a bit until we had about three layers of sky and leaves.

We mounded up the tops of the trees,

Then covered them up with the last of the sky.

Finally, we spooned some "clouds" on top. We colored this portion of the batter with titanium dioxide to achieve a really white cloud.
Retrospectively, we should have put more blue batter on top of the clouds, but we didn't - woulda, shoulda, coulda!

And here is the finished soap ready for the curing room. We both breathed a huge sigh of relief that we had actually finished this design!

By the time the day was over we had created 3 - yes not just one - loaves of soap. We show the left and center batches in the "Terrazzo for Men and Watery Blue" blog entry. This blog entry is long enough just describing the landscape design.
*********************************************************
Tuesday, March 17, 2015
Time to take it out of the mold and see if it worked.
I (Alison) was so nervous that I had to leave the room when Kathy peeled off the freezer paper. I didn't think about the fact that I wouldn't be taking pictures of the unveiling... sorry!
It doesn't look exactly like we had it pictured in our imaginations, but for a first attempt at an artistic design of this type, we can't beat ourselves up too badly.
But, without further ado, we present our creek bank landscape:


Whew! They actually are pretty cute, and they smell so masculine and clean and wonderful!
These bars will be cured and ready to use on April 27.
Fabulous! So much hard work, but so worth it! And a great save to boot! I love your landscape soap, and the Watery Blue is simply lovely! My hubby really likes your Terrazzo soap. I bet they all smell soooo good!!! Hugs to you both!
ReplyDeleteThank you, Janelle! We have been trying to reply for a week now, but something went wonky in our blog coding and it took us a while to fix it. (So thankful for helpful people on the Web!). We are also thankful to you for your kind words. Glad to know that your hubby liked the Terrazzo soap as much as we do - it really does smell great. Thanks again for your comments; they really made our day. :-)
DeleteThis is really pretty :-)
ReplyDeleteThank you, Frances! Sorry it took us so long to reply. We had some blogger technical difficulties, but we didn't want you to think we were ignoring your kindness. Again, thank you!
DeleteWhat a process!! It has all the elements you were looking for, with great textures and colors. Well done!! (I'm so glad you didn't sit this one out!)
ReplyDeleteThank you, Amy! And thank you again for challenging us in ways that we might otherwise not challenge ourselves. We were glad for the opportunity to try something new, and we had a good time doing it. Sorry it took us so long to reply. We promise that we weren't ignoring your kind words. Thanks again!
DeleteWow, you did a lot of planning and preparing! Good save too. Nice work.
ReplyDeleteThank you, Cris! It's always nice when we can make a save like that, isn't it? Some technical difficulties prevented us from replying to you sooner, but we really do appreciate your thoughtful words and the time you took to type them. Thanks again!
Delete