
Wednesday, October 8, 2014
Today it was MY turn to be a little creative while Kathy was away having not so much fun. While she was sitting in the dentist's chair with her mouth growing more and more numb, I was happily unpacking candle making supplies to make a special gift.

I am going to use Mason jars for my candles today, so I got the wicks ready and placed them in the jars. A tiny dab of hot glue on the bottom of the wicks really helps to keep them in place. I had tried using a dab of hot wax before. Now, the dab of hot wax did the trick - at first. But, once I began to pour the wax into the candle holder though, it melted the dab of wax, and the wick floated up and out of position. Not cool. Hot glue is the much better choice.
Tape helps to hold the wick in place so it will be centered in the candle.

The wax I'm using today is a soy wax designed for container candles. It comes in flakes that we measure by weight before melting them to create our candles. This particular packaging was not the strongest we have received. As soon as we took it out of the delivery box back in the spring, one side of the bag split open and wax flakes began to pour out onto the floor. We grabbed the packing tape and sealed the seam closed on the bag. Today, when I took the bag out of our storage box, the OTHER side of the bag had split open and wax flakes began pouring out everywhere. The wax now has a new home in one of our boiling bags that we use for rebatching soap.

My gift recipient LOVES maple. So I wanted to make her some beautiful candles for fall with a scent that she will enjoy. Today's fragrance oil is called "Hot Maple Toddy," and it comes from Fragrance Buddy.

Because I had two ounces of fragrance oil, I measured out two pounds (32 oz) of wax flakes. A common ratio is an ounce of fragrance oil per pound of wax. Then I put my pouring pitcher into a pot of boiling water (double boiler) and waited while the wax melted.

I wanted the color of the candles to look like a hot maple toddy, so I combined a small piece of yellow and a small piece of pink colorant to melt into the wax. I was so excited that the color came out exactly as I wanted!
Notice the black specks in the bottom of the pour pitcher (in the photo above)? For some reason those came off of the colorant block and would NOT dissolve. I cannot begin to explain why. I was just very careful to pour slowly and make sure that none of the specks went into my candles.
Once the colorants had melted, I let the melted wax sit and cool down for a while. I checked the flash point on the fragrance oil, and I was fine as far as it was concerned, but I have found that I get a better pour if I wait until the wax has cooled down significantly. I was shooting for around 120 F.
I then mixed in the two bottles (1 oz each) of hot maple toddy. Much to my disappointment, the smell simply was not strong enough. Straight out of the bottle, it was perfect. Once I mixed it into the wax, it just was not strong enough. What to do?

Kathy and I had another 1 oz bottle of another wonderful fall fragrance, so I added
Amish Harvest to the mixture. The candles now have a warm cinnamon layer
added to the creamy maple. It is quite a delicious fragrance.
The Amish Harvest is not a clear colored fragrance oil - it actually looks a bit green, so when I added it to the candle wax, it changed the color I had created. It wasn't exactly what I was going for, but that doesn't mean it isn't pretty.

Beginning the pour

Pouring the second jar

Filling the jars
When both jars were full of wax, I left them to cool and harden.

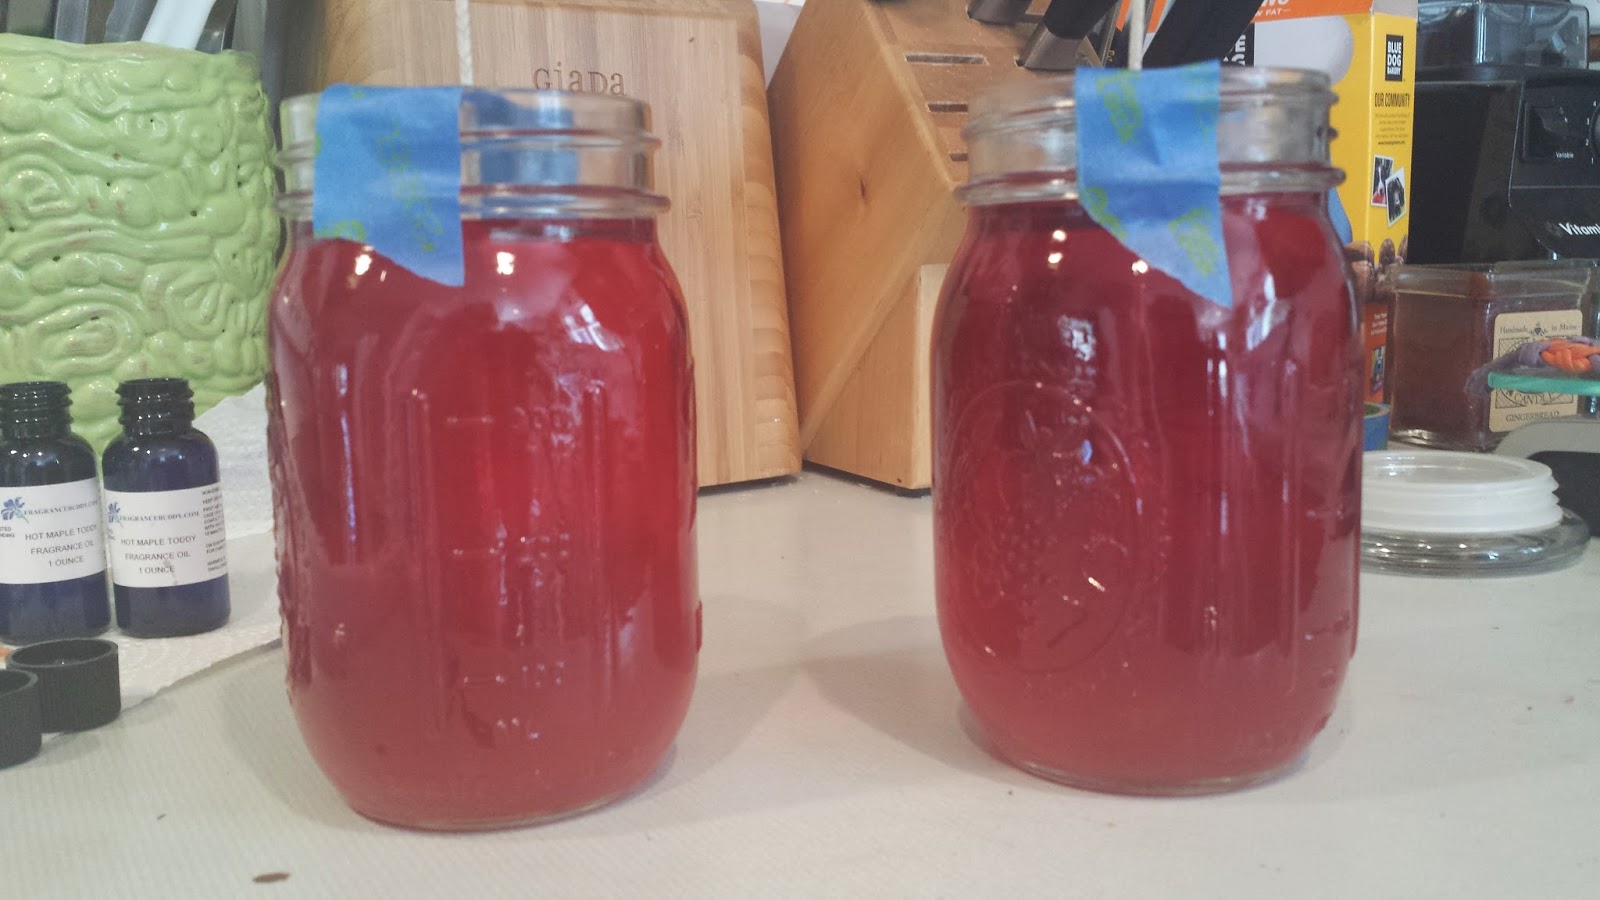
This picture shows the color beginning to change as the wax cools and hardens.

And above you can see them as they get even cooler.
At this point it was time for school to be out. I would just have to wait until Thursday to see the final color.
Thursday, October 9, 2014
The candles had cooled completely, and they look and smell amazing! Sometimes as candles cool, they will settle in the middle and you will have to do a second pour. One of these candles did settle.

See the one on the left? There is a small hole to one side of the wick that I needed to fill. I reheated the leftover wax and filled in the hole.

I really think my gift recipient will enjoy this birthday present!
(The three in the front are still cooling, so the colors are a bit darker.)
No comments:
Post a Comment