
Wednesday June 18, 2014
We're sure we aren't the only bloggers having the same problem....not enough time in the day to get routine duties done, visit with company, interact with our families, have some fun (after all it IS summer), make soap then blog about it. So, in advance we apologize for any tardy postings during the next couple of months.
Having said that, we want to show you the last two soaps we made for the Soap Challenge Club using the hanger swirl technique.
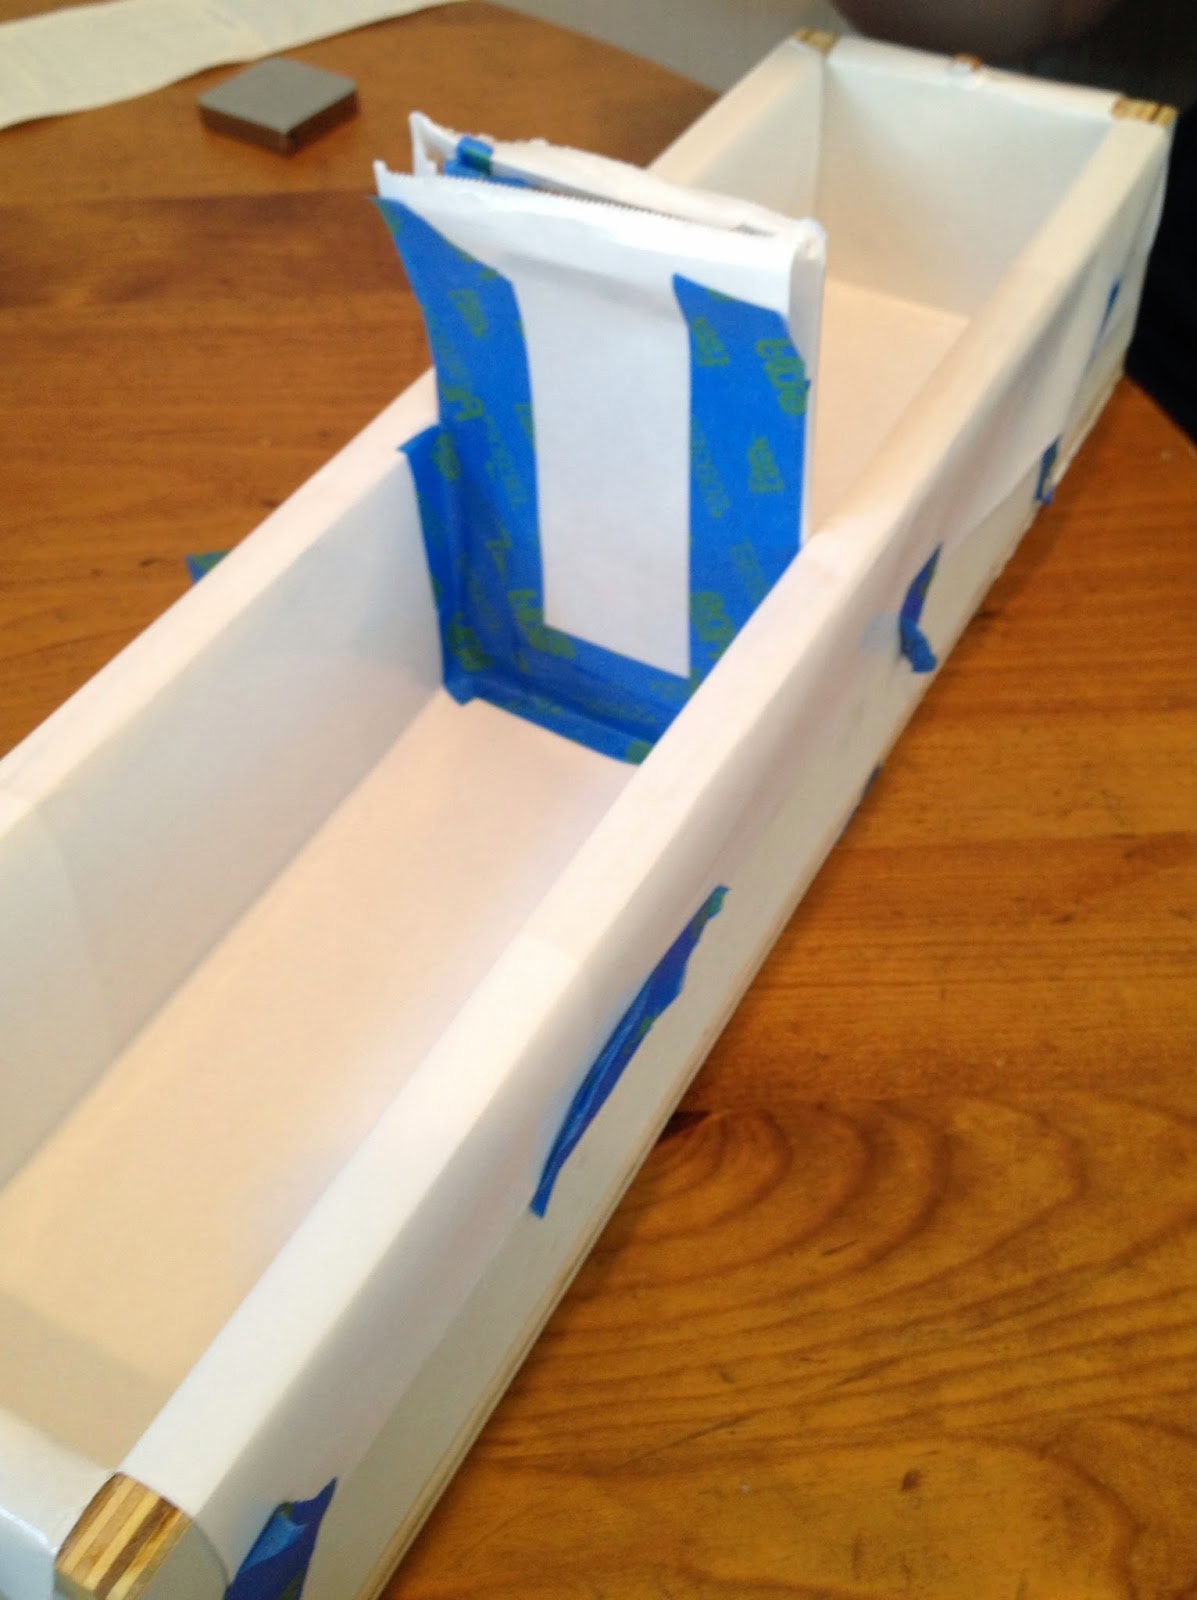
We decided to make a batch and use the divided mold so we would have two different designs. After the slipping divider episode on Tuesday, we used thicker cardboard (covered in freezer paper), and taped it on all sides. We were thankful that this did the trick - no slipping dividers this time.
Somewhere out in the soaping Internet universe (cannot remember where or I would give credit), I saw a soap designed using sprinkled mica colorant in the layers; it was a pretty soap, and it stuck in my mind. I suggested to Alison that we give it a try, and she was enthusiastically on board.


We added titanium dioxide to the batch before we divided it to help keep the batter light.
We both started with white for the bottom layer then we started sprinkling the mica in layers. The work area was slightly compact so we took turns adding the color.

I am on the left, and have already added the 1982 blue mica, Alison is sifting the antique blue on her bottom layer.

I am covering up my first mica layer and getting ready for the second which was the copper sparkle.

I have partially covered my copper sparkle layer and Alison is putting in the amethyst purple.

Here I am adding the aqua pearl, and Alison is covering up the amethyst purple with another layer of white batter. As you can see the batter is getting a little thicker, still very workable though.

My aqua pearl layer is covered with batter and now Alison is sprinkling the patina sheen.
You get the idea, we added two sets of color layers and ended with white on the top.

My last color layer was yellow, here I am covering it with the last layer of white batter.

Here Alison is putting the last layer of color on, and next we begin the hanger swirling.

It's hard to see, but we are both swirling at the same time.


Alison sprinkling the top with her color assortment.


It's hard to see, but we are both swirling at the same time.
This is a side view of Alison using our homemade hanger swirl tool. We covered the actual hanger with 5/16 plastic drain line, and it works fine.
We both sprinkled the color assortment on the top of our soaps, here is my mixture.
And here is my swirl pattern for the top.
And here is her swirled top.
We put the soap in the curing box and covered it until tomorrow, we can't wait to see what the finished soaps look like.
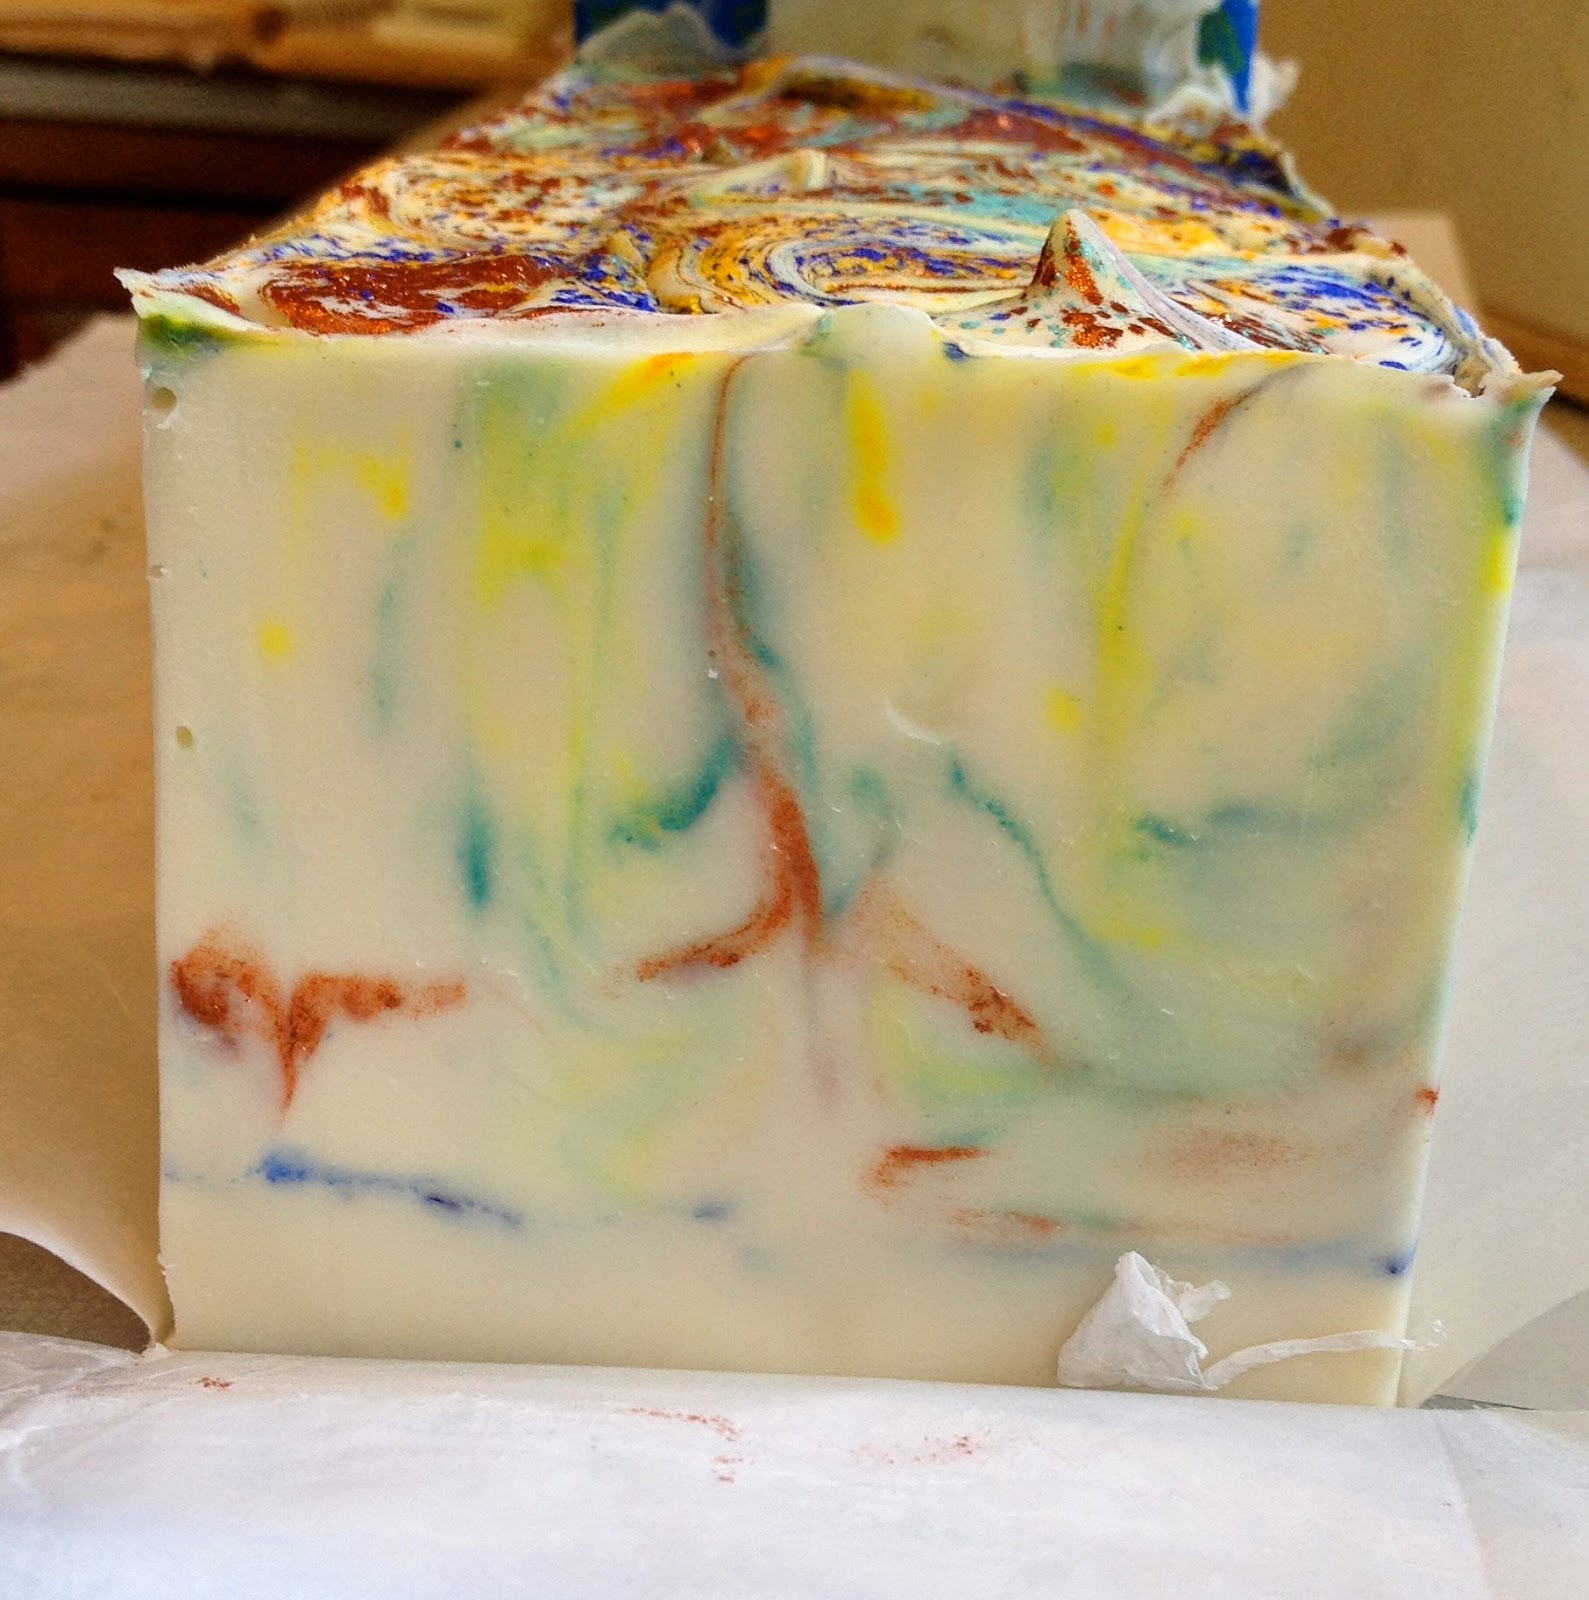
One of my first cuts, we are happy, the design is vivid and very appealing.
Alison's soap was very pretty, the colors were all dark, but here and there the green, purple or blue sparkled through.
An assortment of my soaps, they are all different. The mica on the top looks terrific.
Kathy's soap
Here is a combo of Alison's soap.
Alison's soap.
We didn't choose this soap for the soap challenge, mainly because we felt there wasn't enough color, especially from a distance. Nonetheless, we really love this technique and no doubt will try it again.
This soap will be cured in six weeks.
No comments:
Post a Comment