Pages

Thursday, June 18, 2015

Ebru Inspired Daisies Soap


#greatcakessoapworkssoapchallenge #ebrupapermarblingonsoap #coldprocesssoap #daisies

We have once again thrown our hat into the challenge ring with the wonderful group of people who participate in Amy Warden's Great Cakes Soapworks Soap Challenge.  For June the challenge was to create a batch of soap with a design inspired by the ancient Ebru art of paper marbling.

We had so much fun finding videos and examples of Ebru paper marbling, that now we really want to try it with paper, too!

The inspiration for this soap came from a variety of places; 1) The many artists we watched work with water, paint, and paper; 2) A favorite fragrance oil; and 3) a picture that we felt really matched perfectly with our FO.

When we saw the technique used to create a flower within an Ebru design, we were blown away:


We were still hooked on our beach daisies idea because if we can't be soaping we'd both rather be at the beach.  The picture below gives you an idea of the inspiration for our design:

Unfortunately, we did not get to use our beloved FO (or do this while we were sitting on the beach!), but you can see our process and the result in the video below.  The beach will have to wait until later.


If you would just like to peruse the final shots of our soap, see below:


Wednesday, June 17, 2015

Soothing Aloe


#hotprocesssoap #aloeleafsoap #aloeandgreencloversoap #handmadesoap


Thursday, May 28, 2015
(Alison writing today)

Not too long ago we did a little testing on some aloe fragrances using aloe vera leaf powder.  (See our blog entry Hello Aloe.)  At that time we used the cold process method, but on this day we needed to switch gears and go with hot process.  One of our customers saw our sample of Aloe and Green Clover and wanted several bars, but prefers the rustic look of the HP method.  Cool with me!  The HP method absolutely suits my impatient side - it's ready to use in one week rather than six.

The first time I made this soap, I used cocoa butter, but today I switched to shea butter.  In addition to shea, the soap has rice bran, castor, olive, coconut, and palm oils.  I have already been using the CP myself, and I LOVE it.

For a little added skin happiness, we added powdered aloe vera leaf to this soap.  We added it to the distilled water before adding the lye.  To mix properly, we had to warm up the water first, then mix in the aloe vera leaf.  Once it was properly mixed, we had to then let the water cool (again, due to my impatient side, I just stuck it into the freezer for a short time) so it would be safe to add the lye.

Above, you can see how the water looked with the aloe leaf powder mixed in.  I know - looks a little less than appealing (it smelled less than appealing at this point, too).  But, trust us.  This soap ends up smelling fresh and clean, and it feels wonderful on the skin.

This soap also contains silk.


An additional luxury to pamper the skin.  We cut the silk into small pieces and added it to the aloe/water before we added the lye.

The butter and oils were melted and warm,

and the lye/aloe/silk/water was ready to go,

so we combined them and mixed well.

We stick blended until the batter had reached a thick trace.  Then we put the lid on the crock pot and set the timer to let it cook on high for 30 minutes.

Normally we don't stir until 30 minutes is up, but after only 10 minutes, the mixture had begun to bubble up on one side.  I went ahead and stirred to be sure it would cook evenly.

After just another 10 minutes, it had bubbled up this much!  Different ingredients react differently during saponification, so we have learned to keep an eye on the crock pot.  After this point, the batter calmed down and continued to cook exactly as we expected.

While the soap cooked, we measured the needed amount of fragrance oil.  Green Clover and Aloe is from +Natures Garden who says that the fragrance "is a terrific unisex scent. Green Clover & Aloe is a fresh, green fragrance that reminds us of wild summer herbs growing in a field. This fragrance is much more complex than it's name sounds. A floral fruity combination of fresh citrus and jasmine petals on a woodsy, sweet musk background."

Above you can see the colors that we used for this soap.  Because the aloe vera leaf powder darkens the soap, we added titanium dioxide and icicle mica with a bit of safflower oil to the entire batch of soap.  The TD is from +Bramble Berry and the Icicle Mica is from +Rustic Escentuals.  We wanted a bit of green to hint at the green clover, so we colored a small bit of the batter with safflower oil and  Pistachio Mica from +Rustic Escentuals.

This is how the soap looked when it was done.  

After adding the FO, the TD, and then swirling the green portion back into the batter, we put the soap into our 18-bar mold.


Then we inserted the 18-bar divider set from +Bramble Berry.

This is a closeup of how the soap looked just after we inserted the dividers.  You can see the bit of green swirled through a pink-colored base.  We then put the mold into the curing room to cool and harden for 24 hours.

**********************************

Friday, May 29, 2015

We took the bars out of the mold today, and we are very excited about how this hot process soap turned out.

Following are a few final shots of the soap. 


We will let these harden and finish curing for a week, and they will be ready for our customer by Friday, June 5. 


Tuesday, June 16, 2015

3 HP Batches of Soap at One Time

#hotprocesssoap #lavender #kudzu #orangerosemary #goatsmilkandhoney #handmadesoap


Wednesday, May 20, 2015
(Can't believe how far behind we are publishing this...)

Video Blog Day (and actually we have had this up on YouTube for a few weeks now, so you may have already seen these batches.)

We recently made three different batches of soap (at the same time) using the hot process method. We actually cooked them all at the same time with about a 20 minute time lag between each so we could finish one batch before the next one was done.

Please enjoy the video.


If you just want to see the final pictures, we have posted them below:


Orange-Rosemary with Goats Milk & Honey


Kudzu


Lavender


We let these hot process soaps sit and cure for a week, then they were ready to use by 
Wednesday, May 27.

Wednesday, June 3, 2015

Making Hot Process Coffee Soap


#coffeesoap #vanillacoffeesoap #hotprocesscoffeesoap
#coffeeloversunite


Wednesday, May 27, 2015

Coffee is such an interesting beverage. Some people love it hot, some prefer it cold, some don't drink it but will gobble down coffee ice cream or eat a coffee mocha brownie cake!  The variations are limitless, so today we are joining in with another option - bathe with it using our coffee soap!

For months now we've been getting request after request for coffee soap.  Some people want hazelnut flavor, some prefer vanilla, others deep dark strong coffee. Today we will try to make our coffee lovers happy by making a HP batch of Coffee soap.


This batch of soap is part of the Glen Ella Springs order. A French Vanilla coffee scent was requested.  After purchasing a few coffee scents we narrowed it down to a blend of two FO's - French Vanilla Coffee from +Natures Garden  which leans towards a sweeter vanilla coffee scent, they describe it as "a sugary, vanilla aroma with just the right amount of fresh brewed coffee."

We mixed the French Vanilla Coffee with one from +Rustic Escentuals called Coffee House. They describe it as follows: You'll find notes of coffee beans and freshly brewed coffee accentuated by hints of rum, brandy, brown sugar and cocoa beans.


To enhance the flavor, fragrance, and richness and make it truly a coffee inspired soap, we added coffee butter to our oils. It honestly looks and smells like coffee ice cream!!!


Another enhancement is a jug of chilled STRONG coffee I made earlier this morning using distilled water and a LOT of Starbucks Sumatra blend coffee!


We mixed our lye into the chilled coffee water, then added about 1 1/2 TBSP of the coffee grounds from the brew I had made earlier.


Once we poured the lye/coffee mixture into the oils and stick blended for a while, we were at heavy/thick trace which is a perfect place to start when making HP soap.
We covered the crock pot and let the soap cook on high for 30 minutes.


This is what our soap batter looked like after 30 minutes; the outer rim had completely jelled, and the center was still rather stiff.  We stirred it together and covered it. After the initial stir at 30 minutes, we stirred the soap in fifteen minute increments for a total of 1-3/4 hours.


Once the batter had fully cooked and passed the famous "Zap," test we removed about 1/4 of the batter.


We added the Coffee House FO to the remaining batter in the crock.  It smelled just like we were in a coffee house.  The aroma was rich and strong.


We added the French Vanilla Coffee FO to the 1/4 we had removed.


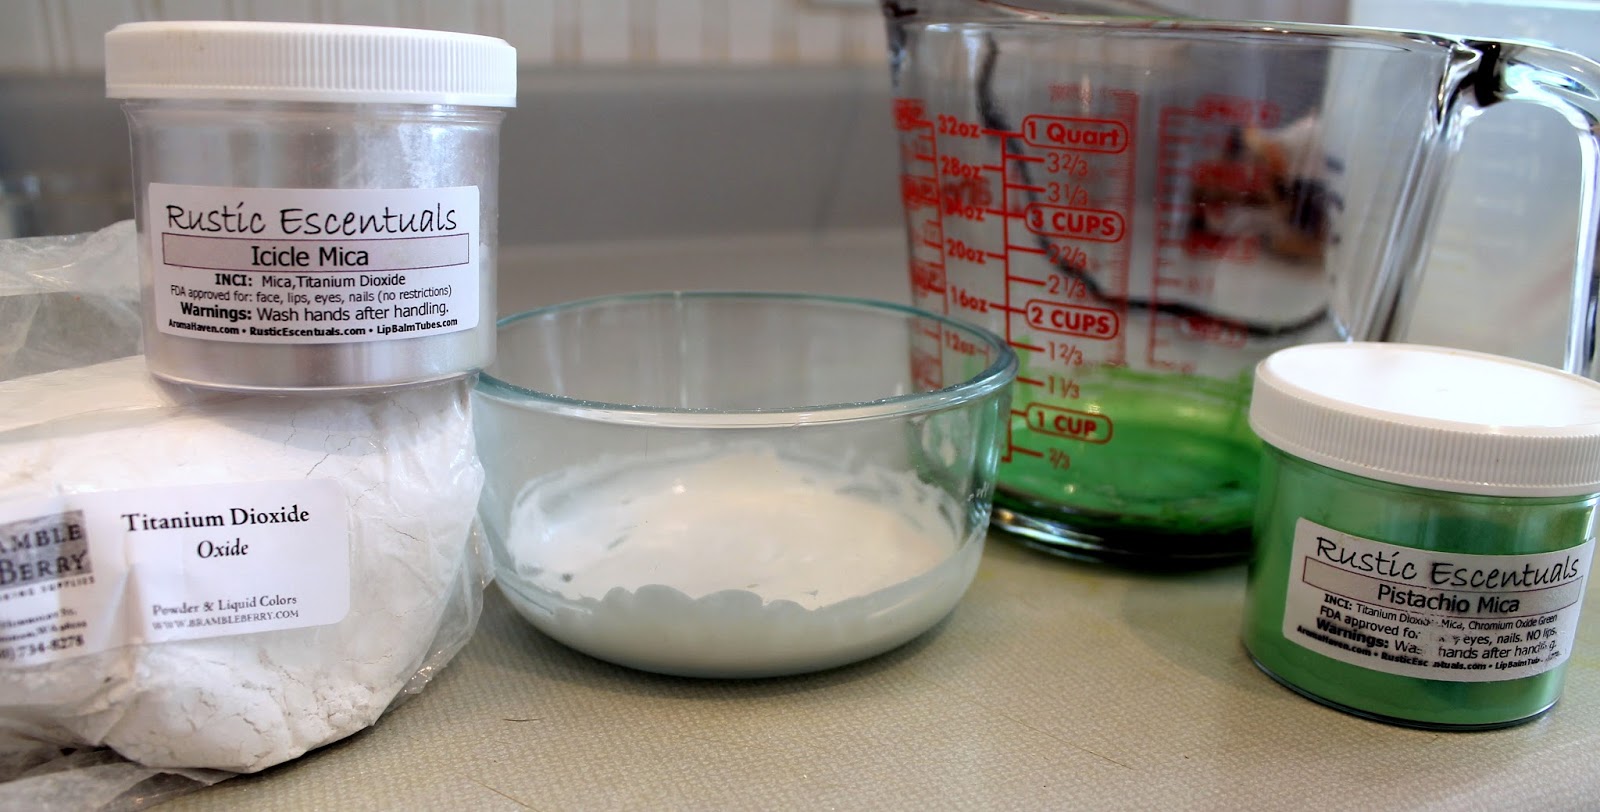
Since we want the French Vanilla Coffee batter to be lighter than the Coffee House (think cream in your coffee)  we added a TBSP of TD to the batter.


That first TBSP didn't lighten the soap enough so we added another 1/2 TBSP. We had no idea how light this would actually be in the finished soap. Vanilla as a fragrance ingredient tends to darken in soap, so we were interested in how this would look.


We spooned the lighter French Vanilla Coffee batter into the Coffee House soap.....


And once it was gently folded we spooned it into the mold.  In this picture there is a distinct difference in color, we probably should have added a bit more TD, but we'll see how it goes.


The coffee smell permeating the kitchen was almost unbelievable - it was fantastic!


Here is a close up of the soap after we put it in the mold, you can distinctly see the two colors.
We put the soap away to cure over night and planned to take it out of the mold after 24 hours.


Once we began cleaning up we had a pleasant surprise at the amount of bubbles produced from this soap. We can't wait to try it once it's cured for a week.


***************************************

Friday, May 29, 2015 
(We actually waited an extra day before we un-molded it.)


We took a picture of the soap before we removed it from the mold, it was REALLLLLY dark, and once it had cured for a couple of days, we didn't really see the hoped for light swirls.
But, on a happier note, it smells so good! It is a combination of strong coffee with a mocha chocolate kinda of smell mixed in and some added vanilla. Wow - a great smelling soap!  We were not expecting the mocha aroma, but there is a layer of it in this heavenly caffeine soap.


Here is what the bottom of the soap looked like coming out of the mold, it still had a bit of the lighter swirls, viewable only because oxygen hadn't hit it yet, we think it will turn pretty dark.


And here are the final shots of our Coffee soap.


A little bit of the lighter swirl is visible, but not much unfortunately.


We will let them sit for a week, and they will be ready to use in a week (Counting down the days...)