Pages

Wednesday, April 23, 2014

Cheap but Effective (for now)


One of our biggest problems so far has been making evenly sized bars from  our batches of soap.  At this point we would rather spend our money on ingredients than tools, so we have been making the best of what we have on hand in our kitchens.  

After some trial and error,  K found a prototype soap cutter that looked simple and like it could be duplicated. So, with a rough sketch in hand and a quick trip to Lowe's, K's husband created our first soap cutter.  


He only had to purchase 5 things, because we had the other elements on hand.  I sacrificed a "Yard Sale" sign to make a smooth surface for the soap to slide across.

I gave the soap cutter a test drive on Tuesday when I cut my grapefruit-Jasmine soap. I'm happy to report  it worked like a charm.


The idea is you place the soap on the yellow center strips using either side as a flat guide, gently push the soap loaf against the stop in the center, take your long knife, or soap cutting blade (on the list) and place it between the two pieces of wood.  Draw the knife right through the soap, no muss, no fuss and equal pieces of soap (finally!!!)


It's hard to tell from looking, but this is going to save us so much time, and make very uniform bars of soap.  Ahh!  One more thing to help us move toward a smoother operation!  In six months we may look back on this and laugh at such a crude tool, but right now we are proud of it and excited to have it.

Monday, Monday so(ap) good to me.....


Another Monday rolled around and there were decisions to be made, would we make soap or just stay put and do "house stuff.  Neither of us wanted to do the "house stuff" but laundry was piling up, clean clothes needed to be folded, dishes washed, floors......ah well, you get our drift.  

So we stayed in our respective homes and did the deed, surely a clean house would be worth something, a pure heart maybe?  No soap today, that was the plan, however I couldn't just walk by all the soap making materials and not look, plan and scheme.
Eventually around 4:30 I bit the bullet and decided to make a batch.

My visiting daughter T advised that a simple, pure scent was better, don't over think I was told, so after sticking several bottles of essential oils under our noses we decided a red grapefruit essential oil would be nice.  I wanted to add a drop or two of a floral scent to go with the grapefruit so against T's advice I added a tiny, tiny bit of Jasmine.

The colors I chose were white, pale orange and yellow, all colors that remind me of the pink grapefruit that grew in my front yard where  I grew up in FL.  


I chose to use the Old Faithful recipe - a combination of castor, palm, coconut and olive oil.  Since I was alone I decided to do the spoon swirl again as it's easy to do and the results are quite pretty.   One thing I didn't count on was how hard it is to pour soap and take pictures at the same time!  Here are a few shots of the layering process, I rotated colors, white, pale peach, and yellow then did it again and again until the mold was full.


There is actually no rhyme or reason to how the soap goes in as long as you rotate the colors.


white, pale orange yellow, white, pale orange yellow


almost to the top of the mold


The mold is full, so now soap goes into the insulation box to cure for 24 hours.  We cover the box with a couple of towels to keep it very warm and help speed the curing process along.

On Tuesday afternoon the soap seemed ready, it had gotten really hard, so I began the process of un-molding and cutting the soap.


The finished soap is shown below, this batch made 15 bars, plus a few extra slivers that can be used as samples.  


last picture, a close up of the spoon swirl grapefruit - jasmine soap


Sunday, April 20, 2014

Blue skies smiling at me, nothing but blue skies......


Friday April 18, 2014

Yard sailing is a bad/good habit of "K's", lets face it we all have too much stuff, but sometimes, a deal is just a deal and can't be passed up!  Most of the drying racks we use are from yard sales, as are baskets in which we will display soap, assorted small glass bowls, crock pots....you get the idea.  Our only wish is that we could find coconut oil at a local yard sale, but I am getting off the subject of soap.

Since the yard sale pickings we so slim this morning (empty handed is not the option I was going for when I left at the crack of dawn).  Arriving home much earlier than usual,  the idea of house cleaning wasn't so appealing so, thinking like any self respecting soap maker... I decided to whip up a batch of soap.  I really liked the lavender spoon swirl we did last Wednesday so decided to try another spoon swirl using shades of blue, in this case 1982 blue mica we bought at Brambleberry.com.  


3 colors are needed so I did a full strength blue, then diluted it with TD (titanium dioxide) white to make a pale blue, the rest of the soap was lightened with TD to make it "white".


The perfect name for this soap is "Blue Skies", many of my friends know of my long time (camper, counselor and grown up counselor and advocate) association with Rockbrook Camp for Girls in Brevard, NC.  www.rockbrookcamp.com.  Singing has always been a part of camp life, so when I hear a particular song it carries me back to the NC mountains.   Blue Skies is one of those songs.....Blue skies smiling at me, nothing but blue skies at RBC....just so you know the background on this soap!  I think it will turn out looking like a blue sky with fluffy clouds, fingers are crossed.

Now back to soap making...   

I mixed up a batch of Old Faithful (coconut, palm, olive and castor oils) with the lye/water mix and brought the mixture to a light trace.  

Since I was operating solo there aren't many pictures, but you get the idea, I added the fragrances, a mixture of lavender/herb Fragrance Oil, lavender Essential Oil, lemongrass EO and spearmint EO, it is a light, citrusy, fresh scent.

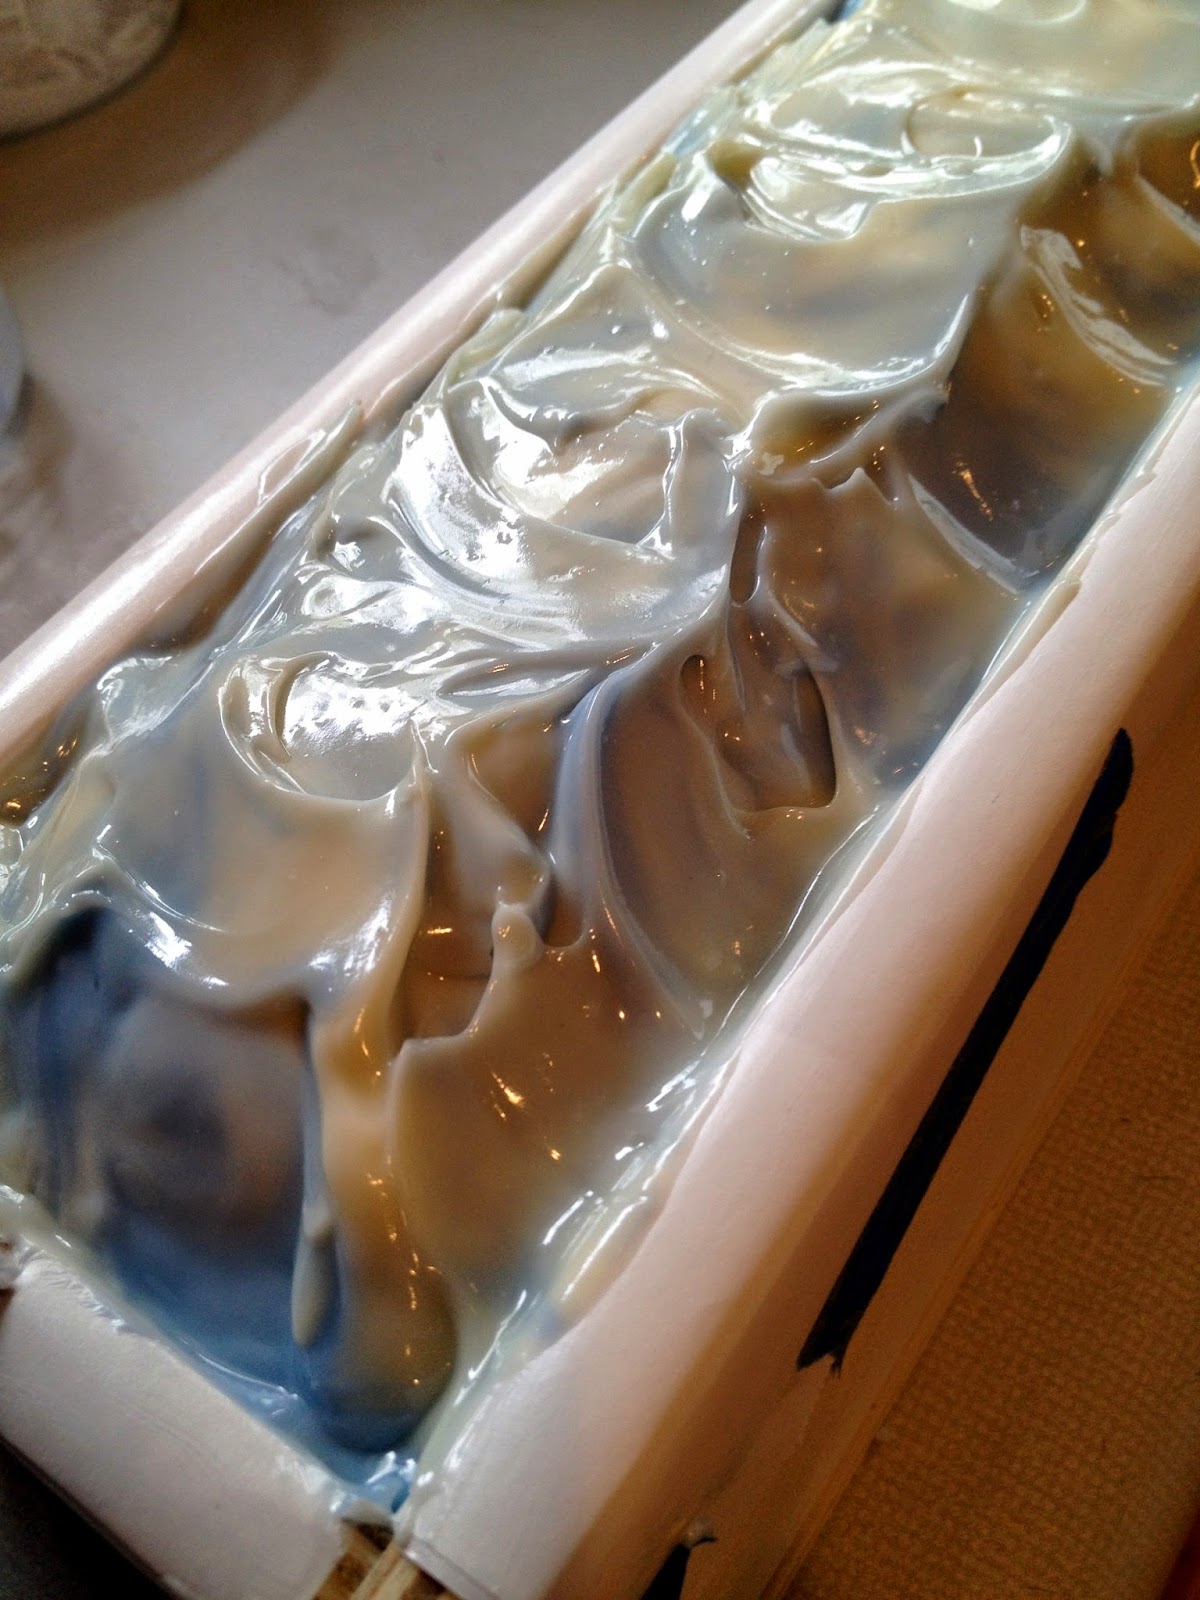
Once the scents were added I poured the soap batter into thirds, coloring one with the blue, one with diluted pale blue and the last one with white.  Slowly I started spooning the colors into the log mold, there isn't a right way or wrong way to do this, so I just kept rotating until the mold was filled.


We have watched so many soap making videos on youtube I was thrilled that the swirling on the top looked so nice, almost professional, but I won't go that far, not at this point, it did turn out well, can't wait to cut the soap tomorrow.


Here is one more look at the "artistically" swirled top, ok, so I am proud of it, no harm in that, especially when I look back at how the first few soaps we made looked.  They weren't bad, just not as "polished" as what we make now.  Even though "A" wasn't with me to create "Blue Skies", we have both come a long way from the first soaps we made last fall, we are slowly, getting there.


As you can see (below)  after the soap has cured for 24 hours it is hard enough to remove from the mold and cut, this is right where it's supposed to be.


Here is the group shot of Blue Skies after it was cut.


It looks exactly like I wanted it to, clouds with different shades of blue sky peeking through.


The soap smells great, a touch of lavender, mixed with a hint of lemongrass and spearmint, very light and fresh, can't wait to use it.

Friday, April 18, 2014

Thursday, April 17, 2014 - Hot Process, get your Hot Process....

In addition to being really clean and smelling nice, one of our goals is to (hopefully) make a little money selling our soaps - at least enough to pay for this (obsession) hobby.


Up till now we have been using the cold process (CP) method for our soaps.  CP soap has to be cured for 6 weeks before it can be used (non negotiable), so at all times we are 6 weeks out with each batch we make.


To get around this 6 week cure hurdle, we can make soap using the hot process (HP) method.  Basically you cook the soap to speed up the saponification process.  If you are already a soaper, this makes sense.  Just a few months ago, it made our heads hurt and our eyes cross.  Be patient, read as much as possible, and practice often.  It will begin to make sense.

Feel free to make comments if our explanations or incomplete (or incorrect), but as we have come to understand it, saponification is the chemical process the lye goes through as it reacts with the oils to create soap.  In CP soap, the process occurs over time, thus the necessary cure time.  In HP soap, the process accelerates because the heat comes from an additional outside source rather than only from the chemical reaction.

Using HP makes the soap safe to use immediately; although, the bar will last longer if it has a week to 10 days drying time before anyone actually uses it.

Since we have a big gap in our production schedule (and it will be May 5 before our next completed batch will have reached its cure date) we decided to try the hot process today.

We might add here that we wanted to try it for another reason:

If you've read our blog, you might remember our frustration a few weeks ago when the soap seized about 3 seconds after we added a new FO.  It completely freaked us out and resulted in the creation of the ever popular cat vomit-looking soap.    We have been very nervous about trying any more soap with the scent, and had almost decided that we would make a large batch of candles with it instead.  

"A" had been watching videos and reading about hot process this week, and one soaper mentioned, seemingly as an afterthought, that hot process is a good method to use with scents that tend to accelerate or "rice" because the lye has already been "cooked" before you add the fragrance.  Nothing ventured, nothing gained, right?  Maybe this would be the way to go for our beloved Butterfly Meadows fragrance oil!

We looked for a recipe that would make a small batch because we didn't want to waste a lot of our supplies (money!$!) if things went badly.


The one we settled on came from www.soapqueen.com and was called Crock Pot Camo Soap.  It called for Olive, Palm, Coconut, Meadowfoam, and Sweet Almond oils as well as shea butter. We had neither Meadowfoam nor Sweet Almond oil on hand, so we substituted sunflower oil for the former and rice bran oil for the latter.


Once we decided on the substitutions we ran the recipe through the soap calc to make sure it was going to work (3 months ago the idea of the substitutions or using soap calc would have scared us to death!  We are making progress as soap makers!!).


We decided to use a bright yellow, antique blue, and white colors, so we mixed them up using a 1/2 tablespoon of sunflower oil to a teaspoon of color for each one. 


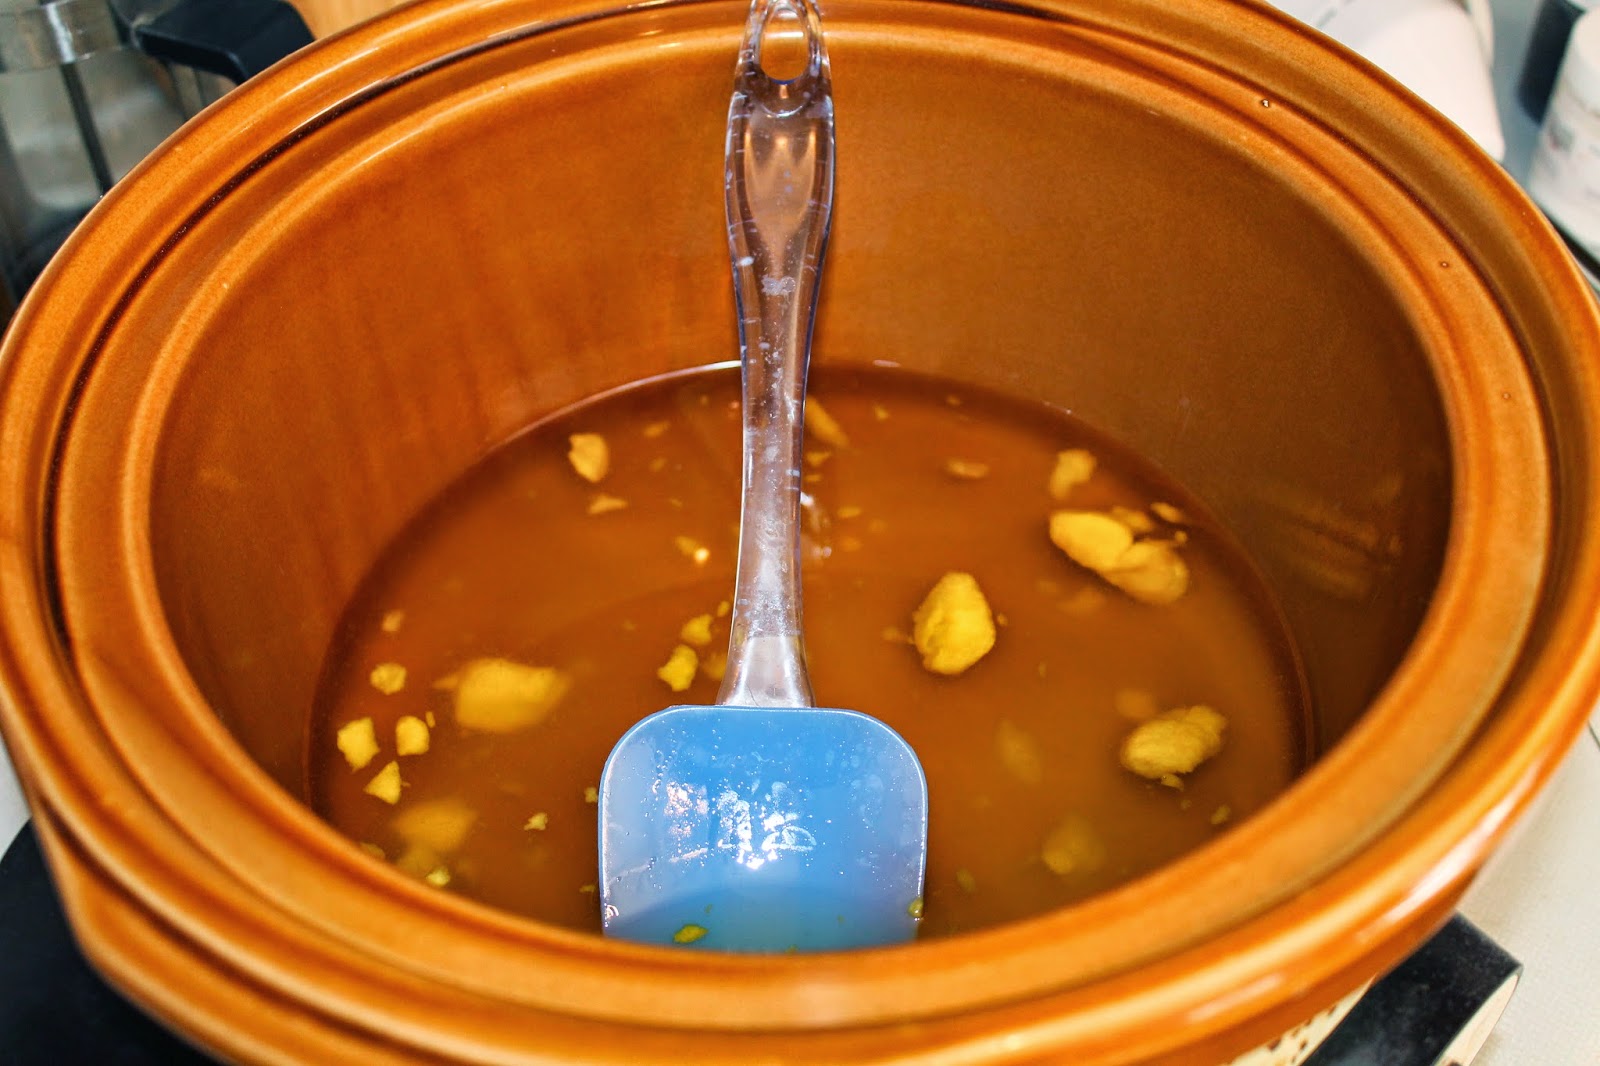
We put the oils into the (dedicated to soap making only) crock pot and added the lye/water mixture. Using the immersion blender, we mixed until the soap reached a thick trace.


bits of shea butter melting


pouring in the lye/water


We started with loose, runny soap, but after a few minutes the soap began to emulsify,


then it began getting thicker.


After about 10 minutes it was thick as pudding - you can see the drip marks across the top


At this point, we put the lid on the crock pot and let it cook on low about 15 -20 minutes.


You can see the gel stage starting.  Notice the different color around the edge? After another 10 minutes or so we mixed it up and realized we had moved on to another "stage"of the process.


Once we reached "mashed potato" stage, we said a prayer and added the Butterfly Meadow FO. NO SEIZING!!! the scent mixed into the soap exactly as it was supposed to (big sigh of relief).

Now we added colorants.

We divided the soap into 3 parts, added color to each, then spooned the soap into the mold.  Once it was full we gently tamped the soap down to force out any air bubbles.  


Finally, we both breathed a big sigh of relief. We'd done Hot Process and lived through it! 

One noticeable difference between cold and hot process it the texture.  Cold process soap is poured into a mold, it is basically a liquid that hardens into soap.  Hot Process has cooked beyond the pourable stage and has to be spooned (think lumpy mashed potatoes) into the mold.  The end result will still clean and soften your skin, it just won't look the same.


Here is what the Hot Process soap looked like once we took it out of the mold. Everything is a learning opportunity, right?  Here we learned to press the soap colors down into the mold more firmly.


top of soap


bottom of soap (lines are from the silicone mold)


Here is what the cut soap looked like, I can tell you the smell is like walking into a flower garden.


the edges and tops are a little uneven, next time we will pack the soap in a little tighter 


the finished soap is actually much smoother than we thought it would be


while washing hands after cutting this soap I noticed it is VERY creamy and has great lather, can't wait to try it next week


Wednesday, April 16, 2014 - Luscious (and we DO mean lushious) Lavender


 K wanted to try making a spoon swirl lavender soap she had seen on the soap blog  www.soap-blog.com/search/label/Recipes?max-results=20.  We both feel lavender is going to be a popular soap, and this one looked really pretty.   Spoon swirling basically means you gently spoon the layers of soap on top of each other until the mold is filled.

The recipe we used was Old Faithful, we mixed the ingredients and added the lye water at about 90 to 100 degrees (both oils and lye water were within 10 degrees of each other). For this soap we used Lavender essential oil.


we begin mixing the oils and the lye/water


at this point we were mixed enough to add some TD (titanium dioxide) to give us a lighter, whiter soap


you can see the difference in the color


The mixture came to light trace pretty quickly then we divided the batter into 3 sections. 


To the first we added titanium dioxide to make the soap white, to the second we cut 1/2 tsp ultramarine violet + titanium dioxide for a pale violet, and to the third we added 1-1/4 tsp ultramarine violet to achieve a vivid violet purple color.


Starting with the white we literally spooned the colors in one at a time, layer by layer, until we had used most of the batter.  


adding white 


now the darker violet


pale violet


and so on and so forth


We did keep some white to cover the very top with about a quarter to a half inch of soap. 


 We tamped the soap a few time to get any air bubbles out then gently sprinkled fresh lavender buds across the top of the soap.


When we cut the soap on Thursday we were very happy to see the result.  This soap is just beautiful, and looked just exactly the way we wanted it it look!  I think we are finally getting into a good soap making groove, of course as soon as I say that I may jinx us, hopefully not!


This is what the lavender soap looked like, and yes it does smell as good as it looks.


Tuesday, April 15, 2014 - It is not just a day for taxes


One of the biggest issues we have is keeping ingredients on hand. It seems just when we go to measure something or find a great new recipe for soap that we want to try, we find that we are out of a critical ingredient. Our supplies ebb and flow as we create soap.


We seem to spend a lot of time shopping for the best prices, and trying to solve this kind of problem....can we get olive oil at our local Walmart, Sam's Club or Costco for less money than buying 50 pounds at a time from Indiana?


Or what about colorants: who has the best variety, is their quality as good as the one that ships from the west coast?? We find that buying the "cheapest" isn't always the best idea - the adage "you get what you pay for" seems to ring true. So far we've been very fortunate in our buying and had no problems (other than waiting for shipments to arrive). We just keep thinking that surely there is a cheaper way to do this!


Starting this week we were sitting pretty, had lots of oils, colors and scents...and time to get creative.


We made some that we are pretty dang proud of, if we do say so ourselves. We'll post Tuesday's creation here, and then place Wednesday's and Thursday's in separate posts.


The recipe we used had coconut, palm, olive and castor oils


We have actually used this recipe several times now, and just use it's nickname "old faithful" when we talk about it. It is very easy to work with and fills up the Bramble Berry 18 bar wooden mold perfectly, making nice fat bars of soap.

We decided to try a "zebra swirl" today, but after looking at multiple videos and Web sites with examples, we gave it our own twist.  Most of the examples we saw show soapers laying a solid color on the bottom before layering in the different colors and then finishing with the solid color on top again.  "A" just didn't like the way the bars of soap looked after cutting.  She thought the solid layers overpowered the zebra stripes, so we gave the method our own spin.

For this batch we used Palm Island fragrance oil and selected some bright happy colors to layer.


We created our own board to pour the soap down by using cardboard covered in freezer paper.  We placed it in the mold at a slanted angle, and alternated pouring the different colors.


When the mold was so full that the board would no longer fit at a good angle, we slowly removed the board, scraping the soap off with a spatula.


We then used the remaining soap and poured it in stripes across the top.


This time "A" took over the power of the skewer, and carefully swirled the top layer.  She made sure to go no deeper than the top layer because we did not want to incorporate the zebra stripes below into the swirl pattern.


First short side-to-side swirls down the mold.


Then 4 longer swirls up and down the length of the mold.


wow, the power of google, they created a little movie for us!


above and below are what the soap looked like as we put it away to cure for 24 hours, very happy looking soap


The next day, when we cut it into bars, we couldn't have been more pleased with the result.  We felt like
air-teests! (That's our proud-of-ourselves-pretentious way of saying artists.)


several of our FB friends suggested names for this soap, Taffy, Sunshine, Creamsicle, Sherbet, Confetti, Hippy Happy, Marble Magic to name a few 


What ever we name it we can promise you it will make you smile and it smells great