Pages

Thursday, December 17, 2015

Soap Challenge - making our own silicone mat/mold


#shellsandseaglass #beachsoap #shellsoap #seaglasssoap #soapchallengeclub
#sageandcitrus #amywardenssoapchallengeclub


Somehow the holidays are zooming towards us on a high speed train, chugging (do trains actually chug anymore?) along each day…. then as I beginning writing this blog I look across the room and there is a decorated Christmas tree staring at me!  How can Christmas be here already?!

This year along with all the pre holiday mayhem, Alison and I decided to enter another Great Cakes Soapworks Challenges hosted by Amy Warden.  Our reasoning was two-fold, first we love the challenges! We learn new techniques, we challenge ourselves, me meet other soapers and generally have a ball making whatever kind of design the challenge puts forth.  And second, we can teach ourselves how to make our own molds!

The challenge this month is to create your own silicone mat/mold!  Could we actually do this? Boy we hoped so.  (because…) In our many online soap related shopping adventures we tend to  surf in many categories, scents (we never get tired of this section), colorants, what is on sale, supplies we need, and then we slide over to drool over molds.  Molds aren't just square or rectangular anymore, they have dogs, lego, very intricate flowers, babies, stars, cupcakes, shells, butterflies….and, well you get the drift, almost anything can be made into a mold. And now we are going to try this (formerly) intimidating feat.

And this is why we love the challenge club - we are trying something we never would have tried on our own!

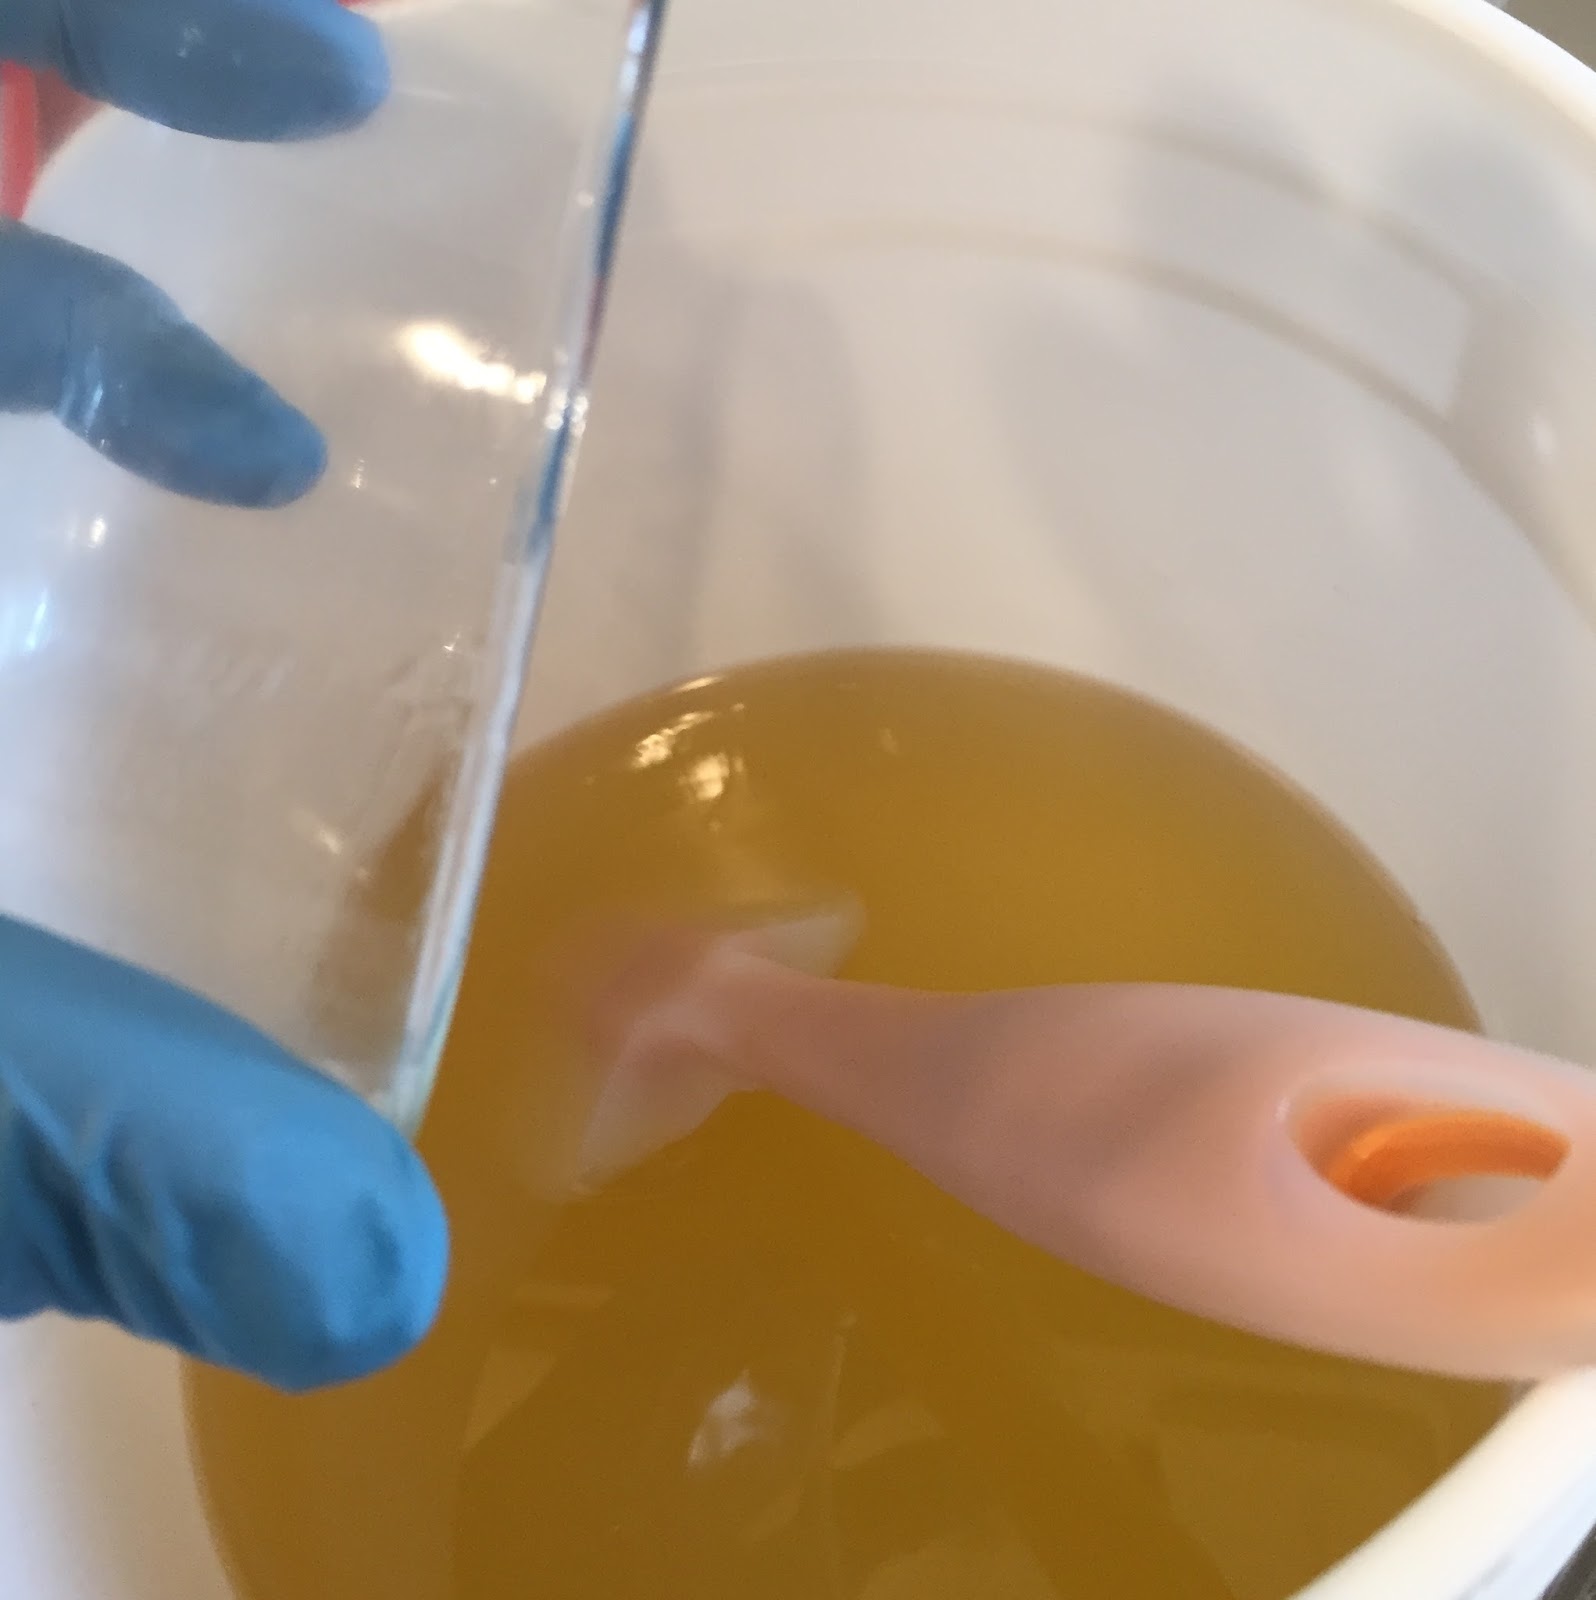
We bought the mold making materials as soon as Amy announced the challenges, then started wracking our brains as to subject matter for the mat.  We looked around and saw small river rocks (too big), pasta (um..no), cut grass (too delicate), assorted keys (not interesting), lace (nah), sea glass (hmmmm - maybe), cup cake sprinkles (we'd eat to many), shells (hmmmm I have a ton), dried lemon slices (would acid react to silicone?), well anyway you get the drift.  After going round and round with various ideas since both of us LOVE everything beach related we decided to use a mixture of sea glass and shells.

So without further yapping we will now take you on our silicone mat making experience.  This challenge was in two parts, the making of the silicone mat, which will be the following video.


The second video is the making of the soap, which I think we are going to call "shells and sea glass", I know, couldn't we think of anything catchier (sp?). Well, how about "sea glass and shells?"

Enjoy the video.


Final shots of the soap both before and after we cut it into bars.


Top layer = shells and sea glass; second layer = sand; third layer = white foam; bottom = in-the-pot-swirl of blues to signify the many colors found in the ocean.


Shells & Sea Glass will be cured by January 27, 2016
(that's the first time we've typed a date with 2016 in it!!)


Wednesday, November 18, 2015

Tall and Skinny - final, final, final, final try!!!


#prettyinpink  #patchoulirainscent #tallandskinnyshimmy
#pink soap


November 5, 2015

Obsessed - the definition of obsessed is either "to think about something unceasingly or persistently; dwell obsessively upon something."

or

It's what happens to me and why I decided to make batch #4 for the tall and skinny shimmy challenge….

Case in point:  the November Challenge for Amy Wardens Great Cakes Soap Challenge is called the "tall and skinny shimmy."  Alison and I happily entered the Challenge, bought 2 silicone tall and skinny molds, and began planning our color strategy.  We divided one of our large "loose batter" batches of soap so that each of us could play around with the color. How hard can it b?, we stupidly thought.

Rainbow, the beautiful example of what our soap is supposed to resemble once we've completed the Challenge.  This one was made by Tatiana Serko.  The idea is to get the colors to loosely flow/shimmy together……
great looking soap isn't it, looks easy, right?


When we made Tall and Skinny Shimmy batch #1, the first thing we learned is that you need REALLY LOOSE batter, otherwise the soap will look like a spoon plop and won't "shimmy." The other thing we learned was that we needed more batter for our next try (if we're going to split a batch).  Oh both bars smell great, they just aren't what we needed and are a bit short of batter…..on to split batch number two.

Batch #1
Alison is yellow, green white, and Kathy's is blue (s) and white
notice we don't have the "shimmy" going on at all!


Tall and skinny shimmy batch number 2, this time we barely mixed the batter, but a minute into the process we knew we had problems….again, with batter getting to thick to fast! Dang, what's a girl to do?  Again, we had bars of great smelling soap that looked really similar to the first batch.  Oh yeah, this is getting OLD.  

Batch #2
Kathy's on left, Alison on right
our volume was up but that's about all, the batter was too thick…..again!

On the third try we decided not to split a large batch, since in the earlier tries the person going second (Alison unfortunately) for sure had thicker (and more unmanageable) soap.  So third time is going to be the charm, right?! Do I sound a little sarcastic? A little ticked off, a little "obsessed"?????  Here is why, DOS, yes Dreaded Orange Spots ALL OVER THE SOAP!!!!!  We have no idea what happened, our oils are fine (we used same oils on #1 & #2 and they were fine except for thickening).  We used a scent called Angel Baby,  we bought it in July, it's not rancid or too old, we've used it several times without incident, but this time - oh brother, what a mess.


Batch #3
How disappointing, we actually got the shimmy, but the spots, my eyes!!!!!
we were very, very, very disappointed!

And now we are back to the word of the day - "obsessed." That would be me, Kathy.  I just couldn't let the shimmy beat us, so today I made batch #4.  Yes this is a little over the top, but I was determined to do this one.  Alison was busy and unable to come to the soap kitchen, so I forged on alone and took still pictures.  The following is a visual narrative of the creation of what I think we'll call Pretty in Pink….unless it's trademarked.


I wasn't kidding when I said pink! 
All of the colors except the top - Pink Vibrance from +Nurture Soap Supplies - came from Rustic Escentuals
In this picture I had mixed the color in the safflower oil already.


The FO (fragrance oil) I used is from Rustic Escentuals, Patchouli Rain.  We discovered it at their fall open house and absolutely love it.  Its so sweet and fresh and tangy all at the same time.  They describe it as follows:  "This fragrance oil is a fresh rain and earthy patchouli with notes of lily of the valley, cyclamen, fresh ozone, earthen moss, and hints of sweet citrus."  


Tried something a little different, added the FO into the oils before adding the lye/water.
Fingers crossed that it performs well.


Now in goes the lye. I didn't mix it much, just to emulsification as I know it will thicken up as time passes.


I have no idea which color went in first, second or what.  I realized immediately that the batter was getting thicker, so I was grabbing, mixing, and pouring as fast as possible.


You can see it's a little thick.


I know the pink on the left is Blushed Pink, it was the lightest of the colors.


Thick anyone?  only thing to do is keep on plugging away.


Only the top is left, thank goodness, it was getting seriously thick at this point.


I slammed the remaining white batter on the top and slammed it down several times hoping to get rid of any air bubbles.
I spooned the remaining nuggets of batter all over the top.


And last but not least, my most favorite part….swirling!


It's quite a pretty soap, hope it will "shimmy" for us!


Now that you've seen the glamour part, here is the mess part.  Using cups for the batter is a great idea, I'm sure we will be using them again.


Cups are everywhere, then they weren't, that's why throwing them away is so great. 


….no, I didn't get the "shimmy" and we decided to enter batch #3 (with a side of rice)!
The pink batch smells lovely and actually looks pretty good even though I didn't achieve what I was going for.
The tall and skinny shimmy was a tough one. It's pretty, but we're not sure we will use it much!

Please enjoy the final shots. 


No shimmy in these bars!


This soap will be available for purchase after Dec.18, 2015.

Thursday, November 12, 2015

Tall and Skinny Shimmy - with a side of rice


#coldprocesssoap #soapchallengeclub #tall&skinnyshimmy 

Pictured above is our entry for this month.  Read on to see the process...


Like a happy alarm clock it is time for Amy Wardens Great Cakes soap challenge.  The design for the November challenge - The Tall and Skinny Shimmy - comes from the soaping artistry of Tatiana Serko who makes Creative Soap by Steso.

The instructions were great and it looked like a fun challenge, so we jumped right in and bought two tall and skinny silicone molds (which we've wanted for ever).  We learned very quickly that the consistency of the batter is critical & we mean critical!!

Our first attempt - we used a recipe that we have used a gagillion times and split the batter in half so we could both try the technique. Oops, batter was WAY too thick!

1st attempt - split batch, no swirling, no fluidity,  batter way too thick.
Basically this turned into a spoon plop!

On to attempt #2 - This time we used a recipe that we have used many times for our intricate designs.  It stays very fluid for much longer.  Well...it usually does... Again, we divided the batch in half so we could each try it, and again, the batter got thicker than we wanted.


2nd attempt - split batch, basically same as first attempt, still didn't get the swirls and shimmy we were looking for. We have another spoon plop!

*bright side, our soap inventory is looking quite colorful at this point (and they smell great, too)!

On to attempt #3 - again we used the fluid recipe, but this time we only made a 1/2 batch so maybe we could move faster.  Kathy soaped and Alison ran the video camera...


YAY - sort of!
We got fluidity, and shimmy-ing (is that a word?), and pretty colors, but we also got something we didn't plan on - ricing! All over all the bars! 
We couldn't figure out why. We've used the FO before in CP design w/o problems, and the oils were fresh and were the same ones we've used recently without problems.
It must have been the rain!

Do we quit? (lots of discussion) 
No, I (Kathy) couldn't stand it!
I knew we could do another batch and have it work! 
Right????

Wrong!
Attempt #4 - our last try! - Again I used the fluid recipe and made just enough for one tall & skinny mold.


Pretty in pink - but no fluidity, no shimmy.  The batter (which I thought was fluid enough) wasn't pouring well.

So now that we've made you see all our non shimmy-ing soap please join us while we make the one that actually did shimmy, we call it tall and skinny shimmy - with a side of rice.
Even though we are happy that it shimmied, we are mortified to be entering this one amidst all the sure to be other beautiful entries.  The soap may not look perfect, but it sure does smell great.

Please enjoy the video as we make our Tall and Skinny Shimmy with a side of Rice!


Or you can enjoy the photos in all of their ricey glory:


Wednesday, October 28, 2015

A Nice Mix - Lily of the Valley & Clove Bud


Thursday September 24, 2015 (made the soap)

Wednesday October 28, 2015 (posted this blog)

Wow, we just realized that we made this soap a whole month ago. How can a month go by so fast??? Ok, we know at this point it seems like a whole year can speed by that fast, but we digress.  This is supposed to be about making soap not whining about time passing!

One of my (Kathy's) all time favorite scents and flowers is Lily of the Valley. There is probably some deep seated psychological reason why - maybe my mom grew it, maybe it reminds me of a perfume I liked, who knows? Today Lily of the Valley was the scent du jour!

We knew from previous forays with LOV that it isn't a strong scent, in fact we found that it faded easily. So today we decided to mix a smidge of Clove Bud EO with the LOV and see where that takes us and if it will help to make the scent stronger.  I got all artistic and decided to use colorants that would resemble the Lily of the Valley plant and flower.

Please enjoy the following video we put together showing the creation of the Lily of the Valley and Clove Bud soap.  The Lily of the Valley FO came from +Lebermuth Co and the Clove Bud EO is from +Natures Garden.


******************************************

Final Shots
This soap will be ready on November 5th, 2015


Monday, October 19, 2015

Carrots and ginger with a little orange tea - alternative liquids in soap making


#carrotandgingersoap #powderedginger #alternativeliquid #soapchallenge


Monday, October 12, 2015

We recently entered a challenge in Amy Warden's Soap Challenge Club in which we were to make a soap using alternative liquids - in other words no water! We've used some "alternative liquids" like honey water, goats milk, almond milk, coffee, wine etc. but we had not yet used a fresh juice.  

Not knowing how the soap would turn out, we actually created two different batches on the same day -  an Orange Ginger soap and a Carrot Ginger soap.  Ultimately we decided to enter the Orange & Ginger Juice soap in the challenge which you can read about here.

In the end, BOTH soaps turned out far better than we had imagined, so let us share the Carrot & Ginger soap process with you, too. 

First we juiced about 8 large carrots, then we peeled a "hand" of fresh ginger and juiced that, adding the ginger juice into the carrot juice to give us our liquid.  We used the left over ginger pulp and stick blended it right into our oils before we added the lye/juice.

During our discussion about what to use, we researched many sites regarding the benefits of carrots.  I was always told (as a little kid) that carrots help you see in the dark...Self Growth had a great article about carrot juice, some of the benefits for the skin are:  antioxidant benefits, helps with eczema, dermatitis and rashes, natural sunblock and helps with sunburn.  The vitamin C helps promote skin elasticity with collagen production, it also helps improve uneven skin tones and promotes smooth, soft and supple skin.  Seriously, what isn't to love about carrots!!

We started reading about ginger and were blown away at how beneficial it is.  Style Craze has a great article about the goodness found in ginger, just a few benefits for skin are:  skin toning, soothes burns, clears blemishes and acne, and the all important anti-aging.  After reading the article both of us decided to add more ginger to our diets.  

We decided to add Bentonite clay with a little bit of Orange Spice tea. We figured that the batter mixed with the clay would be lighter and would give us some variation in color. It didn't help very much, but there was some difference.  We didn't have any Carrot EO so we mixed our own blend of Rosemary, Litsea Cubeba, and Clove Bud essential oils. The combination is great, and we may have a new EO blend to use.

Once we mixed the batter, we layered the lighter color in the mold first then sprinkled powdered ginger across the top, then we added a layer of batter colored with the Bentonite clay, sprinkled ginger again, then finished up by adding the remaining batter.  We used the hanger tool and did a simple hanger swirl, then we swirled the top of the soap with left over light and dark batter.


Please enjoy our YouTube video as we make our batch of alternative liquid - Carrot and Ginger soap.


Final pictures of the soap:


This soap will be cured on November 23.