Pages

Friday, April 18, 2014

Tuesday, April 15, 2014 - It is not just a day for taxes


One of the biggest issues we have is keeping ingredients on hand. It seems just when we go to measure something or find a great new recipe for soap that we want to try, we find that we are out of a critical ingredient. Our supplies ebb and flow as we create soap.


We seem to spend a lot of time shopping for the best prices, and trying to solve this kind of problem....can we get olive oil at our local Walmart, Sam's Club or Costco for less money than buying 50 pounds at a time from Indiana?


Or what about colorants: who has the best variety, is their quality as good as the one that ships from the west coast?? We find that buying the "cheapest" isn't always the best idea - the adage "you get what you pay for" seems to ring true. So far we've been very fortunate in our buying and had no problems (other than waiting for shipments to arrive). We just keep thinking that surely there is a cheaper way to do this!


Starting this week we were sitting pretty, had lots of oils, colors and scents...and time to get creative.


We made some that we are pretty dang proud of, if we do say so ourselves. We'll post Tuesday's creation here, and then place Wednesday's and Thursday's in separate posts.


The recipe we used had coconut, palm, olive and castor oils


We have actually used this recipe several times now, and just use it's nickname "old faithful" when we talk about it. It is very easy to work with and fills up the Bramble Berry 18 bar wooden mold perfectly, making nice fat bars of soap.

We decided to try a "zebra swirl" today, but after looking at multiple videos and Web sites with examples, we gave it our own twist.  Most of the examples we saw show soapers laying a solid color on the bottom before layering in the different colors and then finishing with the solid color on top again.  "A" just didn't like the way the bars of soap looked after cutting.  She thought the solid layers overpowered the zebra stripes, so we gave the method our own spin.

For this batch we used Palm Island fragrance oil and selected some bright happy colors to layer.


We created our own board to pour the soap down by using cardboard covered in freezer paper.  We placed it in the mold at a slanted angle, and alternated pouring the different colors.


When the mold was so full that the board would no longer fit at a good angle, we slowly removed the board, scraping the soap off with a spatula.


We then used the remaining soap and poured it in stripes across the top.


This time "A" took over the power of the skewer, and carefully swirled the top layer.  She made sure to go no deeper than the top layer because we did not want to incorporate the zebra stripes below into the swirl pattern.


First short side-to-side swirls down the mold.


Then 4 longer swirls up and down the length of the mold.


wow, the power of google, they created a little movie for us!


above and below are what the soap looked like as we put it away to cure for 24 hours, very happy looking soap


The next day, when we cut it into bars, we couldn't have been more pleased with the result.  We felt like
air-teests! (That's our proud-of-ourselves-pretentious way of saying artists.)


several of our FB friends suggested names for this soap, Taffy, Sunshine, Creamsicle, Sherbet, Confetti, Hippy Happy, Marble Magic to name a few 


What ever we name it we can promise you it will make you smile and it smells great

Wednesday, April 16, 2014

Tuesday, April 8, 2014

The kids are back in school and we are on a roll, so we tackled another technique today.  We are still so new, and honestly haven't started selling yet, so we aren't sure what everyone is going to like.  Right now we are just trying things that look fun and interesting to see what we can do and what we may be good at.

Today K was going for another swirl pattern, but things just don't always go exactly as planned.  The batter began to thicken sooner than we expected, so our vision of the final product changed just a bit.  We used the same soap recipe as yesterday, but we still had the temperatures a little warmer than needed when we combined the oils and the lye water.  Then we mixed a bit too long, we think.  We plan to keep the batter to a much thinner trace next time and see if that makes a difference.


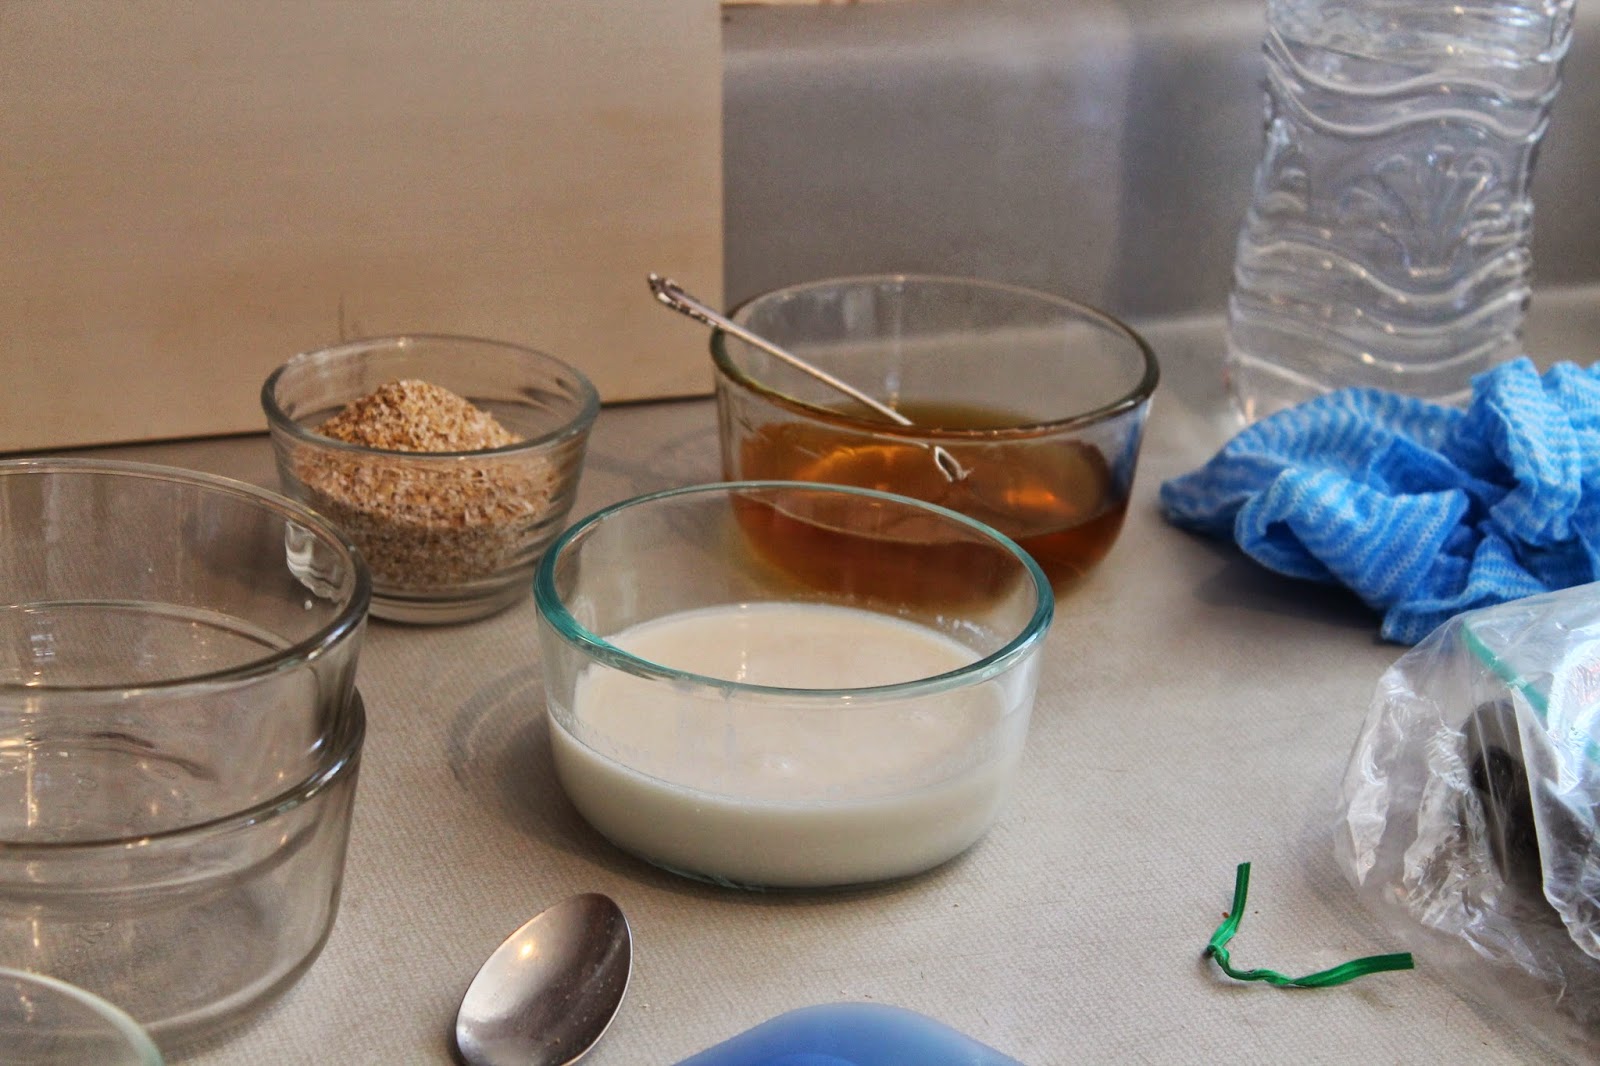
Supplies at the ready...


For today's scent, we used a mixture of Lemon Cake and Lavender & Herb oils.  You should see us trying to decide what scent to use each time.  We are certain that Chanel or other expensive perfumers must look much as we do waving our hands in the air to mix scents, then sniffing and snorting to clear our olfactory senses before waving and sniffing another one.


These are the colors we chose for today's soap.  Aren't they great spring colors?


We started out by pouring in back and forth stripes and layering the different colors.  By the time we got to the bottom of the batter bowls, the batter was going into a much thicker trace.  Pouring was not going to be an option, so we moved on to the truly professional technique of "glopping."


We HATE the idea of wasting ANY of the soap batter.  The stuff just costs too much to waste!  So we use spatulas and scrape and scrape to get as much out as possible.  When we had all of it in the mold, K attacked it again with the skewer.  After making only one pass through it, A tackled her and burned the skewer so she couldn't swirl it any more.  It looks so pretty!  A thinks it looks like flowers on a vine.


This is Bramble Berry's wooden mold and 18-bar insert.


This is how the soap looks cut into bars.  It'll be ready to use in 6 weeks!


Monday, April 7, 2014

Okay, here goes...

K has really REALLY been wanting to do an intricate swirl design with multiple colors, and she wanted to use our new Honeysuckle fragrance oil from Nature's Garden.  So we pulled out all of our colors (from Bramble Berry) and got creative.  (Blue Solo Cup!  We'll fill you up.  Let's have a party! Just probably not the kind that Toby Keith had in mind...)

Titanium Dioxide

Patina Sheen Mica


Ultramarine Violet Oxide

Fizzy Lemonade


This soap recipe uses castor, coconut, olive, and palm oils.  


After mixing the oil mixture and the lye water,


and bringing the batter to trace,


we added Honeysuckle fragrance oil, then separated the batter for our different colors.


This technique involves multiple layers.  The first layer was white, then we alternated the three other colors in a serpentine fashion, then another layer of white, 


finally ending with the serpentine colors on top.


The final step is to gently swirl the colors using a bamboo skewer (or other small similar tool).


First we went up and down long ways, going perpendicular to the serpentine colors.


Once I pulled the bamboo skewer from left to right I decided to make the design a little more intricate (or as A says, K just can't leave it alone!)  Below you can see what happens when I pulled the skewer across the swirl I had just made.


This is the finished swirl, A physically took the skewer away from me as I kept messing with the design, a good thing she did as the design turned out quite well just as it was.


Here is what the finished product looked like when we removed it from the mold the next day.  It is cut and ready to cure for about 6 weeks.


Tuesday, April 8, 2014

Spring Break, not what it used to be....


It's been over a week since we've posted. Last week we were juggling kids, beautiful weather, and no school.  We thought, mistakenly, with all the snow days this year our local school administration would opt out on a spring break; alas it was not in the cards.

So, with A's two nearly grown kids (E & C) and K's two grandkids A & T (not so grown) our soap making efforts were slightly subdued.  C, the oldest of the 4 stayed away; he can drive, and watching us make soap was the last thing he was interested in.  E, the second oldest was a big help, and on Wednesday, (while a picnic was planned for the youngest two), she assisted A in a lovely "block pour" batch of soap.  Even with little ones around (banished when lye was present) we made another batch of Honey oatmeal soap on Monday.  We let the little ones sprinkle oatmeal on top and squirt the finished soap with alcohol so they could be a part of the "soap making".

Monday, March 31, 2014
Early in the week we made a batch of the honey oatmeal.  This will be one of our core soaps as we've had so many requests for it.  The last time we made this soap we weren't as successful; the soap was very oily and awful looking, so we wound up re-batching.  This time we used much cooler temperatures while mixing the oils and lye water, we stirred with a spatula, and we didn't use the immersion blender quite so much.  We did not put the soap in the refrigerator this time, and we did not insulate it - all steps we figured we had done incorrectly last time.  The result was a beautiful batch of soap.


We put bubble wrap on the bottom of the mold, and once the batch was poured we put another sheet of bubble wrap over the top of the soap. As you can see, it makes a great honeycomb effect.  When the soap set up (but was still pliable), we took the bubble wrap off the top and our young assistant, T, sprinkled whole oatmeal on the surface.
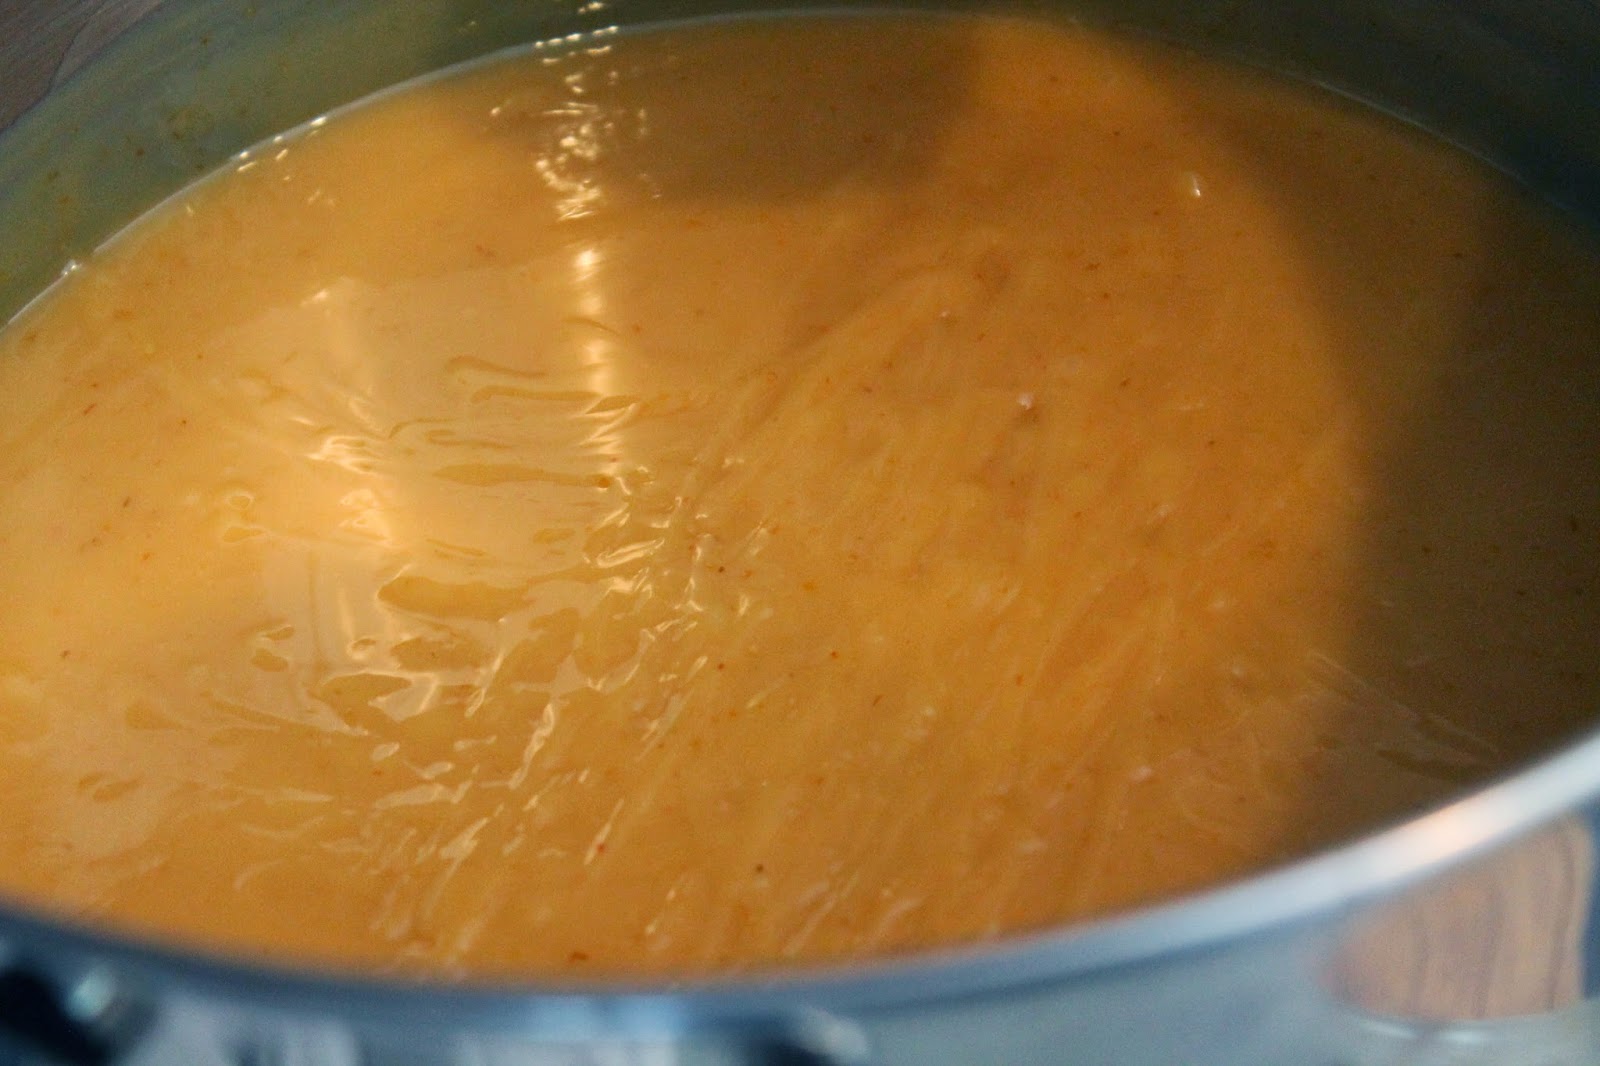


Unfortunately as the soap is curing some of the oatmeal has been falling off, but the soap was made using ground oats (think exfoliation) in the mix so there are plenty of oats still in this honey oatmeal soap.

Ingredients for honey oatmeal soap:

lye
distilled water

olive oil
coconut oil
sweet almond oil
avocado oil 
castor oil

local honey
almond milk
whole and ground oats

sweet orange essential oil
clove bud essential oil
eucalyptus essential oil

the finished product, which is now curing:


The next batch of soap was our first effort at a "block pour", we've watched many videos and it looked so pretty and fairly easy so we decided to give it a try.  E was the assistant soap maker as K was on a picnic with grandkids.   


A here, taking over from K:

Wednesday, April 2, 2014
My daughter, E, had been quivering to make something using the orange Valencia essential oil that we recently ordered, so we incorporated it into today's batch.  I have been really eager to try the block pour method, so I borrowed a few blocks from my son, C's, old collection of blocks. It made today's batch an even bigger family affair!  My sister's husband had made the blocks for C when he was just a baby, and more recently he made the soap mold for me that we poured the soap into.

We used a standard soap recipe that includes the following:
Palm oil
Olive oil
Coconut Oil
Castor Oil
Lye
Distilled water
Essential and/or fragrance oils  (We chose to create a blend using Valencia Orange essential oil and Lemon Cake fragrance oil)


For this design we needed to choose a few colors that we liked.  We selected 4 that we thought were bright and cheerful.  For each color, we mixed 1 tsp of colorant into 1 Tblsp of Sunflower seed oil


We measured and mixed our ingredients to reach trace, then divided the soap "batter" into four Pyrex containers with pour spouts.  Into the separate containers we added our colors.  This is where we were a bit disappointed.  We wanted the colors to come out as bright as they looked when mixed with oil; however, the yellow color of the batter mixed with the color created by the Orange Valencia essential oil, altered our colors.  In the future, we will add titanium dioxide to the batch first to tone down the yellow-ness, and then add other colors.  It turned out very lovely, it just wasn't the exact colors we were hoping for.

In order to do the block pour, we placed a block in the center of the mold and then alternated pouring each of the colors over the block.  As we poured, we counted "1 Mississippi, 2 Mississippi, 3 Mississippi" to try to get an even pour of each color.  You can see there is more of the yellow, though, because we didn't divide it perfectly evenly.  We reserved about 1/2 cup of the batter to mix with titanium dioxide to create the white. We mixed the batter with the white by combining them in a ketchup dispenser bottle and shaking until mixed.


This kind of ketchup bottle - not the kind that it comes in from the grocery store.


I wish we had taken pictures of each step as we poured, but because this was our 1st attempt at block pouring, we both wanted to be part of the process.  We completely forgot about taking pictures.  Maybe we'll remember to do it next time.

Once we had used all of the colors in the bowls, we came back with the white in the ketchup bottle, and we traced the edges of the colors at various places.  Then, we used a bamboo skewer and created the lines in the design by starting in the center and dragging the skewer out to the edge just like I used to draw the rays of the sun when I was a little girl (okay, just like I still do since I really have no drawing ability).

Below is the finished product:


We sprayed it with alcohol to protect against ash formation, then covered it and insulated it with a fluffy towel for about 24 hours.


Later, K cut the soap into bars.  Isn't it gorgeous? E and I think so, if we do say so ourselves! Not a bad way to spend part of spring break.


After this we had the immense fun of cleaning out the basement and the garage.  I had MUCH rather make soap!